
Fitting & Wear Instructions
WETSUITS
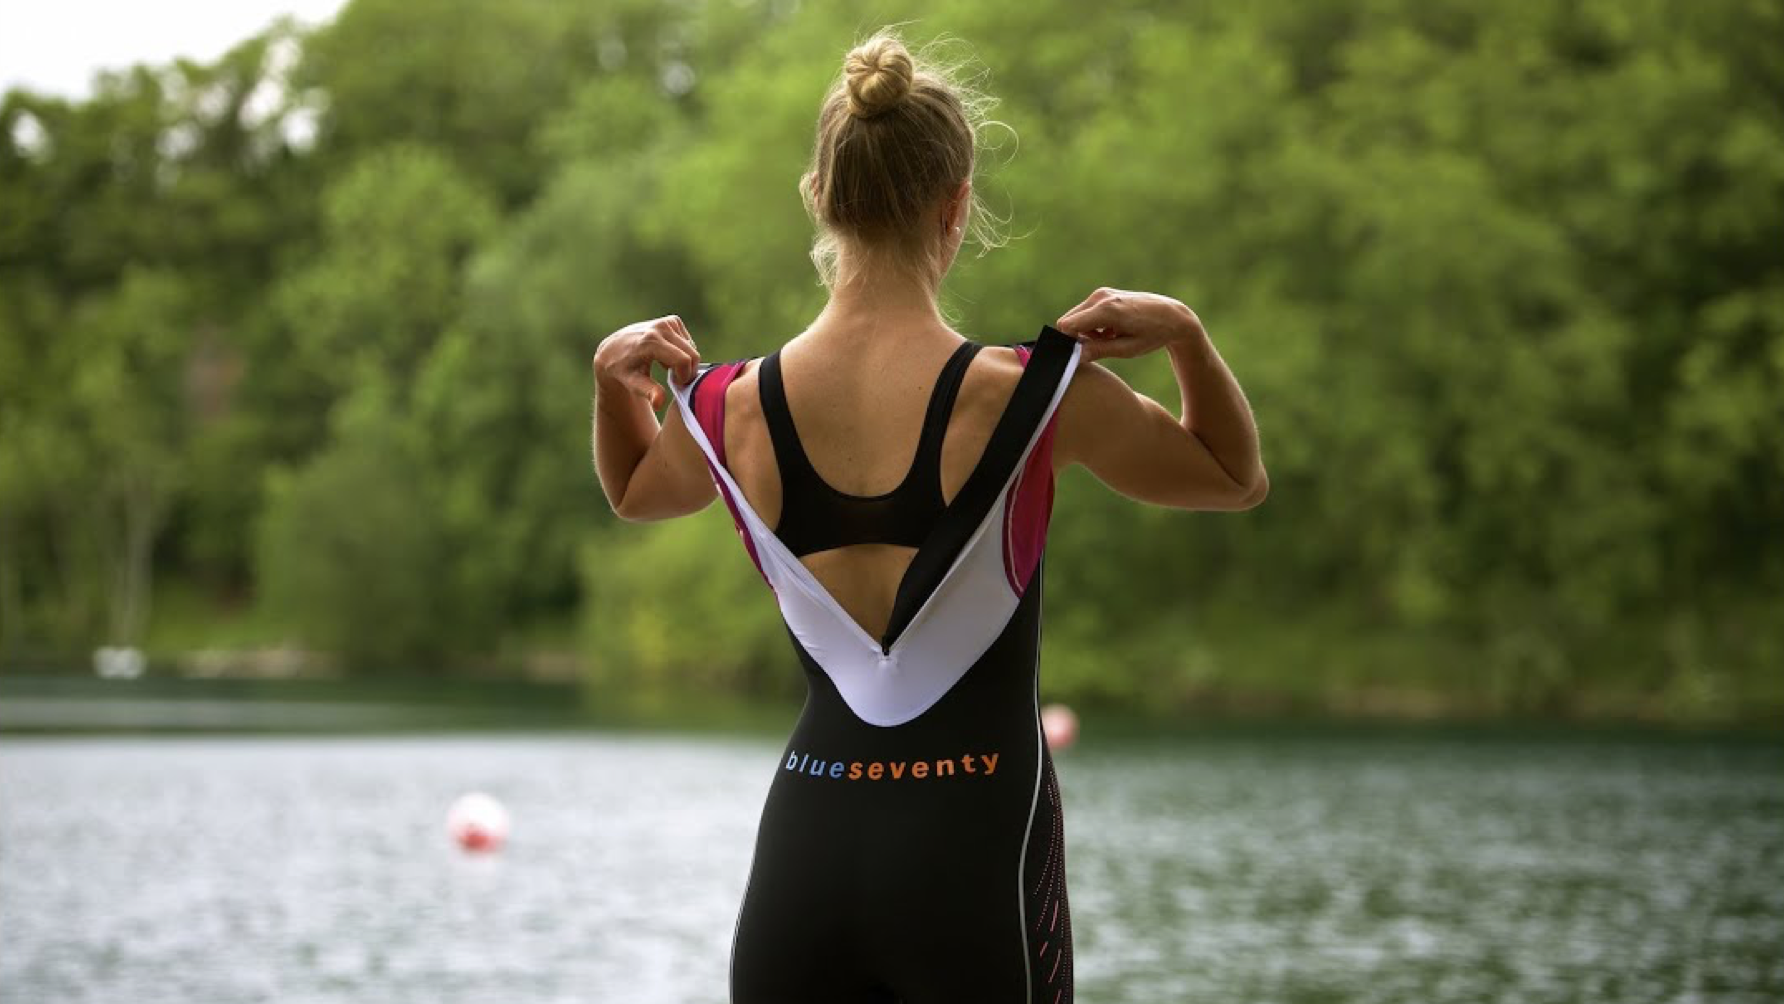
The correct fitting of your blueseventy wetsuit can make all the difference in your performance and comfort while swimming.
In addition, having the wetsuit on correctly can be the difference between a suit that feels too small or not. One of the most common complaints we see from customers is that a suit they purchased based off our size chart is too small. Most of the time, once they are able to get the suit on and adjusted properly they find it fits correctly. (Another thing to note if your wetsuit feels too small is that these suits are intended to fit tightly, and it will feel better in the water, which is why we always encourage a test swim before making a final decision).
Watch the following video, and read through our tips below to ensure you're able to get into your wetsuit, correctly and comfortably, before hitting the water.
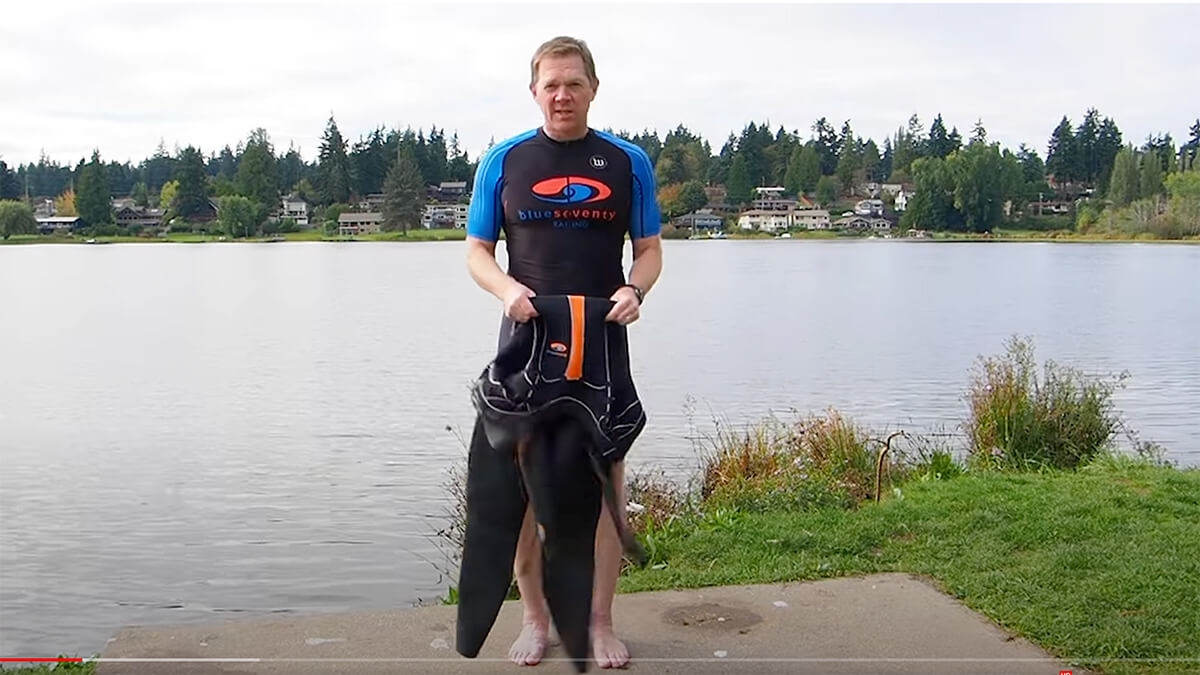
HOW TO PUT ON YOUR BLUESEVENTY WETSUIT:
When putting on your wetsuit, expect it to take a few minutes. Especially if this is your first time, you want to use care and go slowly to ensure the suit is on correctly. The first time may take as long as ten minutes to get properly suited up, but the more you practice, the easier and quicker the process will become.
TAKE YOUR TIME
Unzip the wetsuit and fold it inside out down to the hips. This makes getting into it much easier. Remember, the zipper goes in the back.* Start with your legs and work the suit over your foot and ankle by pulling up at the base of the leg. Do not simply tug at the suit from the hips, this is an easy way to tear a hole through the heel of your wetsuit. Get the first leg up to the knee before sliding in the second leg.
*Unless you are wearing our Alliance SwimRun Wetsuit.
Using the pads of your fingers (always avoid using the ends of your fingers as it is extremely easy to nick your wetsuit, even if you have very short fingernails) grasp a wrinkle of neoprene and pull it up your leg, then fold it down. Move up the leg and repeat. By folding the neoprene down over your leg you will find it slides up easily. If that fold goes up, the neoprene tends to lock on itself and get stuck causing you to pull harder which can inadvertently create nicks or damage to the suit.
The bottom of the wetsuit usually sits at the base of your calf. If you are a little taller, you may find it ends around mid-calf. The suit is not designed to end down at your ankle.
Continue adjusting the legs up until the wetsuit sits snugly in your crotch and there is no excess neoprene "rolls" on your legs. From then you can grasp the inside of the suit and pull it up over your hips to your chest.
Now you can slide in your first arm. Using the same method as we described for your legs, pull your first arm through the wetsuit and position the wrist cuff just above your wrist bones. If you are wearing a watch, have the suit end just above your watch. Rolling and folding, adjust the neoprene on first arm up completely through the shoulders before inserting your second arm. Slide in your second arm and repeat the process.
MAKE SMALL FIT ADJUSTMENTS
Once both arms are in and adjusted, you can make final adjustments to work the suit up through your core by bending at the waist and working the material up towards your neck. Check your legs and crotch to ensure the suit is snug and well adjusted; you do not want any gap between your crotch and the wetsuit. Finally check your arms and make small adjustments to move the neoprene up into the shoulders which will relieve any possible tightness or tension.
DON'T FORCE THE ZIPPER
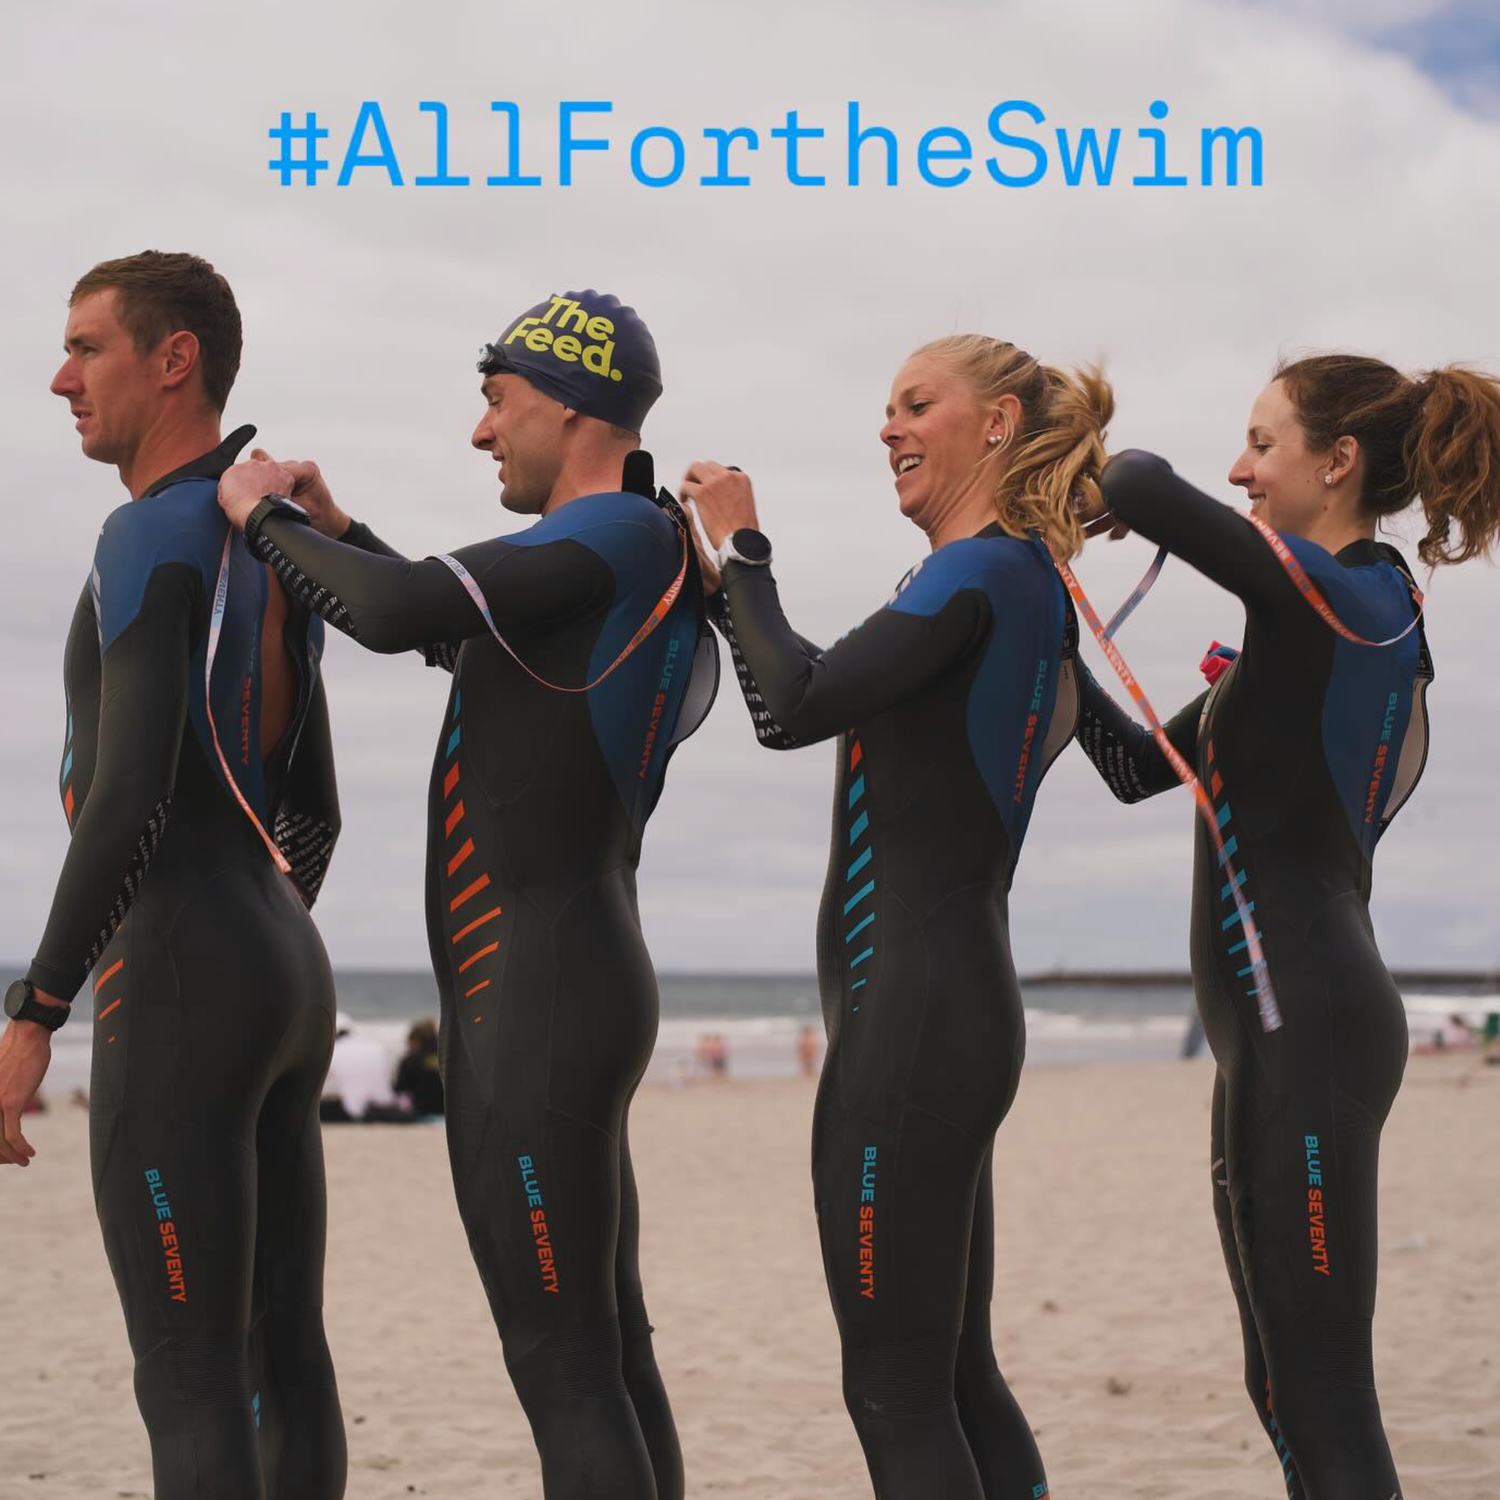
When properly adjusted the wetsuit should be fairly easy to zip up. For most models of the suit, the zipper zip from bottom to top. It can help to secure the velcro at the neck to help keep the top of the suit together. Then reach back and pull the leash up. When zipping the suit, it is helpful to keep pressure with your other hand at the base of the zipper and avoid leaning forward as this will cause the sides of the wetsuit to pull apart making it difficult to zip up. The zipper should slide up smoothly, do not force or pull excessively if the zipper doesn't move. This means that it is either snagged (on the zipper flap, or possibly the clothing you have underneath), or you need to make more adjustments to bring the suit up and together to relieve pressure for the zipper. If this occurs, stop zipping and make adjustments before trying again. It is also always recommended to have someone help you zip the suit if possible.
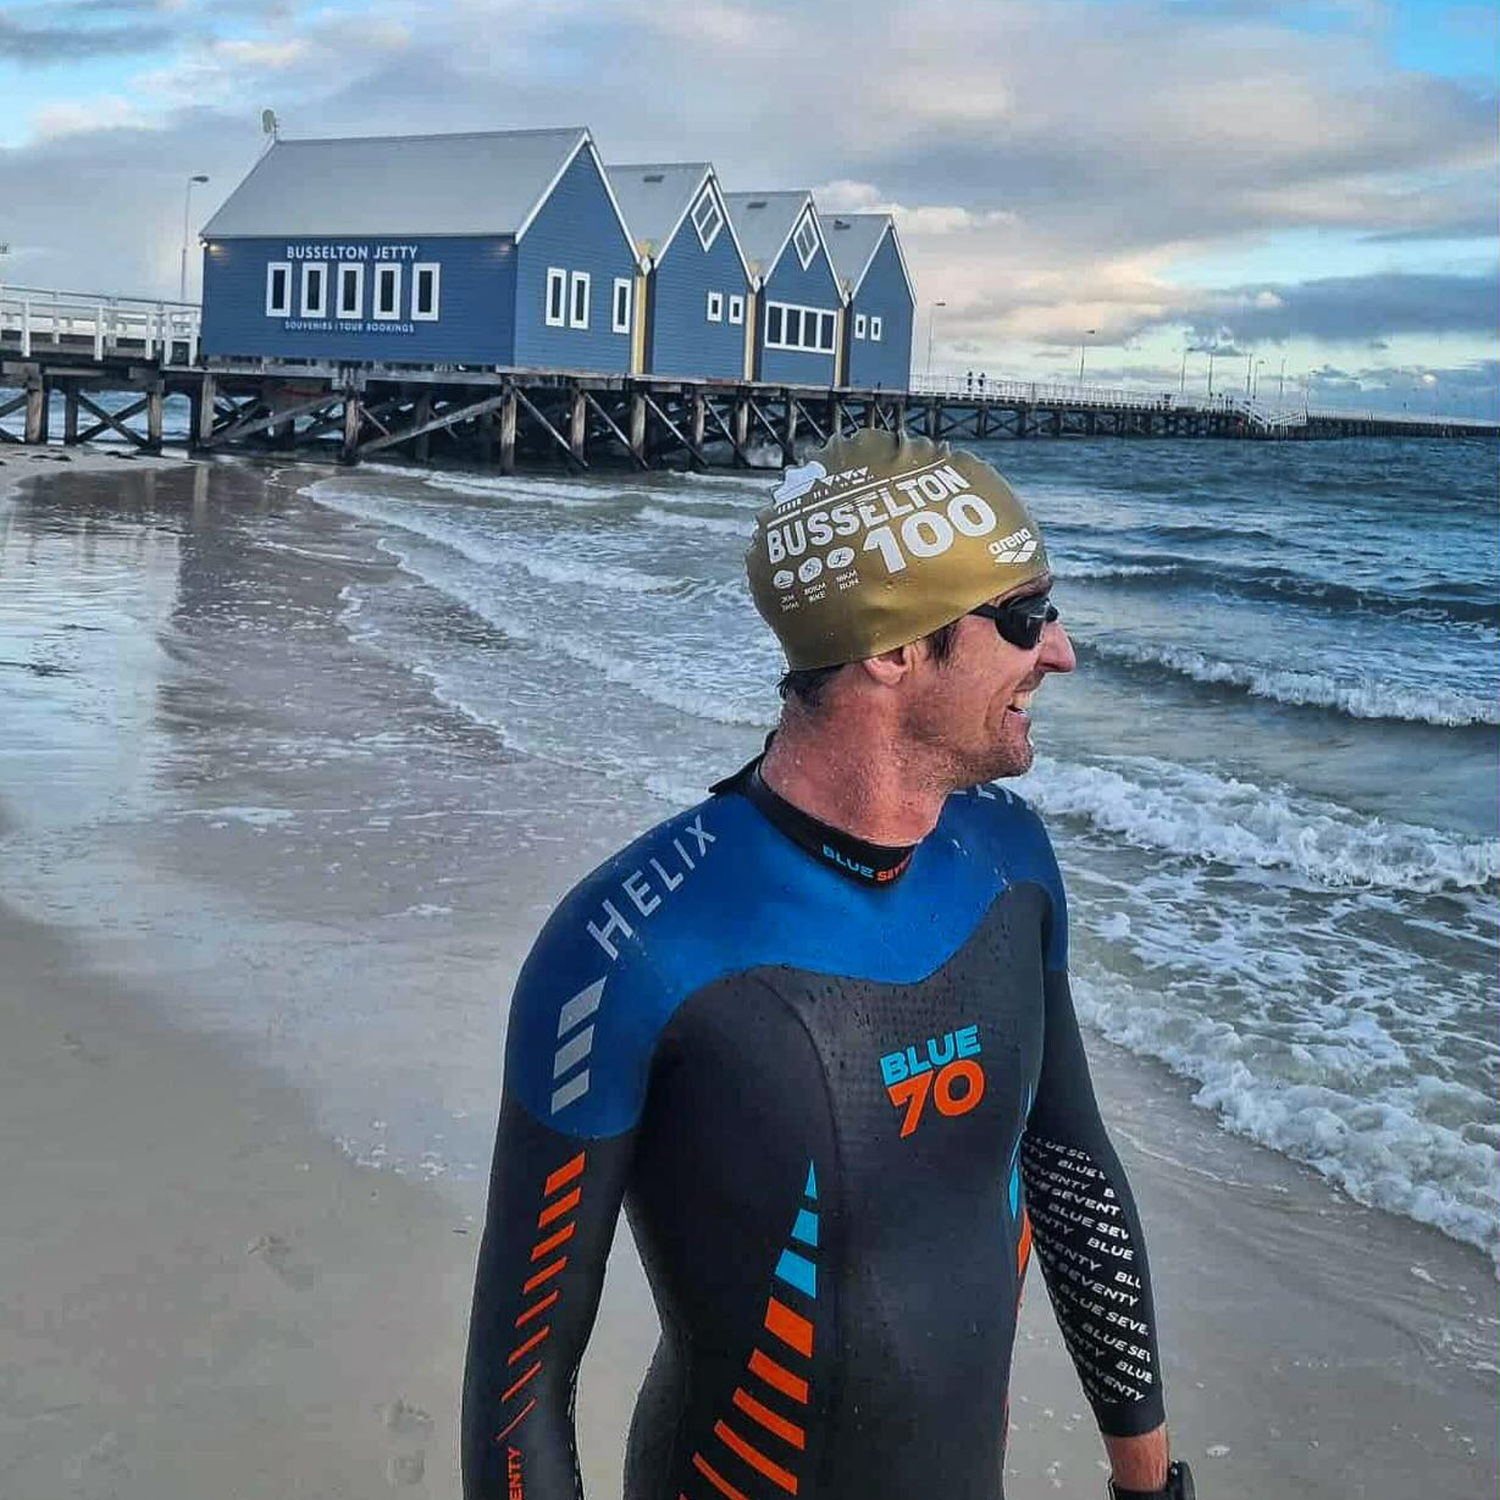
When zipping the Helix model, it zips down from the top. This can be challenging to do alone, but is possible with practice. After making your fit adjustments, grab the zipper leash and pull up to ensure the zipper head is fully at the top of the zipper. Grasp each side in each hand and use your hands / fingers to feel the tops of each piece. Bring your hands together (again avoid leaning forward) and hook the zipper head on the open zipper end. Keeping the pressure on the open zipper end to prevent the zipper head from popping off (your right hand), release your left hand and bring it behind you to grasp the leash and pull down to close the zipper.
For more videos to help with avoiding common mistakes, and tips on the Helix zipper, please click here.
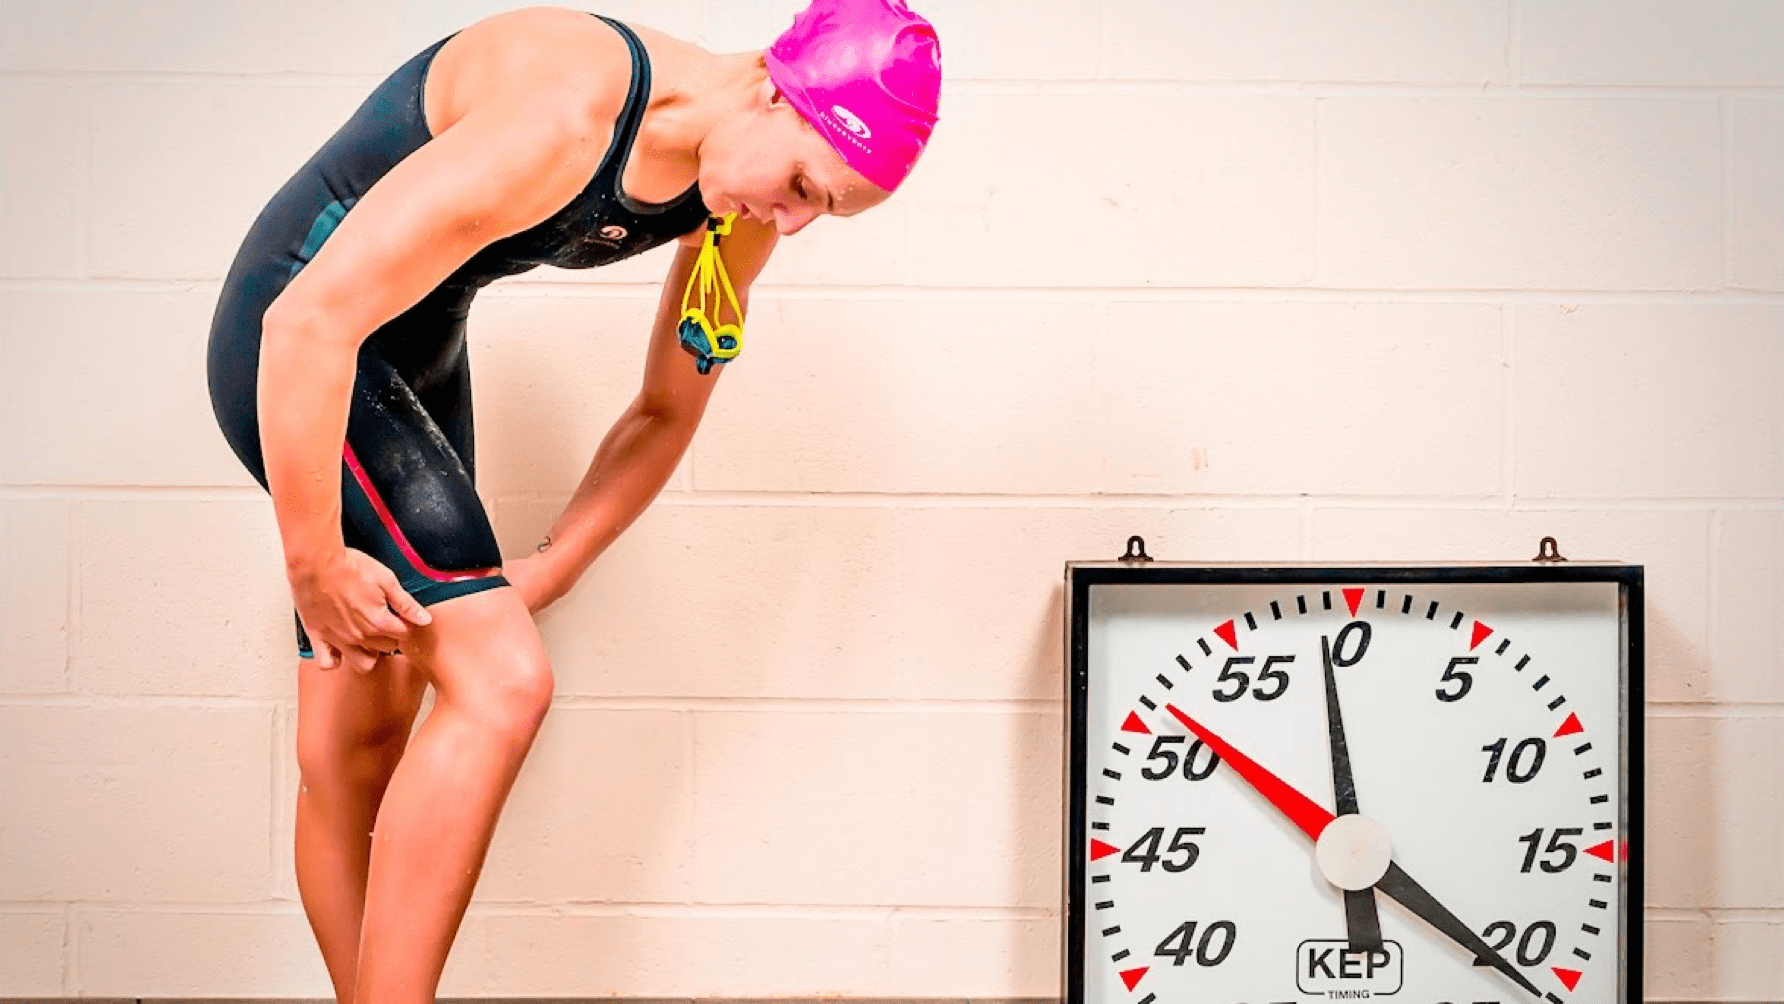
COMPETITION SWIMWEAR
blueseventy Competition Swimwear is designed to fit extremely tight in order to offer the most compression in order to reduce drag, provide dynamic lift and help propel you forward. We utilize the latest in modern textile fabric technology with advanced ultrasonic welding to create the fastest possible swimwear.
Due to the high competitive design of the technical swimsuits, they are not easy to get on. These are not your everyday swimwear that you can simply slip into, time and care must be taken for a proper, comfortable fit.
Follow these instructions for getting into your Nero Jammers or Kneeskin successfully before your race.
FITTING YOUR KNEESKIN
Expect at least 10-15 minutes time to properly get into your Nero Kneeskin. Make sure to take your time, working the suit up slowly. Pull on seams or double layered panels whenever possible to limit damage to the performance fabric. Most importantly, watch your fingernails! Keep nails trimmed and use the pads of your fingers to grip and pull material to avoid any tears.
Make sure you are fully dry before starting to put on your tech suit.
- Flip up the leg grippers and insert your first leg into the suit. Work it up above the knee before carefully inserting your second leg. Slowly work the suit up your legs.
- Slowly pull up on the back and side seams to work up your thighs and over your hips. Take your time, this is likely the longest part of getting the suit on.
- Ensure the fit is correct on the hips and crotch before continuing on. The liner should ride high on your hips and across your butt (rather than under it). This promotes a better body position, aiding in a faster swim.
- Continue to work the suit up your body as far as it will go.
- Slide your arms into the suit next, one at a time. It is recommended to slide your arms in elbow first, which makes it easier to get on and stretches the fabric less.
- Once both arms are in, check that the suit is sitting properly around your chest and torso, carefully adjusting the fit as needed.
- Lastly flip the leg grippers back over and pull any excess fabric down the leg.
- Now you're ready to race!
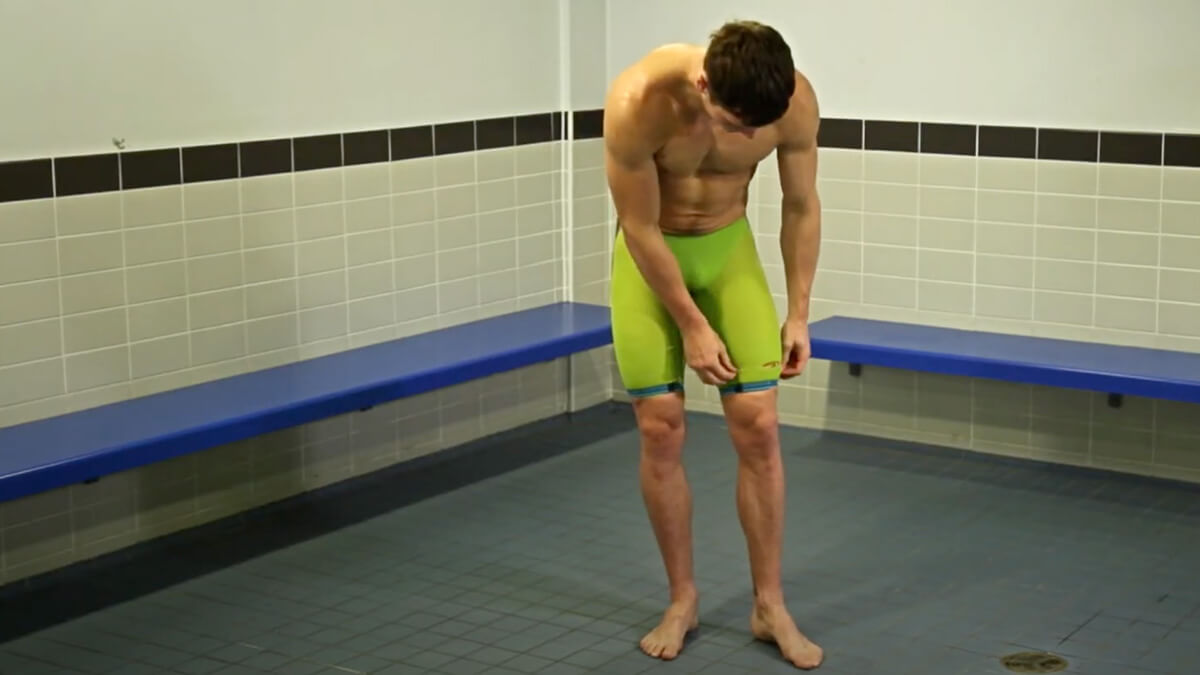
FITTING YOUR JAMMER
Expect about 5 minutes time to properly get into your Nero Jammer. Make sure to take your time, working the suit up slowly. Pull on seams or double layered panels whenever possible to limit damage to the performance fabric. Most importantly, watch your fingernails! Keep nails trimmed and use the pads of your fingers to grip and pull material to avoid any tears.
Make sure you are fully dry before starting to put on your tech suit.
- Step into the suit, one leg at a time and work the suit up your legs. Make sure to flip up the leg grippers to help the suit slide up your legs.
- Work the suit up your legs, using your finger pads to work the material up carefully, keeping both sides even.
- Work the suit up over your hips and into the crotch, ensuring that the fit is correct before continuing.
- Place your hand down the rear of the suit with your palm facing away from your body. Push out and pull up to help get the suit into proper position around your hips.
- Flip the grippers down and pull down to remove any excess fabric bunches.
- Now you're ready to race!
SWIMSKINS
Blueseventy swimskins are built to be compressive and intended to fit tight, like a second skin. Take your time getting into the suit, and always have someone else zip you up.
Our swimskins feature a locking zipper without any leash to prevent accidental unzipping during a race yet allow quick transitions.
Simply have someone zip up the suit, then flip the zipper head down to lock the zipper in place. As you exit the water, reach back and flip up the zipper head to unlock. When unlocked you can pull the two sides of the suit apart and the zipper will slide down to unzip easily.