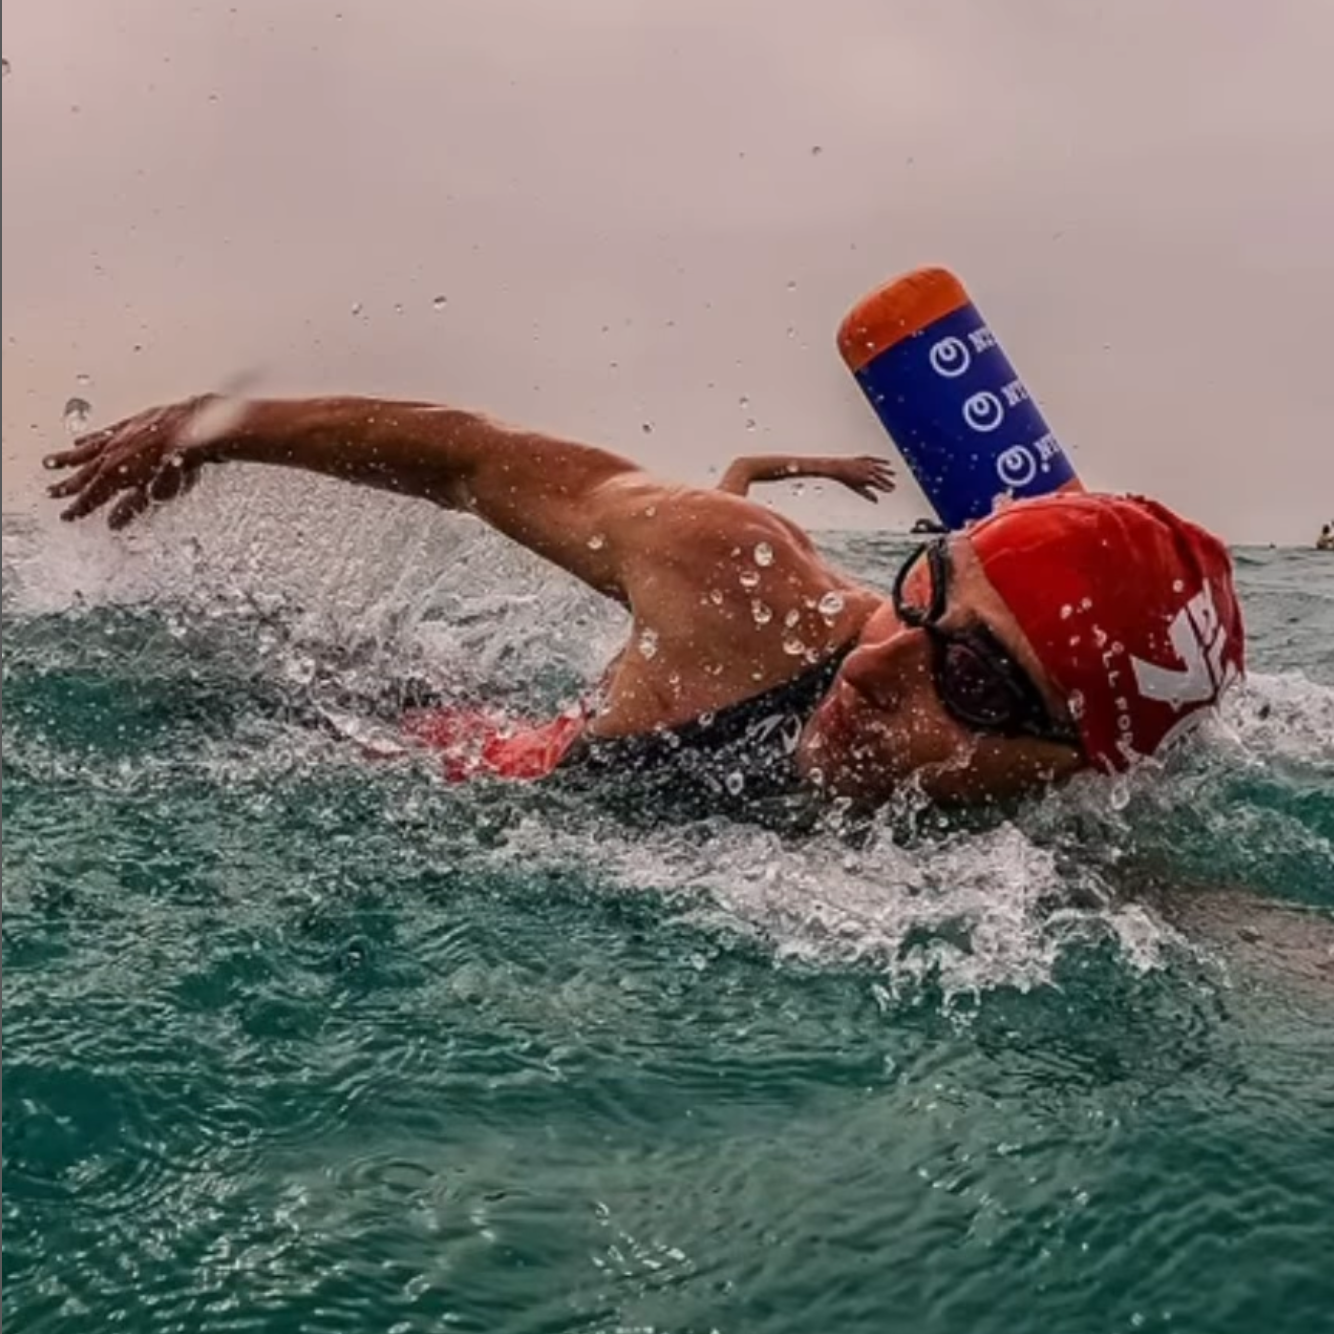



Water inside a wetsuit is normal. A fill-and-hang test on dry land often misses the leak that matters. A wetsuit is not a drysuit. It works by letting a thin layer of water in next to your skin, warming that water, and holding it there while you swim. If you treat any water movement as a defect, you will chase problems that are part of the design and miss the ones that flush cold water through a loose neck, wrist, ankle, or zipper seal.
At blueseventy, we build swim-specific wetsuits from Yamamoto neoprene in 38, 39, and 40 cell grades. Higher cell numbers flex more, but no neoprene panel is a waterproof barrier. Neoprene is closed-cell foam, so water doesn't pass through the rubber itself. What swimmers perceive as a leak is usually water moving through an opening: a neck, wrist, ankle, or zipper seal, a separated seam, or a puncture.
That changes how you test a suit. A useful leak test separates normal water exchange from a suit that is flushing cold water through loose seals or a genuine tear.
Water Inside Is Normal, Not a Defect
Water enters at the neck, wrists, and ankles, warms against your skin, and stays there if the suit fits well. That's why blueseventy allows a Test Swim. You need to get the suit wet to learn how it fits and where water enters. If you swim in the suit and return it clean, dry, unmodified, and with tags attached, the Test Swim doesn't affect your return or exchange.
The best time to evaluate water movement is while swimming, not while hanging the suit over a tub. A fill-and-hang test can show a puncture, but it can't reproduce the rotational forces of swimming. When you roll to breathe, a neck gap can open and close, pumping fresh water in and warmed water out. That dynamic flush is what makes a suit feel cold and slow, and it won't show up on dry land.
Check the Four Entry Points Before the Neoprene
Start with these four entry points:
- Neck seal: should lie flat against the skin and stay put as you turn your head.
- Wrist seals: shouldn't slide or wrinkle; a gap lets water run down the arm.
- Ankle seals: check for folds that open when you point your toes.
- Zipper and internal flap: should sit flush, with no folded edge or stuck zipper pull.
On a women's suit, the Femme Fit pattern refines exactly these areas: bust, torso, wrists, and ankles. A wrinkled wrist seal lets water run down the arm on every pull. A neck seal that stands off the skin pumps water down the back on every breath.
After the openings, inspect the seams. Turn the suit inside out and stretch each seam gently. If the seam edge pulls away from the neoprene or a row of stitching opens under tension, that's a real leak path. Seam separation can happen without a visible hole, so this part of the inspection matters even on a suit that looks clean from the outside.
The Dry Inspection That Finds Damage
Turn the wetsuit inside out and use a bright light. Stretch the neoprene lightly as you work through each panel. Fingernail punctures look like small crescent-shaped tears, often at the chest, shoulders, or hips where you grip the suit to pull it on. Heel tears appear at the ankle opening because a foot gets forced through without lifting the cuff. These are the two most common types of damage we see, and warranty coverage doesn't include them because they come from donning, not manufacturing.
Check the zipper seam and the area around printed graphics or bonded panels. Small cracks in older neoprene can open under stretch. If a crack looks glossy instead of matte, the rubber has started to degrade from heat, chlorine, or time. That suit may still swim, but it will let more water move through than it should.
The In-Water Test That Shows Where Water Enters
Before you swim, put the suit on properly. Most perceived leaks start with a suit that isn't pulled fully up into the armpits and crotch. Reach back, pull the wrist cuffs up, and work the excess material toward your shoulders. A suit that sits too low in the torso will gap at the neck and let water in on every breath, even if the seals looked fine when you checked them on dry land.
Then get into water that is safe and controlled: a pool, a shallow lake entry, or a lifeguarded open water spot. Swim 200 to 400 meters at a normal pace. Roll to breathe on both sides. Kick. Glide. Note where you feel cold water entering and whether it stays or flushes away.
A trickle at the neck when you push off the wall may be normal. Water that pools in the lower back and stays cold for the whole swim is not. If you feel water running down one arm on every stroke, check that wrist seal again. If the suit feels warm in the chest but cold across the lower back, the neck or torso fit is too loose. This test measures the suit under real movement, which is the only condition that matters for racing or training.
Repairing a Confirmed Leak
If the swim test points to a puncture, tear, or separated seam, stop using the suit for long cold swims until you repair it. Small punctures and limited seam separations can be fixed with Aquaseal neoprene cement from blueseventy. Clean the area, dry it completely, apply the cement to both edges, and press them together.
For a manufacturing defect within the first year, contact support. The warranty covers materials and workmanship for the original owner, with repair as the remedy. It doesn't cover fingernail punctures, heel tears, zipper damage from force, or damage from non-swimming use.
A repair works best on a clean puncture away from a seam. A tear along a primary seam or a popped zipper is harder to fix at home and may need a professional repair. If the suit is several years old and has multiple thin spots, the neoprene itself may be near the end of its useful life. The trade-off is real: the thin, flexible neoprene in a race suit like the Helix is fast but less durable for heavy training. A frequent swimmer may get more seasons from a Reaction or Fusion, which use higher-grade neoprene designed for repeated use.
Fit Is the Leak Test Most Swimmers Skip
Before you reach for cement, check the fit. A suit that is too large in the neck or too long in the torso will always flush water, no matter how many times you repair it. Start with the sizing tool on the blueseventy homepage. It asks for height and weight and returns a starting size in about 30 seconds. Then use the Test Swim policy. You can swim in the suit and still exchange it if the fit is wrong, as long as it comes back clean, dry, and unmodified.
For women, a suit cut on a unisex pattern can feel loose in the bust and tight in the hips, which changes how water enters at the neck and torso. The Femme Fit line addresses those contact points. For swimmers who train often, a lower-sitting neckline like the one on the Fusion can reduce chafing without giving up the seal, if the size is right.
Take a Test Swim without losing your return window.
Where the Fill-and-Hang Test Still Helps
Keep the fill-and-hang test if you like visual confirmation of a puncture. Fill the suit with water, lift it carefully, and watch for dark spots or streams on the outside. That can show a hole. But don't let the test overrule what you feel in the water. A suit can pass a dry-land fill test and still flush cold water through a loose neck seal on every breath.
The better sequence is simple: check the seals, inspect the seams and neoprene, then swim in it. That order finds fit problems, donning damage, and real punctures without making you distrust a suit that is working normally.
If you're still unsure where water is entering, send a photo to us@blueseventy.com. A second set of eyes on the neck, wrist, and zipper seals often solves what felt like a mystery leak. Happy swimming.