


A wetsuit repair kit usually shows up after something goes wrong. You spot a small nick near the calf, feel a rough edge at the forearm, or notice the ankle cuff is starting to split after a rushed change. Then you start looking for glue. For open-water swimmers and triathletes, that sequence is backwards.
A DIY wetsuit repair kit belongs in your bag before you need it, because minor neoprene damage changes how a suit feels and functions long before it looks serious spread across a table. A small puncture can expand under tension. A nick at the ankle can affect how the suit comes off in T1. A raised edge at the forearm can be noticeable during the catch. Repair is not just about making a suit last longer. It is part of keeping race gear ready.
Why small damage matters in a swim-specific wetsuit
Most wetsuit damage starts with handling. Fingernails catch soft neoprene while you pull the suit into place. A heel grabs the ankle opening during removal. The suit brushes a dock, concrete edge, or rough parking lot surface. None of that sounds dramatic, but neoprene rarely stays the same once the surface is cut.
Every swim loads the damaged area again. Shoulder panels stretch with each stroke. Ankle cuffs get tugged during entry and exit. High-movement zones around the hips and torso keep working every time you kick, rotate, and sight. A small flaw becomes a bigger one because the suit keeps doing exactly what it was designed to do.
That is why swimmers should think about repair as performance maintenance. Blue70 wetsuits use Yamamoto neoprene in 38, 39, and 40 cell grades, with higher cell numbers bringing more flexibility. Those materials are chosen for specific parts of the suit, not by accident. When a panel tears or lifts, the issue is not only cosmetic. The material can stop sitting and stretching the way the design intended.
Repair is really about preserving feel in the water
Most discussions about wetsuit repair focus on saving money. That is part of the picture, but it misses the reason experienced swimmers inspect their suits closely. In a swim-specific wetsuit, panel condition affects body position, comfort, shoulder freedom, and feel for the water.
A clean, intact panel lies flat and moves predictably. A damaged panel can bunch, pull, or create a stiff spot if it is repaired poorly. That matters more than many athletes expect. Damage near the shoulder can create drag on the stroke and extra fatigue. Damage at the ankle can make transitions clumsy. Damage at the forearm can interrupt feel during the catch.
Small details count in open water. They count even more on race morning.
What to keep in a DIY wetsuit repair kit
A useful repair kit is compact. You do not need a pile of household products or a box full of random glues. You need a few items that work well on neoprene and let you make a clean, controlled repair.
- Neoprene cement made for wetsuit repair, such as Blue70 wetsuit care products including Aquaseal neoprene cement
- Cotton swabs or a small disposable applicator
- Low-tack tape to hold edges in place while the adhesive cures
- A clean cloth
- Rubbing alcohol for light cleaning if residue is present
- Disposable gloves
- Wax paper or another non-stick surface for your work area
Keep one rule with the kit: only repair a suit that is clean and fully dry. Salt, sand, sunscreen, and body oils all weaken the bond. Damp neoprene causes problems too. Many failed repairs trace back to that one mistake.
Which damage you can handle at home
A DIY repair kit works best on minor damage with clean edges. The goal is to catch problems early, while the panel shape is still easy to restore.
- Small fingernail punctures
- Short surface tears
- Minor cuts around the calf or ankle
- Small glue separations where the seam itself is still intact
These are the repairs that usually respond well to careful use of neoprene cement. If you fix them early, you can often stop the damage from spreading and keep the suit ready for training. In some cases, the suit will still feel race-ready too, provided the repair is small and the panel still behaves normally in the water.
Which damage calls for caution
Some problems should make you stop before reaching for glue. Long tears across major stretch panels, seam failures, zipper damage, and repeated failure in the same spot need a closer look. A home repair kit is for maintenance. It is not a substitute for a structural fix.
Blue70’s warranty covers manufacturing and materials defects for one year for the original owner, with repair as the remedy. It does not cover fingernail punctures, heel tears, zipper damage from force, heat damage, chlorine damage, or normal wear and tear. If the issue looks like more than accidental surface damage, use Expert Support before attempting a larger repair.
How to repair a small tear in a wetsuit
The best home repairs are tidy and patient. The job is to bring the material back together without creating a hard glue ridge that changes how the panel moves.
- Clean the area. If the suit picked up salt, sand, or lake residue, rinse it first and let it dry completely. If needed, wipe the area lightly with rubbing alcohol and allow it to evaporate.
- Lay the panel flat. Support the damaged section so the tear is not hanging open or stretched out of shape.
- Align the edges naturally. Bring both sides together without pulling the neoprene tight. You want the panel to return to its original shape.
- Apply a thin layer of neoprene cement. Coat both sides lightly using a small applicator. Thick glue creates stiffness.
- Wait until the adhesive becomes tacky. Follow the instructions on the cement you are using.
- Press the edges together. Match the edges carefully so they sit flush. Use low-tack tape if needed to hold the repair in place.
- Let it cure fully. Do not rush the process. A repair that feels dry on the surface can still fail if you stretch it too soon.
Slow repairs usually hold better than rushed ones.
The repair mistakes that show up most often
Most poor repairs come from a short list of habits. Avoid these and your results improve fast.
- Using too much adhesive
- Repairing a dirty suit
- Pulling the material tight during the repair
- Swimming before the adhesive has fully cured
- Treating seam failure or zipper issues like a small surface patch
Glue should support the panel, not create a stiff lump. This matters most at the shoulders, forearms, and underarms, where a heavy repair can affect how the suit feels stroke after stroke.
The best repair plan starts with fewer repairs
The most common damage is also the most preventable. Blue70’s warranty guidance calls out fingernail punctures, heel tears, and zipper damage from force because swimmers make those mistakes all the time. Better handling cuts down on repair work and extends the useful life of the suit.
- Use the pads of your fingers, not your nails, when pulling the suit on
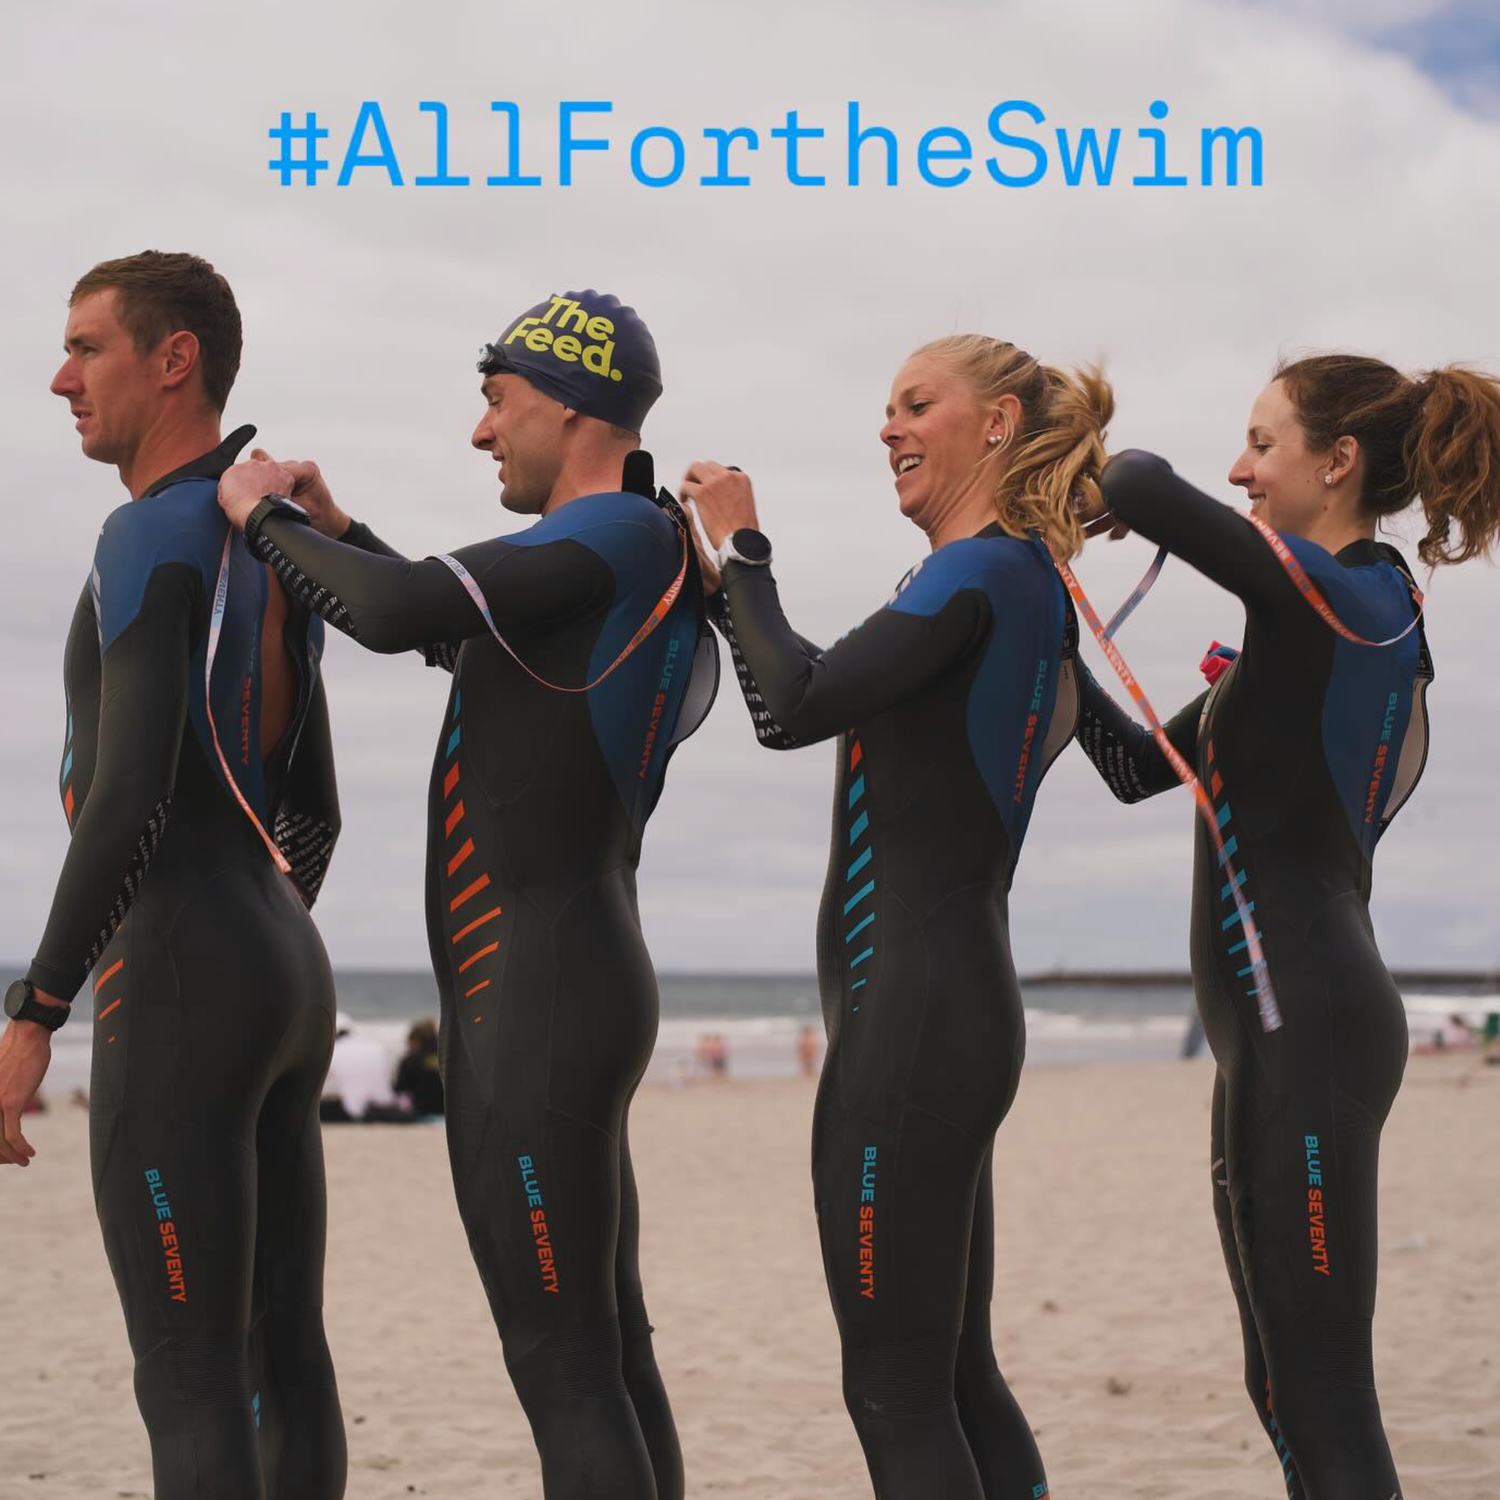
- Gather material gradually from the ankle to the hip before setting the torso
- Take time to seat the shoulders correctly
- Close the zipper with control rather than force
- Peel the suit down carefully over the heels during removal
- Keep the suit off rough concrete, sharp edges, and coarse surfaces
Good donning helps here too. A suit that is not fully worked into place often feels tighter than it should, especially through the shoulders. Swimmers then tug harder, which raises the odds of damaging the neoprene. If you need a refresher, Blue70 offers a fit guide and size charts on the US site.
Why frequent swimmers should inspect their suits more often
A repair kit becomes more useful as your swim volume goes up. Weekly open-water use means more stretch cycles, more changes on damp ground, more transitions, and more opportunities for a small cut to spread. Frequent use also brings the durability question into focus.
Blue70 is straightforward about trade-offs within its wetsuit line. Very thin, highly flexible neoprene delivers outstanding freedom from restriction, but delicate race-oriented material is not the best match for heavy training use. Athletes who swim often usually benefit from choosing a suit built to handle frequent sessions, then checking it regularly for early damage.
That makes repair less of an emergency and more of a routine habit.
A simple inspection routine that works
You do not need a long checklist. You need consistency.
After each swim
- Ankles
- Calves
- Shoulders
- Forearms
- Neckline edge
- Zipper base
This takes less than a minute and catches the damage that usually spreads first.
Once each month during your main season
- Turn the suit inside out
- Check glued joins
- Inspect seam lines
- Look at high-stretch panels
- Review any older repair points
That quick inspection often tells you what needs attention before the next key workout or race weekend.
When a repaired suit should move to training-only use
A repaired wetsuit can still be a dependable suit. But some repairs change the role that suit should play in your rotation.
- The same area has failed more than once
- You can feel the repair during the stroke
- The neckline, shoulder fit, or zipper function has changed
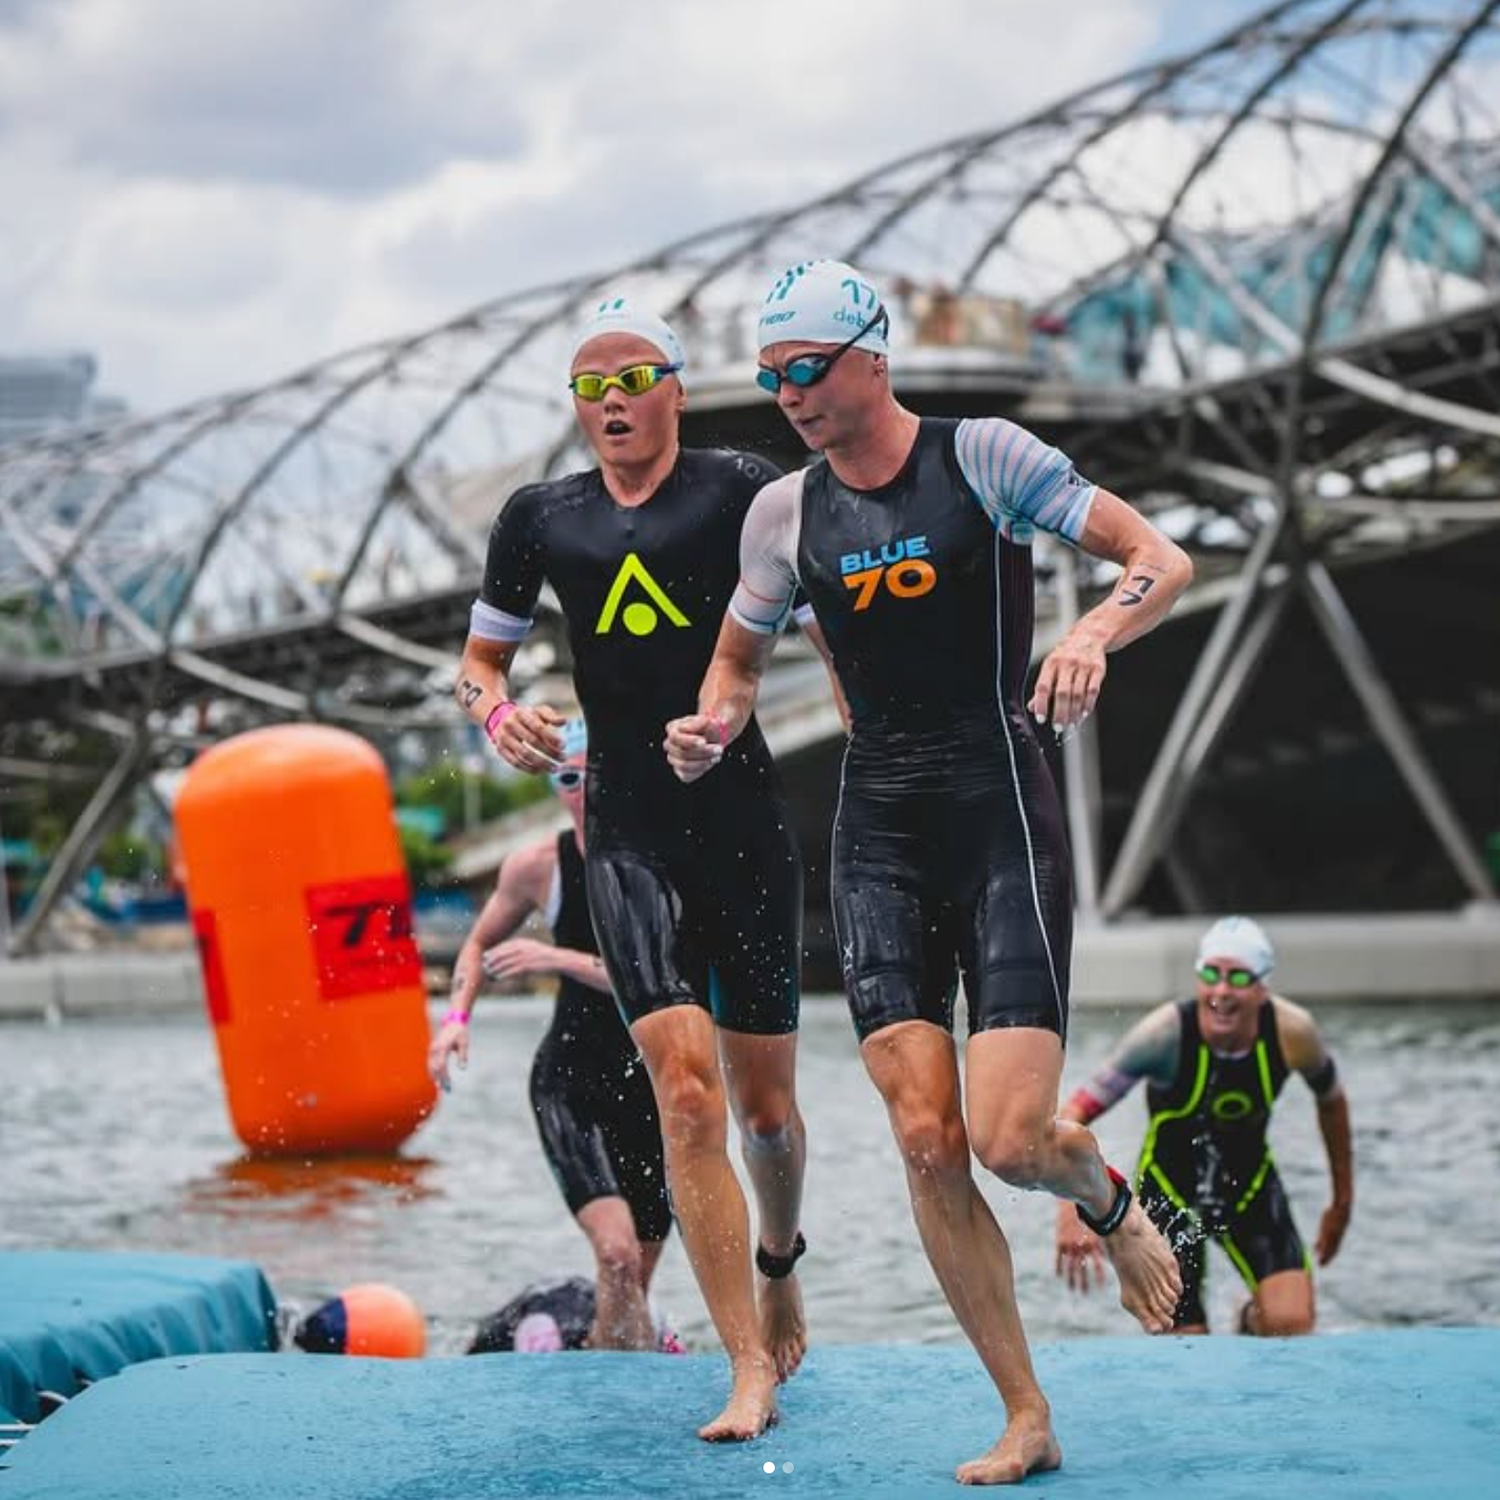
- The ankle opening no longer strips cleanly in T1
- You no longer trust the suit over race distance
That last point matters. Open-water confidence is built on familiar equipment and predictable feel. If the repair keeps pulling your attention away from the swim, the suit has already told you where it belongs.
Keep the kit ready before you need it
Triathletes prepare for small problems because small problems have a habit of showing up at inconvenient times. Open-water swimmers do the same. A DIY wetsuit repair kit belongs in that category. It protects panel shape, fit, comfort, and day-to-day usability. It also gives you a way to deal with minor damage before the next swim instead of after the tear gets worse.
That is the bigger point. Wetsuit repair is not just cleanup after an accident. It is part of owning performance gear responsibly.
If your suit already has a small nick, fix it before your next session. If you do not have a repair kit yet, build one now, and keep it where your swim gear lives. For more help with fit, care, or choosing the right suit for your training, visit Blue70’s Expert Support or Take a Test Swim page.