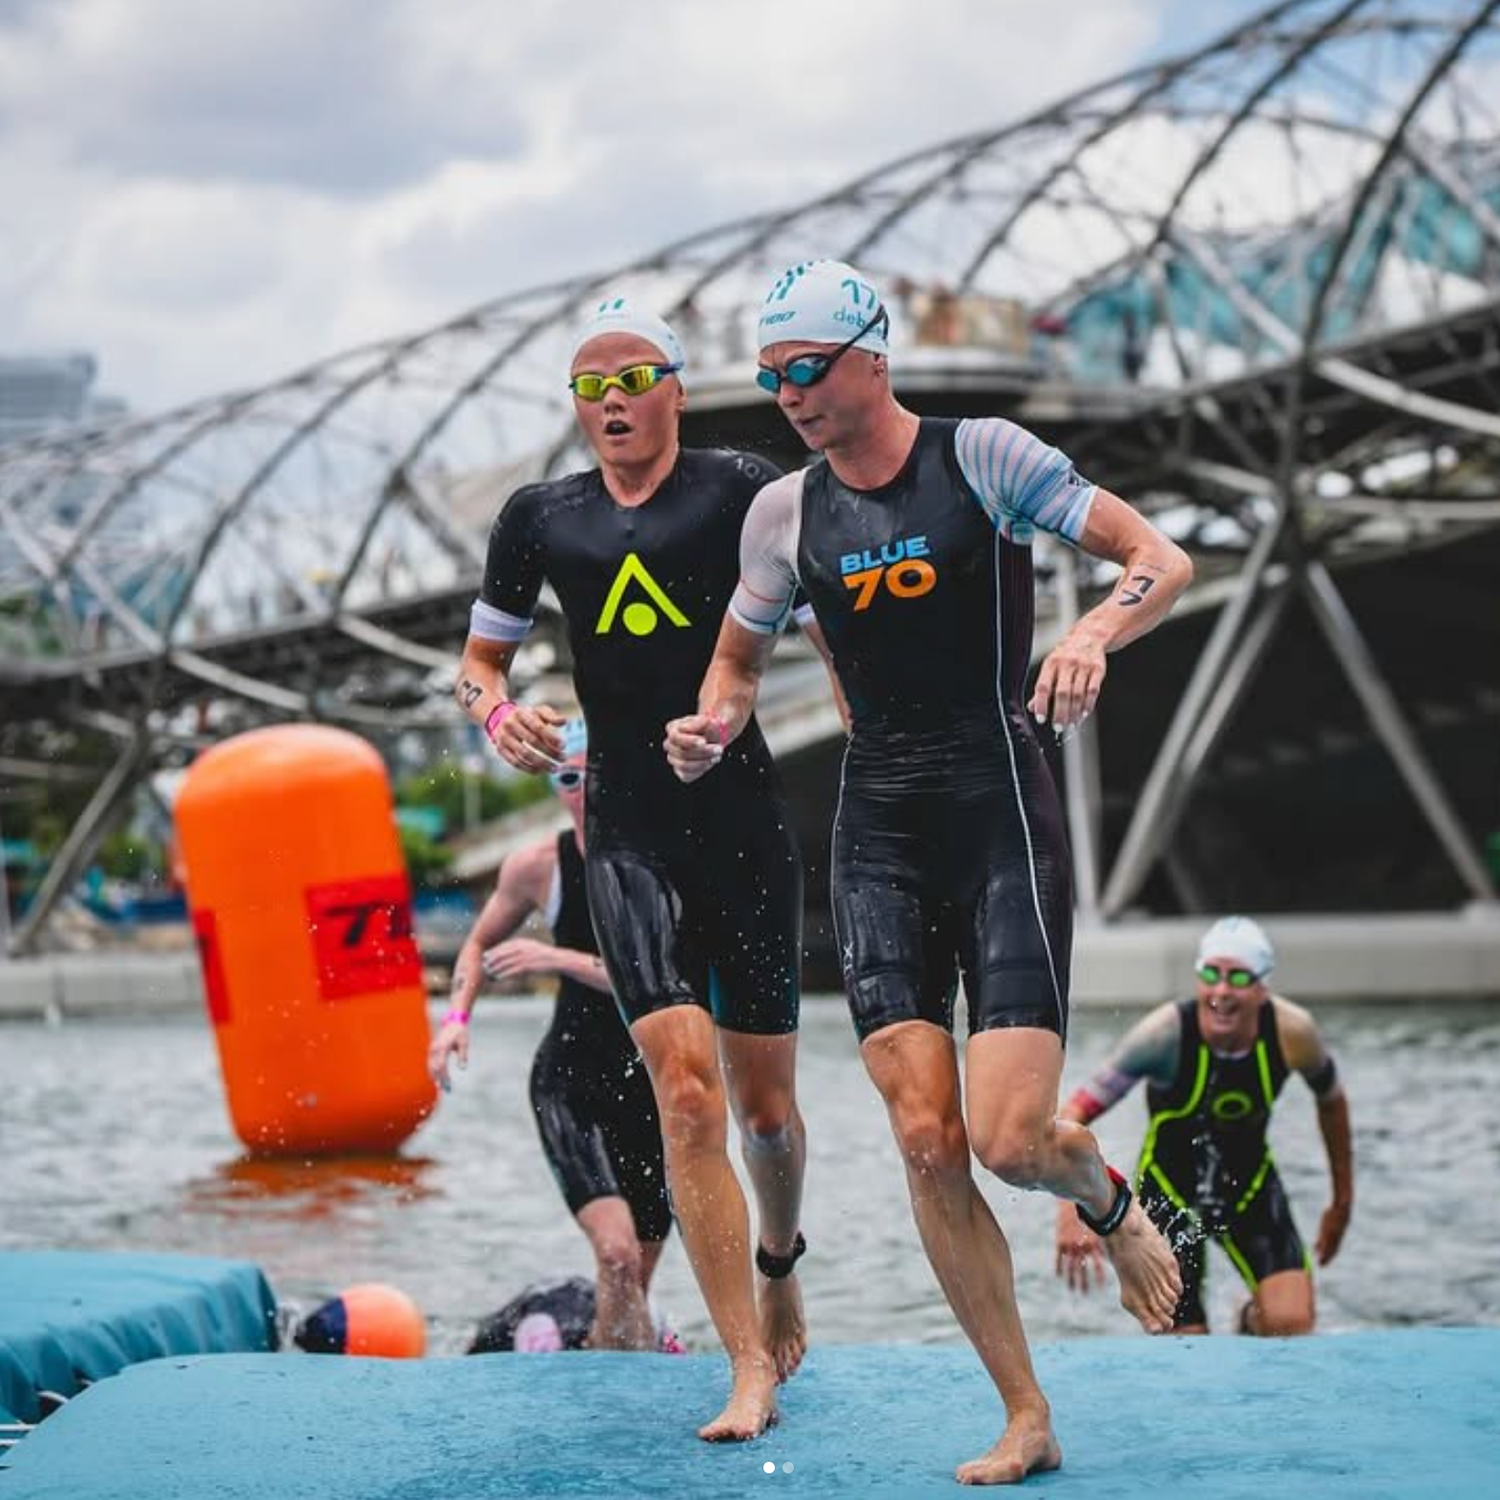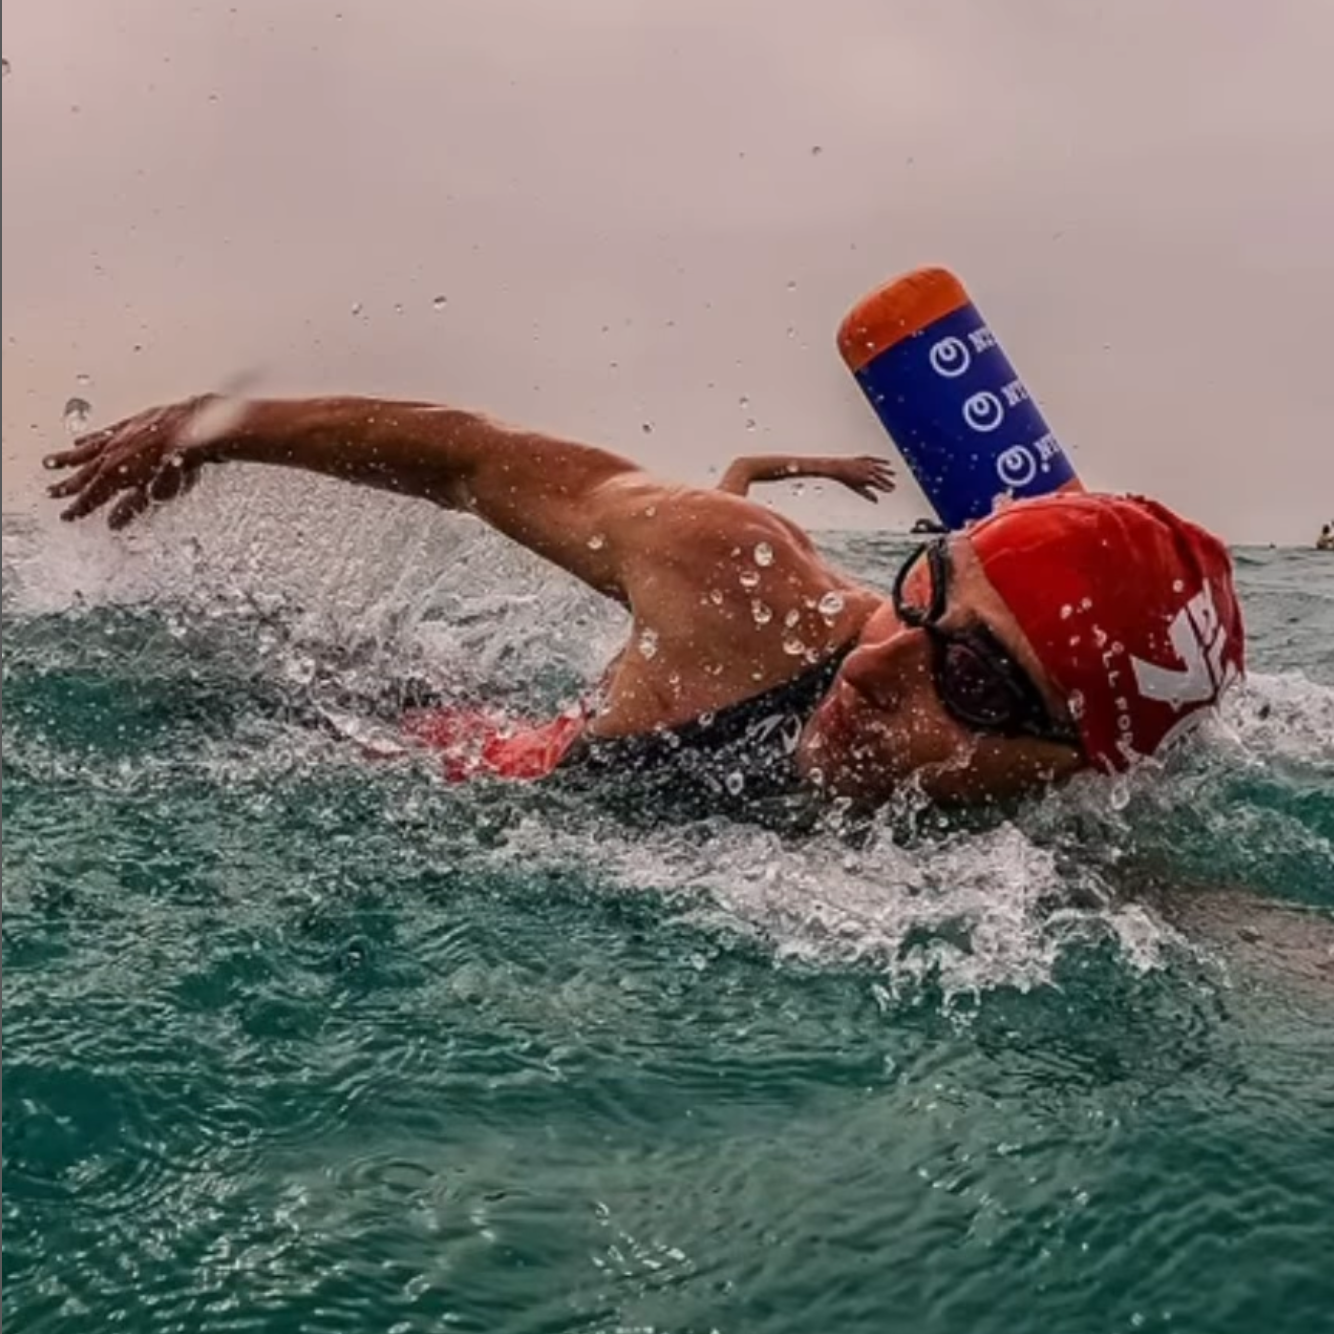



Most athletes think putting on a wetsuit is a simple pre-race task. In practice, it shapes how the suit feels in the water, how freely your shoulders move, and how well the buoyancy sits under your body. A swim-specific wetsuit can only perform as designed when it is fully and correctly positioned on the body.
That point gets missed all the time. A swimmer tries on a suit, feels pressure in the shoulders or neck, and assumes the size is wrong. Often the problem starts much lower. Neoprene left bunched in the calves or hanging low through the hips steals length from the torso. Once that happens, the upper body feels loaded before the swim even begins.
If you want to put on a wetsuit easily, the best approach is not to rush. The real goal is to put it on efficiently and correctly. That gives you a better fit, better stroke freedom, and a better first impression when you hit the water.
Why donning technique matters
Blue70 fit guidance has always centered on a useful truth: a wetsuit should feel snug on land and more comfortable in the water. That only happens when the suit is seated where the pattern was built to sit. If the lower half is not high enough, the torso shortens. If the torso shortens, the shoulders and neckline take the strain.
You feel the result in a few clear ways. Your reach gets shorter. Your recovery feels heavier. Breathing can feel less natural when you sight or lift the head. None of that means the suit is wrong for you. It often means the suit is not fully on yet.
This matters even more in swim-specific construction. Blue70 wetsuits use Yamamoto neoprene in 38, 39, and 40 cell grades, with higher cell numbers bringing more flexibility. In suits built for race-day performance, flexible shoulder panels, buoyancy placement, and features that preserve feel for the water all depend on proper alignment. If the suit sits low, those design choices cannot work as intended.
Set up before you step in
A clean start makes the whole process easier. Rushed entry usually leads to fingernail damage, twisted panels, and a suit that never feels quite right.
- Start with a clean, dry wetsuit.
- Make sure your skin is dry.
- Trim your fingernails.
- Give yourself enough space to move.
- Keep a thin sock or small plastic bag nearby if your heels tend to catch.
Those small details save time later. They also help protect the neoprene while you work the suit into place.
Step 1: Prepare the wetsuit for a controlled entry
Turn the upper half of the suit mostly inside out, leaving the lower legs ready to step into. This keeps the process organized and reduces unnecessary pulling while you get your feet through the leg openings.
Step in one foot at a time. If your heel hangs up, use a thin sock or a small plastic bag to help the foot slide through. Once the foot is in place, remove it and continue. The goal here is control, not speed.
Step 2: Build the fit from the ankles upward
This is the step that changes everything. Pull the neoprene up in short increments from the ankles to the calves, then from the calves to the knees, and from the knees toward the thighs. Use your fingertips and the flats of your fingers, not your nails. Avoid grabbing a large handful of material and yanking upward.
You are not trying to stretch the suit into place. You are redistributing the neoprene so the panels sit where they belong. By the time you reach the thighs, the lower half should already feel high and tidy, not loose and bunched.
What to watch for
- Wrinkles around the ankles usually mean more material needs to come up.
- Slack around the knees often shows that the calves are still not seated properly.
- Any hanging space below the hips will create tension higher up.
Step 3: Seat the hips completely
This is the point where many fit problems begin or disappear. Pull the suit fully into the hips and glutes so the seat panel is close to the body. The crotch area should not hang low. If it does, the suit will pull downward on the torso and upward on the shoulders at the same time.
Stand tall, bend slightly at the hips, and keep feeding neoprene upward until the lower body feels secure. If you still see slack lower down, go back and move that material up before you touch the upper body again.
A lot of shoulder restriction starts as a lower-body setup error.
Step 4: Put the arms in carefully
Insert one arm at a time and work each sleeve upward gradually. As with the legs, avoid forcing the hand through and then pulling hard from the shoulder. Make sure the underarm panel sits high into the armpit. That placement matters because low material in the underarm area limits shoulder range and makes the stroke feel heavy.
Check where the elbow section lands. It should line up with your actual elbow joint, not sit low on the forearm. Once both arms are in, shrug lightly and reach forward as if starting a freestyle stroke. If the upper body still feels compressed, the fix is often lower in the suit, not in the chest.
Step 5: Zip last, then fine-tune
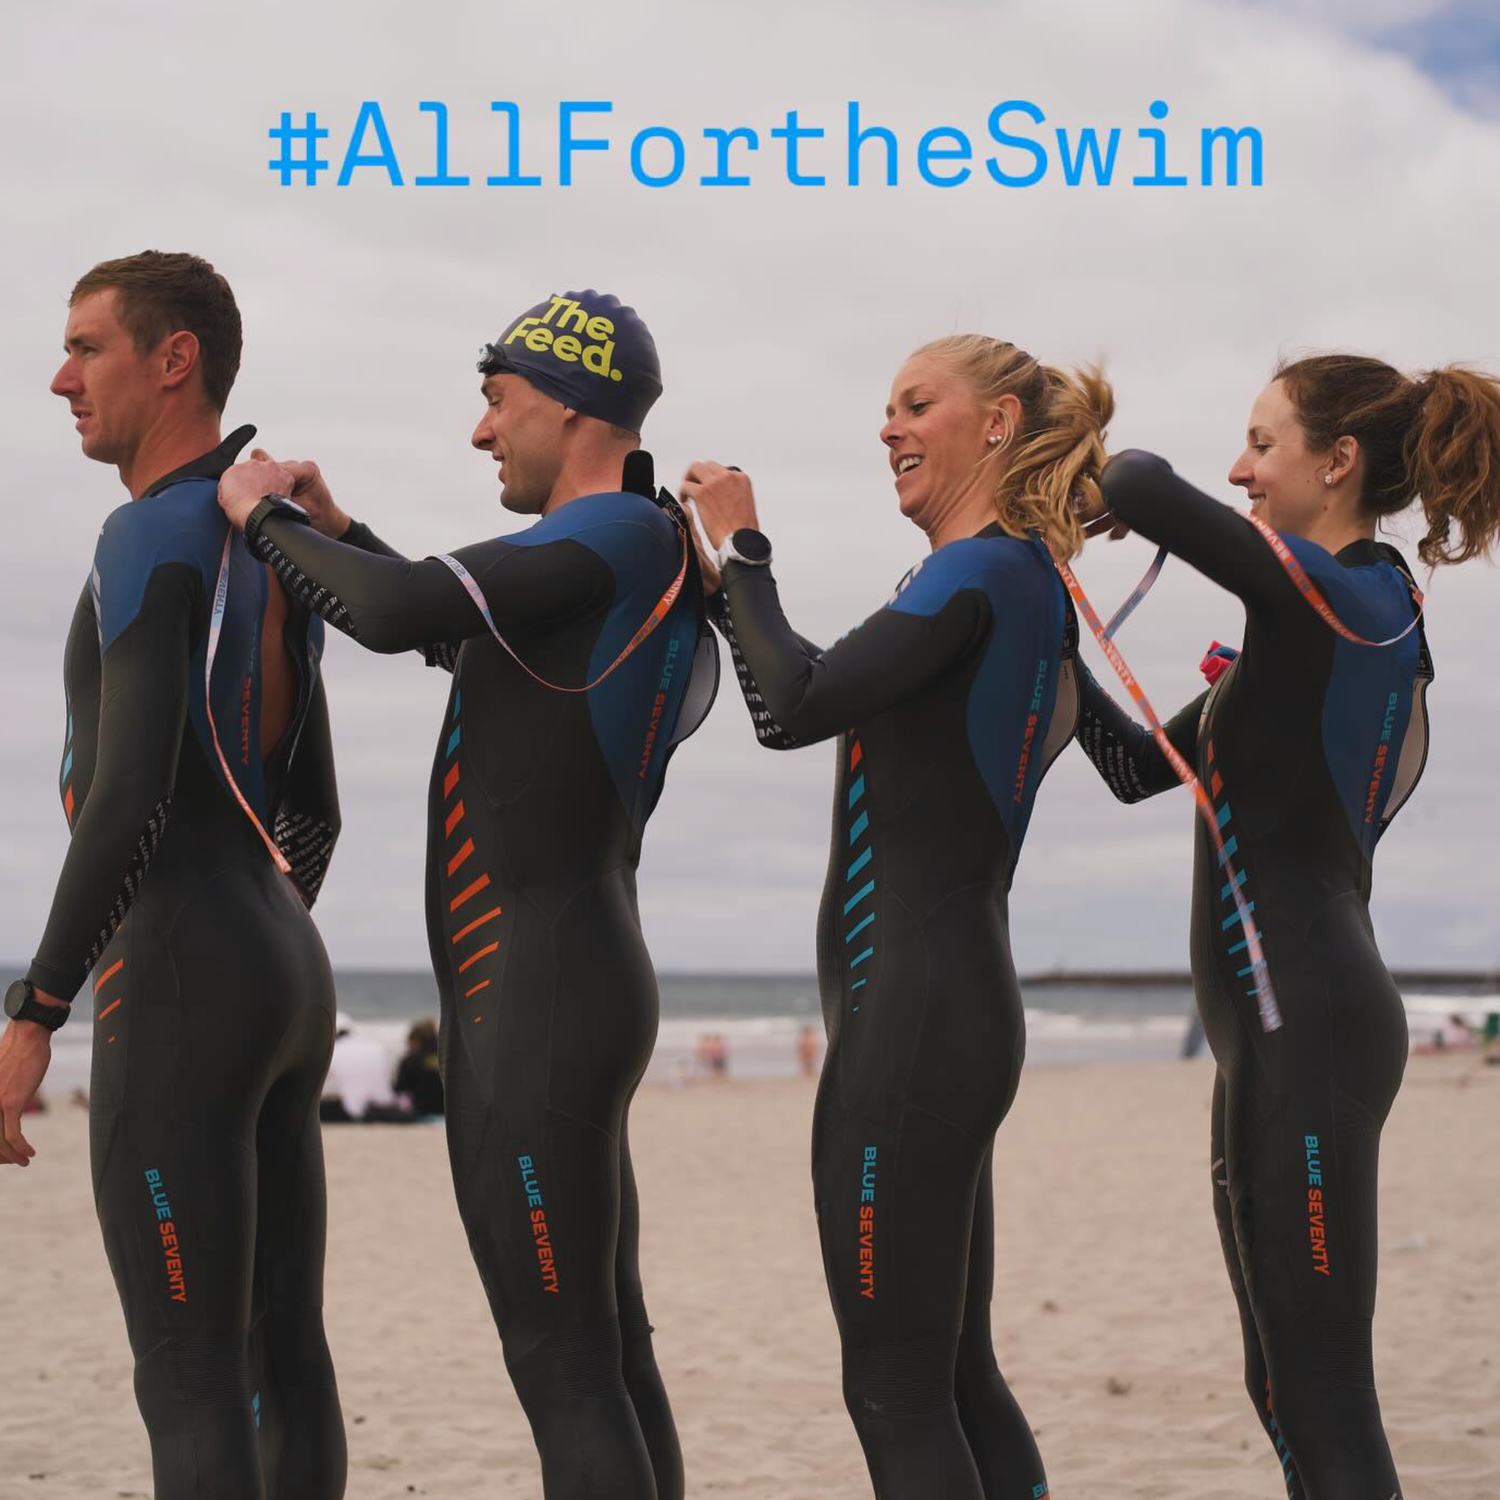
Zip the wetsuit only after the legs, hips, torso, and arms are all seated properly. If someone helps you, have them pull the zipper straight and smoothly. Do not force it if the suit is twisted or sitting low through the hips.
Once zipped, make a final round of adjustments:
- Lift a small amount of material from the forearms toward the shoulders.
- Smooth the chest and upper torso.
- Check that the neckline lies flat and feels even.
- Roll the shoulders and mimic a few easy strokes.
The suit should still feel snug on land. That is normal. In the water, a properly fitted swim-specific wetsuit usually feels more natural once it settles into place.
A simple pre-swim shoulder check
Before you walk to the start, do one quick movement test. Raise one arm overhead, then bring it forward as if entering the water. Repeat on the other side. Then mimic a few relaxed freestyle strokes. If the shoulders feel blocked, go back to the hips and underarms first.
Most swimmers try to solve that problem by pulling at the chest. In most cases, the real fix is to bring more material up from below.
Common mistakes and what they feel like
Bunched neoprene in the calves
You feel tightness in the upper body and a shorter reach. Pull the material upward in smaller steps from the lower leg before adjusting anything else.
Low hips or a hanging seat panel
You feel constant upward tension through the torso. Work the suit higher into the hips and glutes until the lower half sits close to the body.
Low underarm placement
You feel heavy shoulders and early fatigue. Lift the sleeves and underarm panels before zipping the suit again.
Twisted torso or uneven neckline
You feel pressure at the neck or uneven tension across the chest. Unzip, straighten the torso, and reseat the suit rather than forcing it closed.
Water temperature changes the details, not the process
The method stays the same across conditions, but your priorities shift a bit. In colder water, below about 56 to 58°F, a purpose-built thermal suit such as the Thermal Reaction adds thermal protection for longer or colder swims. In those conditions, careful neckline placement and full torso seating matter even more.
In warmer water, above about 70 to 72°F, a full suit can feel too warm over longer sessions. Some swimmers move to a sleeveless option when conditions suit it. Even then, proper hip and torso placement still determine how natural the suit feels in the water.
Thermal comfort depends on water temperature, time in the water, and the individual swimmer. Good setup helps the suit work the way it was designed to work.
A race-morning routine that works
Use the same sequence every time you train or race in open water. Repetition helps you stay calm and catch mistakes before they matter.
- Put the suit on with enough time to avoid rushing.
- Seat the lower legs fully.
- Pull the hips and seat panel high.
- Set the sleeves and underarms.
- Zip and fine-tune.
- Get in the water before the start if the event allows it.
- Take a few strokes and check breathing comfort.
That short routine does more than make the suit comfortable. It helps the swim begin the way it should, with your body position supported and your shoulders free to move.
Easy should mean correct
The best way to put on a wetsuit easily is to stop thinking of easy as quick. Quick often creates the same problems swimmers blame on fit, flexibility, or neckline comfort. Easy, in practice, means the process is repeatable, controlled, and accurate.
That is how you get the most from a swim-specific wetsuit. Better setup leads to better panel alignment, better freedom from restriction, and a better start to the swim. If you want extra confidence before race day, use the Blue70 fitting guide, check the size charts, or Take a Test Swim to feel how the suit settles in real water.