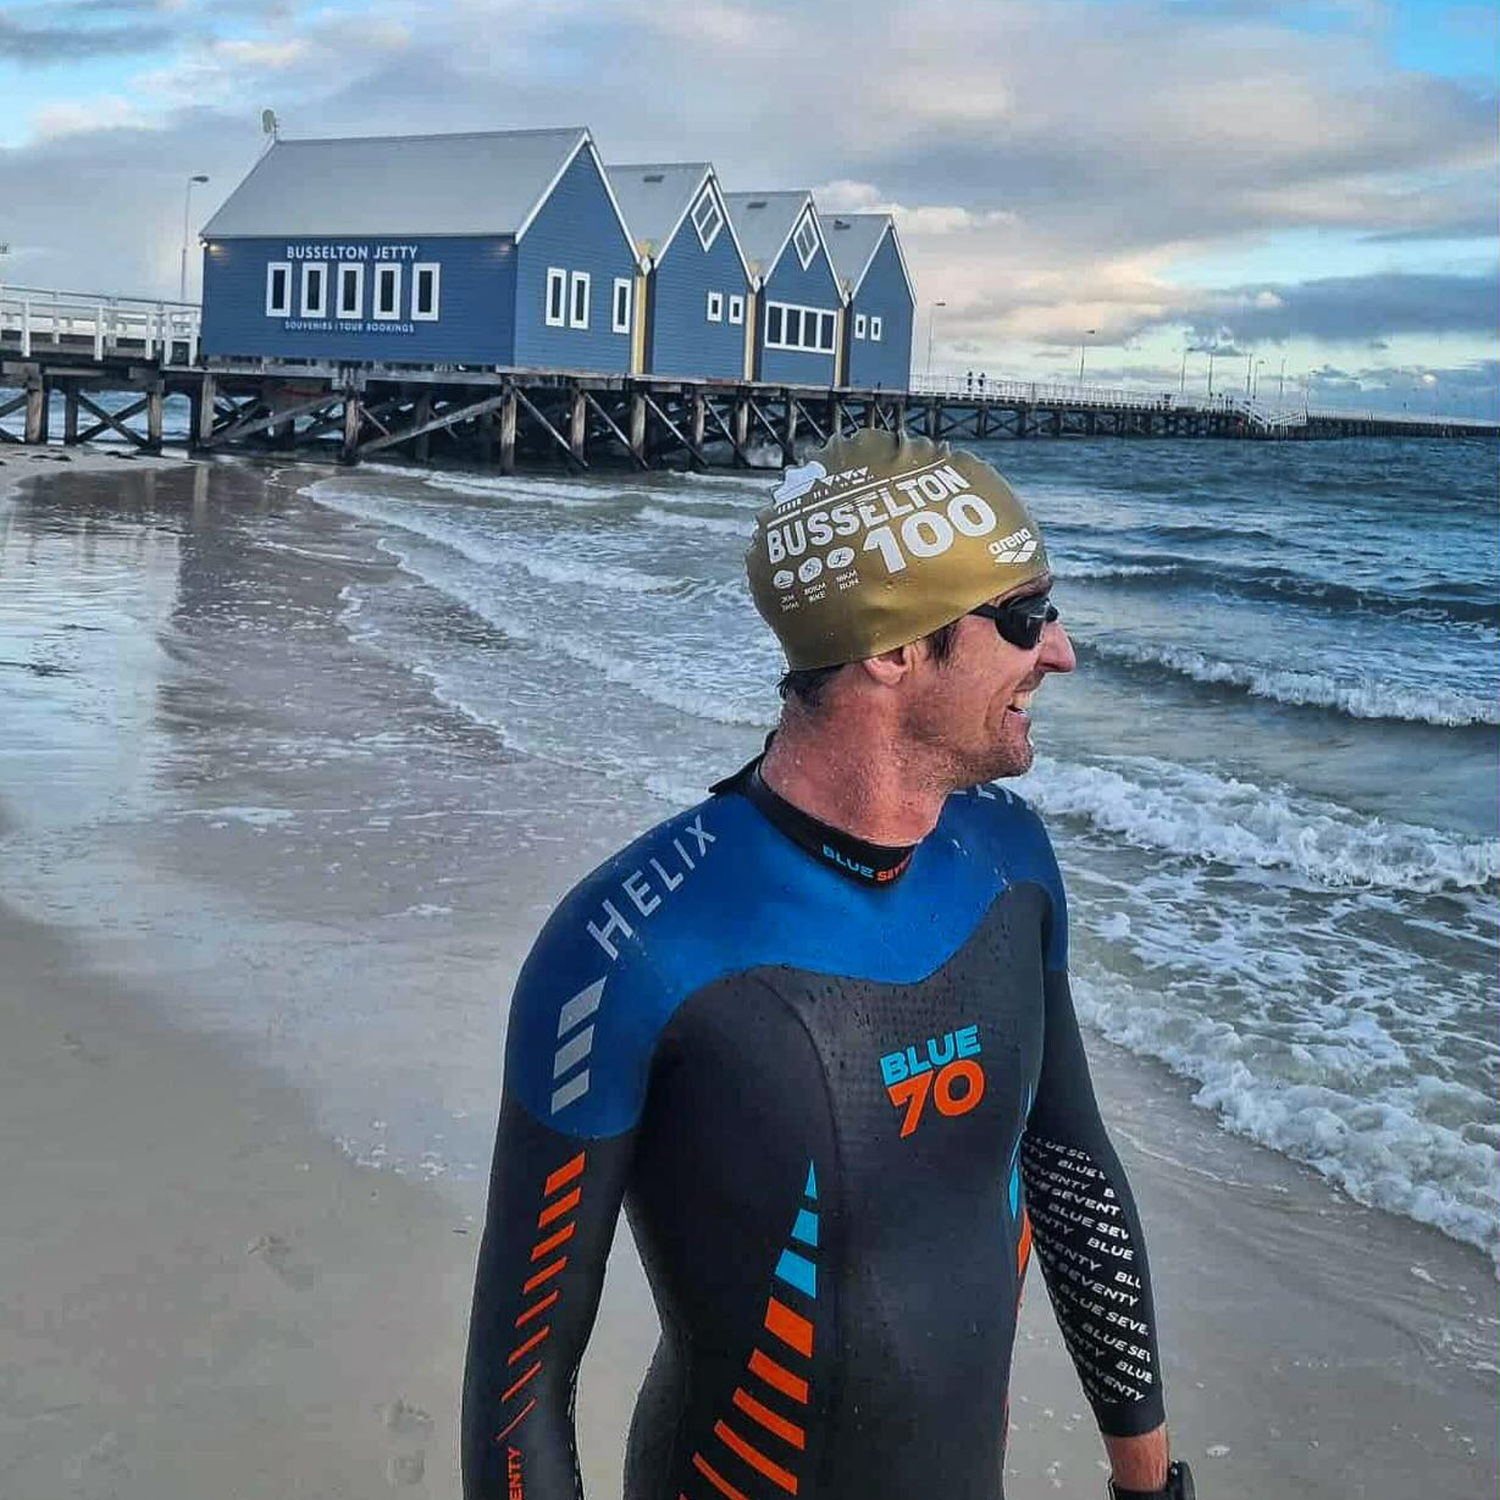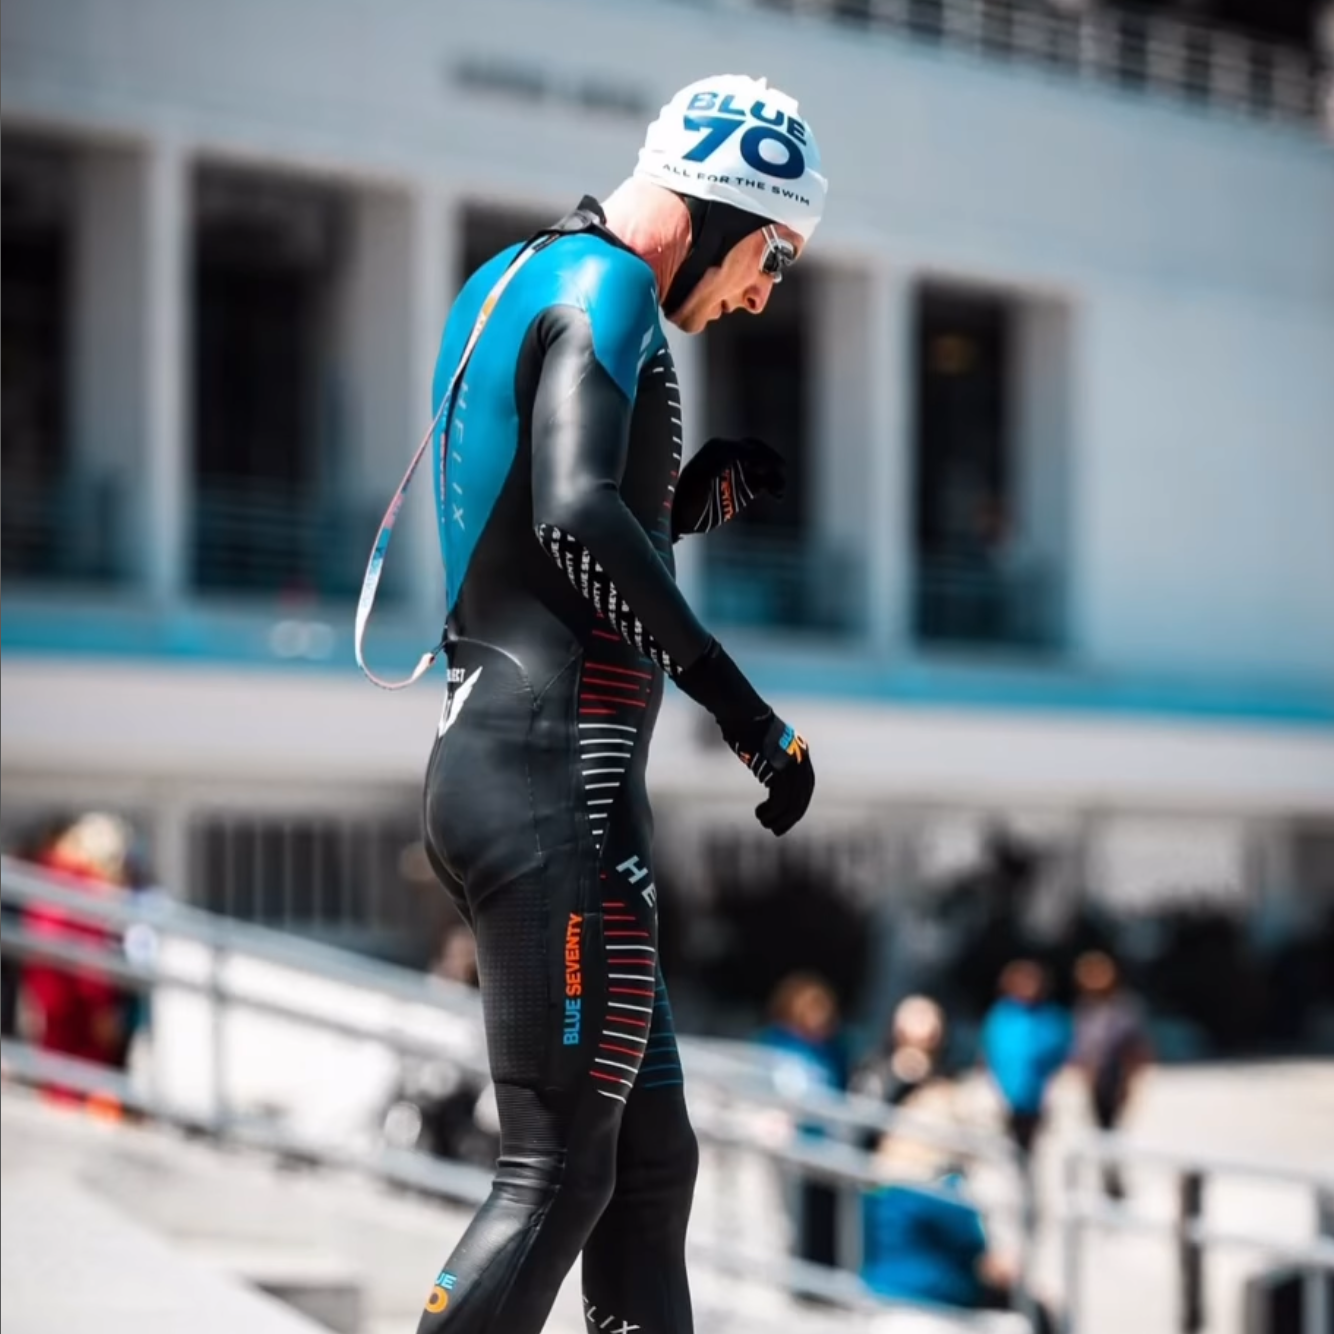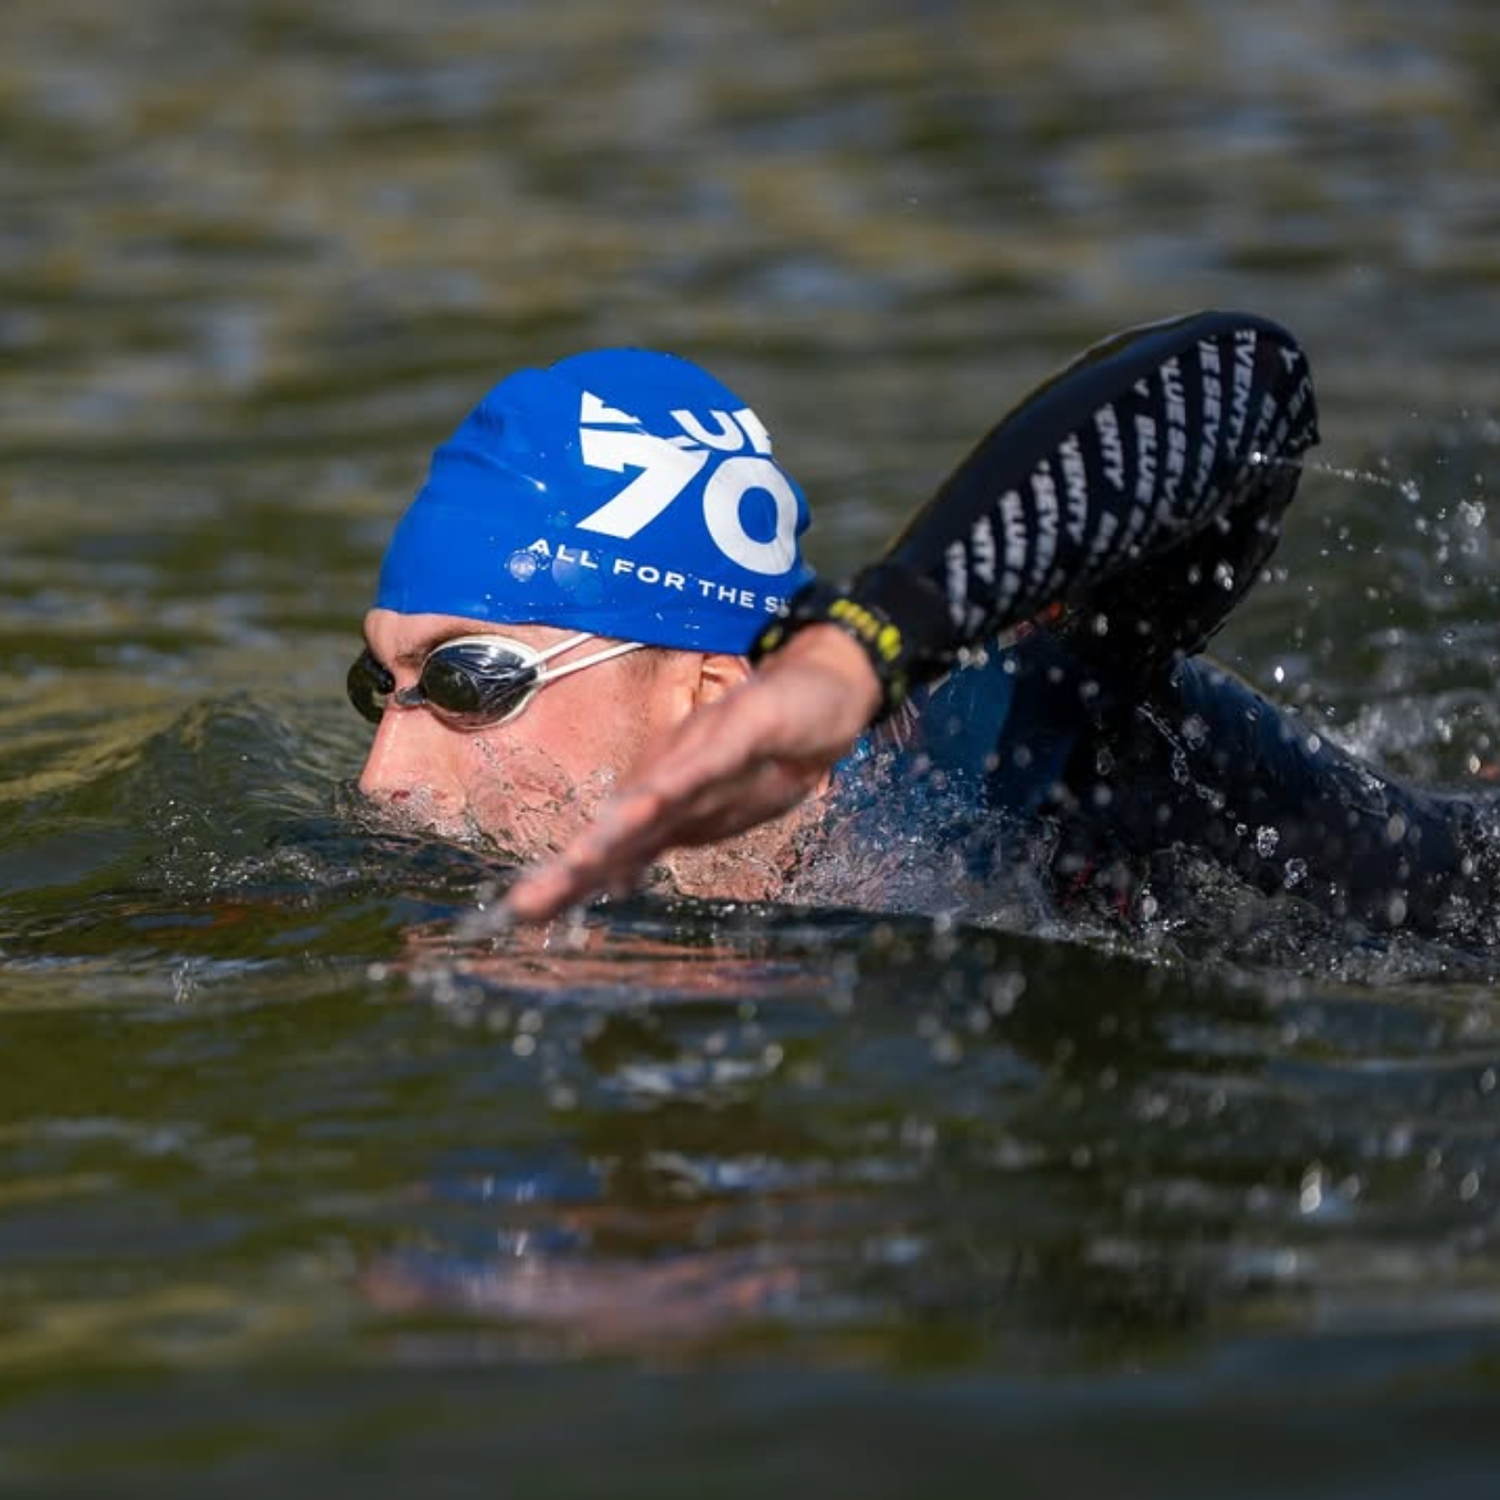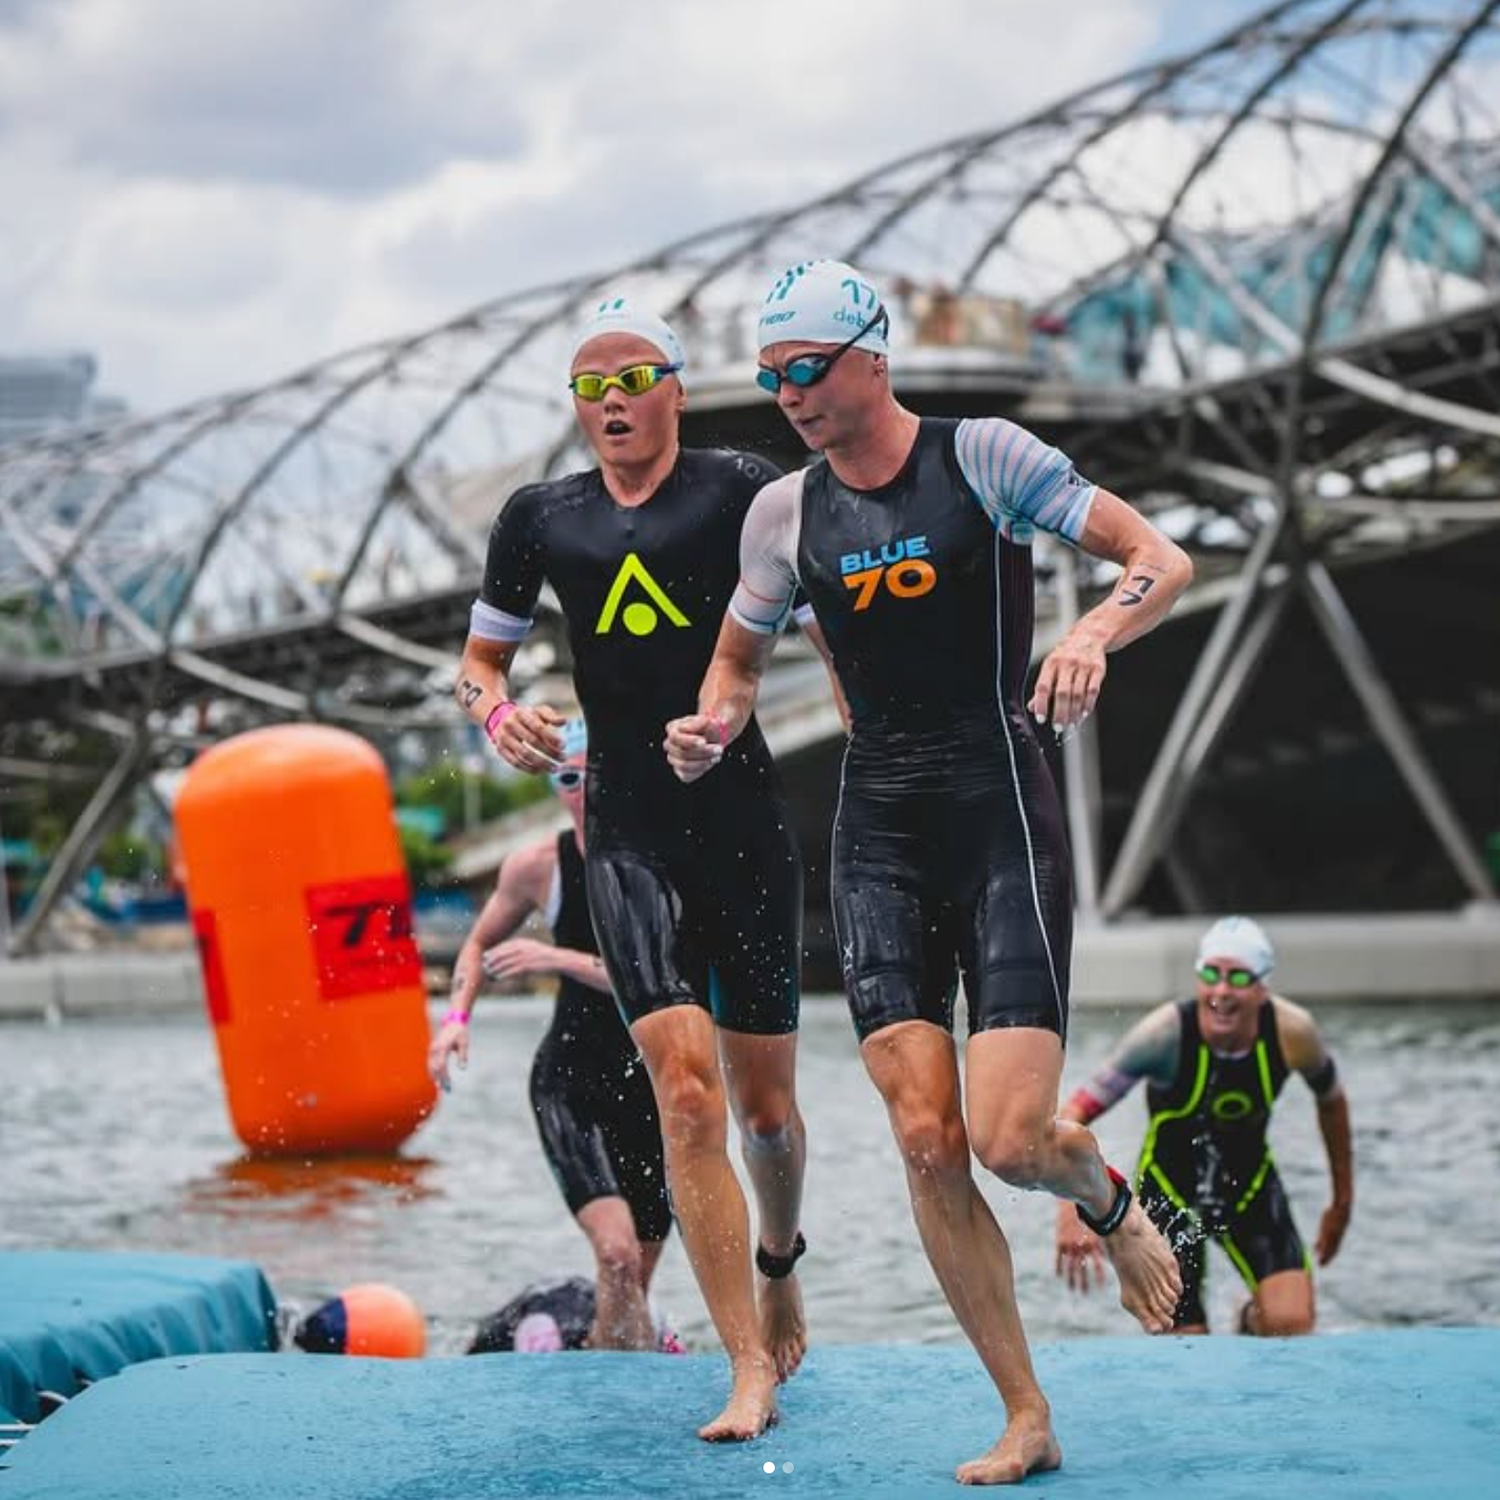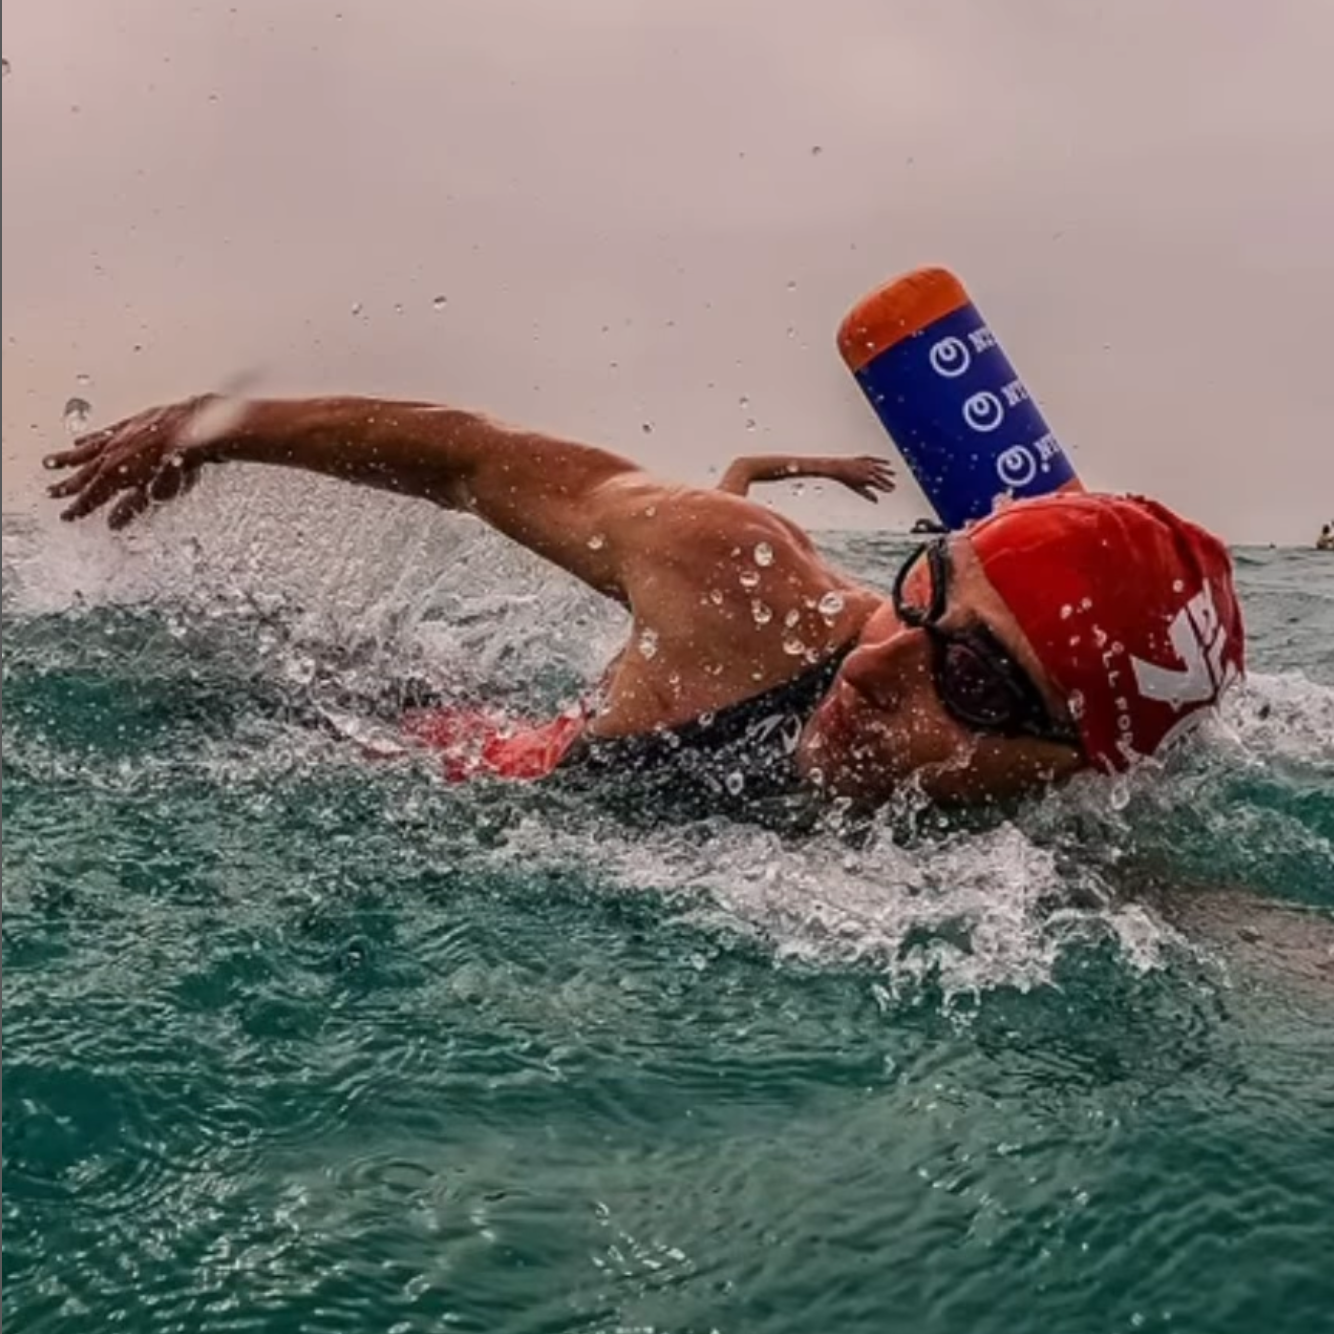



A wetsuit tear rarely stays the same size for long. On the hanger, it may look minor. In the water, and even more during donning and removal, that small cut gets pulled, stretched, and loaded again and again. For swimmers and triathletes, that matters because a swim-specific wetsuit is not just a shell of neoprene. It is a carefully shaped system of panels, stretch zones, buoyancy placement, and seam construction built to support body position and freedom through the stroke.
That is why a good repair does more than close the damage. It protects the shape of the panel, limits further tearing, and preserves the way the suit feels in open water. If the repair leaves a thick glue line, a wrinkle, or a stiff section in the shoulder or hip, you may notice it the next time you swim.
Why wetsuit tears spread
Most tears do not start in the water. They happen while athletes are pulling a dry suit over ankles, rushing through a transition practice, or forcing a zipper. blueseventy’s warranty guidance identifies fingernail punctures, heel tears, and zipper damage from force as common forms of accidental damage. That matches what most experienced open-water swimmers see year after year.
Once the neoprene is cut, the edge of that cut becomes a stress point. Each reach forward in the stroke, each shoulder rotation, and each hard pull at the calf asks that damaged spot to stretch again. If you leave it alone, a short nick can turn into a longer split, especially in areas that move a lot.
Why repair quality matters to swimmers
Many repair guides focus on one question: did the glue hold? That is only part of the story. Swimmers need to ask a second question: does the repaired panel still move properly?
blueseventy designs swim-specific wetsuits around two things that every athlete can feel in the water: body position and freedom from restriction. A repair that changes panel shape can affect both. A shoulder repair that cures with a ridge may alter how the neoprene stretches during the catch and recovery. A repair in the hip or leg can change how the suit lies against the body. The difference may be small, but small differences are often the first ones experienced swimmers notice.
Which tears you can repair at home
Home repair works best when the damage is clean, limited, and away from more complex construction points.
- Small fingernail cuts
- Short straight tears in neoprene panels
- Minor nicks away from seams
- Surface splits where no material is missing
Some problems need more caution.
- Tears that cross a seam
- Missing neoprene
- Long splits in high-stretch areas
- Zipper damage
- Repeated tearing in the same spot
- Large interior lining separation
Those issues affect the structure of the suit, not only the outer surface.
What you need before you start
You do not need a big workshop setup. A careful repair usually starts with a short list of basics.
- Neoprene cement
- A clean towel
- Cotton swabs or a small applicator
- A flat work surface
- Low-tack tape if the panel needs light support while curing
blueseventy carries neoprene cement in its wetsuit care range, and this type of adhesive is the standard choice for simple neoprene tear repair. Before you begin, read the instructions on the product you are using. Cure time and application steps depend on the formula.
How to repair a wetsuit tear
1. Clean and dry the damaged area
Adhesive needs a clean surface. Salt, sand, sunscreen, and body oils all get in the way. If the area is dirty, rinse it first and let it dry completely. The neoprene should feel fully dry before you apply cement.
If the cut edges look dusty or rough, wipe them gently. Do not scrub the area hard enough to widen the tear. This step looks simple, but many weak repairs start here.
2. Align the tear in its natural shape
Lay the suit flat and bring the edges of the tear together carefully. Let the panel settle in its normal resting position. Do not stretch the neoprene flat by force. If you glue a panel while it is twisted, over-pulled, or bunched, the repair can cure with the wrong shape locked in.
This point matters most in high-mobility sections such as the shoulders and underarms. Those panels need to flex smoothly every stroke.
3. Apply a thin layer of neoprene cement
Use a light hand. A thick glue line creates a stiff patch, and stiffness is the enemy of a smooth repair. Apply the cement as directed on the product label. In many cases, that means a thin coat on both sides of the tear, a short wait until tacky, and then careful edge-to-edge contact.
Press the edges together without overlap. Your goal is to close the tear cleanly, not to pile adhesive on top of it. If the area keeps shifting, use low-tack tape nearby to help hold the panel in place while it sets.
4. Let the repair cure fully
This is where athletes get impatient. Do not test the area too early. Do not pull the suit on to see if it is ready. Do not fold the repaired panel or hang the suit so that the damaged section carries weight while the adhesive is still curing.
Leave it alone for the full cure time listed on the adhesive instructions. A repair that looks closed on the surface can still fail the first time the panel stretches.
5. Check the panel before your next swim
Once the cure time has passed, inspect the repair carefully.
- The tear edges should sit flush
- The panel should bend without the cut reopening
- The repaired area should not have a large ridge or lump
If the tear was in a high-movement area, test the suit in a controlled swim before race day. Pay attention to how the repaired panel feels during warm-up, especially through the shoulders and upper torso.
Seam damage is a different category
A tear in the middle of a neoprene panel is one thing. Damage that runs along a seam is another. Seams deal with the junction between panels, and they may involve glue, stitching, tape, or multiple layers under tension. If the problem sits on a seam, think of it as a structural issue first.
blueseventy provides a one-year warranty for the original owner on manufacturing and materials defects, with repair as the remedy. The same policy excludes accidental handling damage such as fingernail punctures, heel tears, and zipper damage from force, along with damage from heat, chlorine, normal wear, and non-swimming use. That distinction helps you decide whether you are dealing with a simple home repair or a larger construction problem.
How a bad repair shows up in the water
Swimmers usually know quickly when a repair changed the feel of the suit. The signs are often subtle at first.
- One shoulder feels tighter than the other
- The suit pulls through the underarm during recovery
- A stiff patch catches your attention every stroke
- The repaired area rubs on longer swims
- The tear starts to separate again when you remove the suit
These are useful signals. They tell you the panel may be closed, but it is not behaving the way it should.
How to prevent the next tear
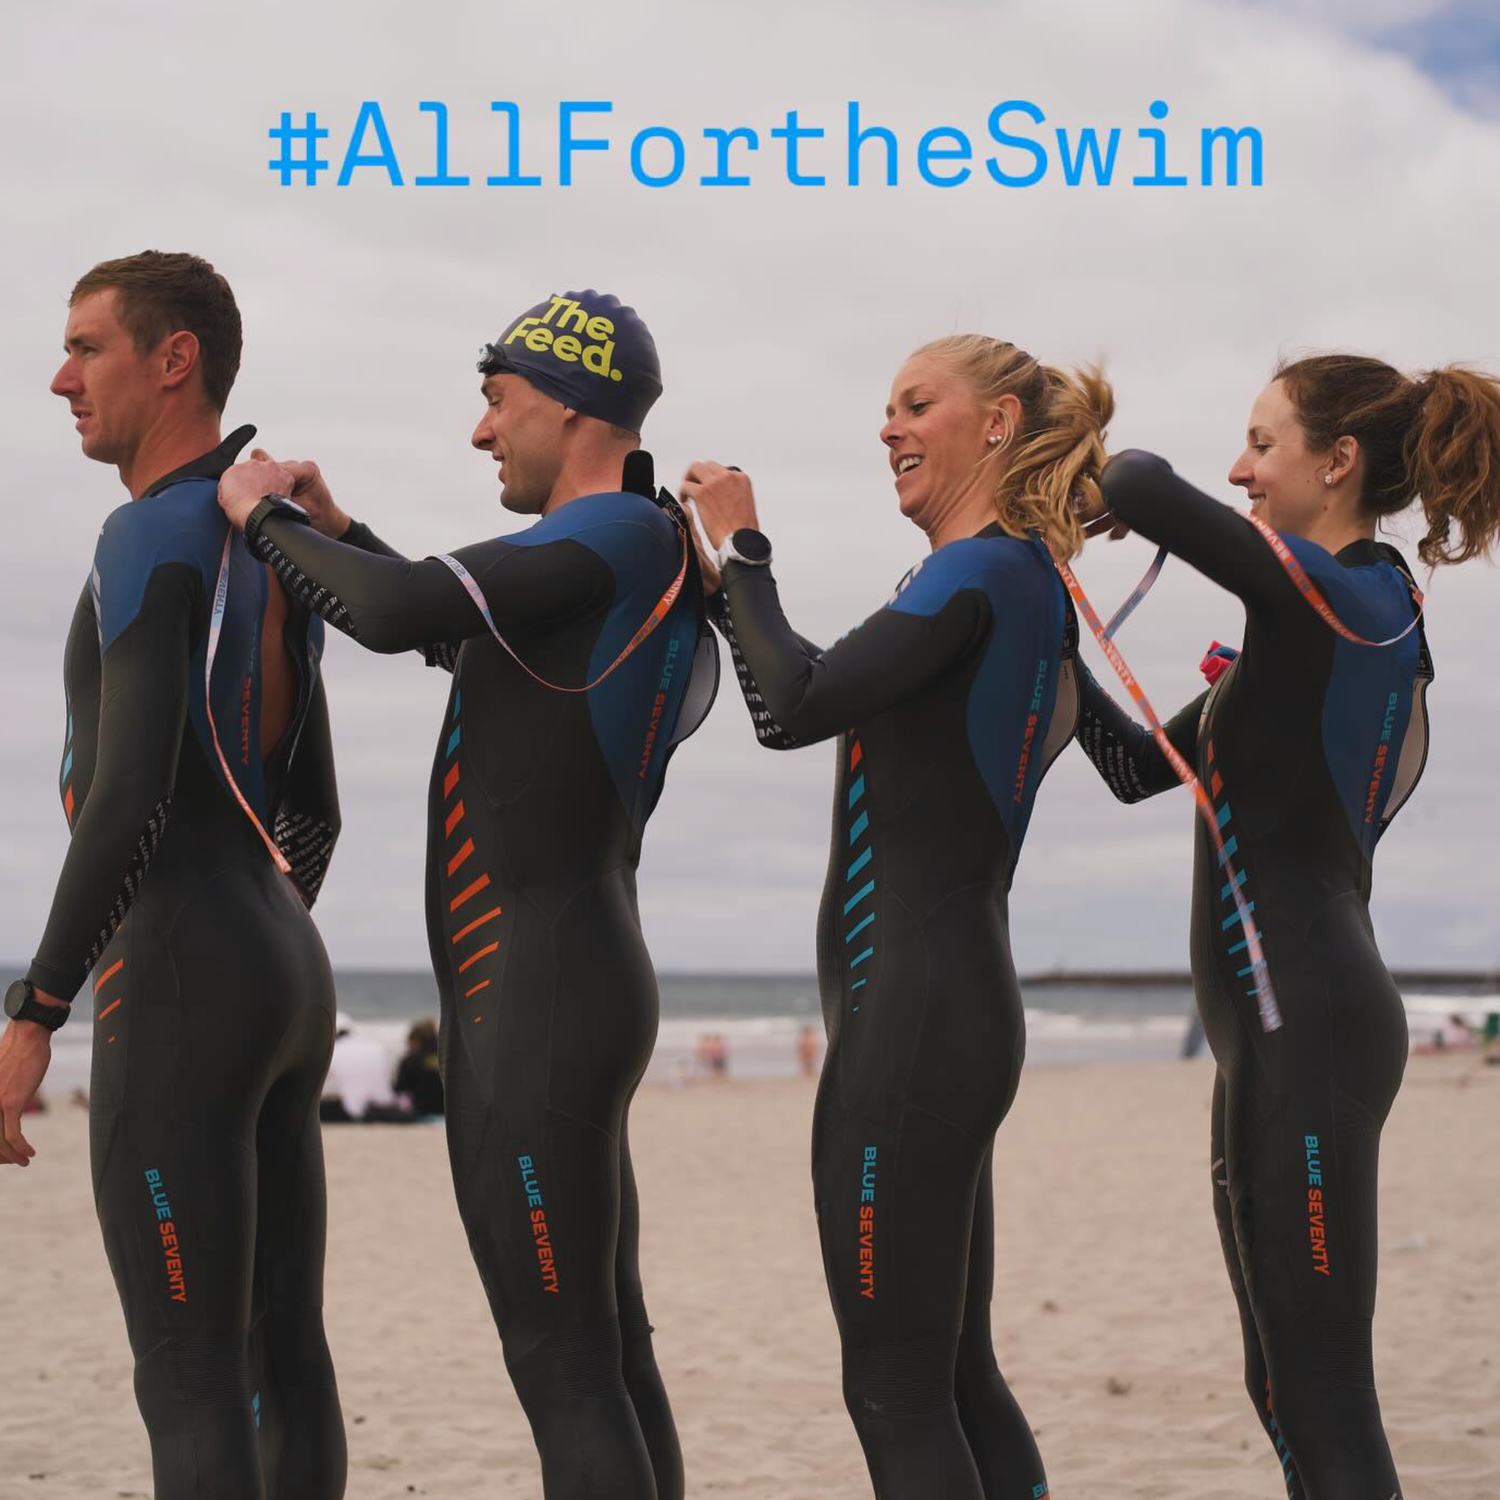
The best repair habit is careful handling. Use the pads of your fingers instead of your nails. Pull the suit up in stages from the ankles and calves rather than yanking from the torso. Make sure the suit is seated properly before you zip it. A suit that sits too low through the shoulders creates extra stress in the upper panels and often feels restrictive in the water.
During removal, pay attention around the heels and lower legs. After swimming, rinse the suit and let it dry away from direct heat. Heat and chlorine both shorten the life of wetsuit materials over time, which is why they are called out in blueseventy’s warranty policy.
A quick check before race day
Before you trust a repaired wetsuit in a race, ask three plain questions.
- Does the repaired area stay closed when the panel bends naturally?
- Does the suit still fit correctly without pulling that section out of shape?
- Does the stroke feel normal in the water?
If the answer is no to any one of those, the repair needs more attention before race day.
A wetsuit should feel snug on land and more comfortable once you are in the water. That standard still applies after a repair. If the panel feels wrong, treat that as useful feedback, not something to ignore.
Final advice from the swim shop floor
Repair small tears early. Keep glue lines thin. Treat seam damage with more caution. Test any important repair before a key session or race. Most of all, handle the suit carefully every time you put it on and take it off.
That is the part many athletes overlook. Wetsuits spend far more time being pulled, stepped on, stretched, and stripped off than they do contacting anything in the water.
If you want to check fit after a repair, use the blueseventy fit guide, browse the size charts, or Take a Test Swim before race day. A repaired suit still needs to feel right in the water, because the job is not finished when the tear is closed. The job is finished when the suit still swims the way it was designed to swim.