


Most advice about putting on a wetsuit starts with a shortcut. Use a plastic bag on your foot. Slide through the ankle. Move on. That trick can help, but it also skips the part that matters most: how the suit settles on your body before you swim.
A swim-specific wetsuit works best when the neoprene panels sit where they were designed to sit. If the lower legs are bunched, the hips ride low, or the shoulders never get fully lifted into place, the suit can feel restrictive before you even reach the water. Many athletes blame the size. Often, the real problem is the setup.
Learning to put on a wetsuit without a plastic bag is useful for a simple reason. It teaches you to feel each stage of the process. You notice where the suit catches, where the material needs to move higher, and where a small adjustment on land can make a big difference once you start swimming.
Why donning is part of performance
Triathletes are used to thinking about setup. You check tire pressure. You lay out transition gear. You warm up with purpose. Wetsuit donning belongs in that same category. It is not busywork. It affects how the suit feels through the catch, how freely your shoulders turn over, and how well the suit supports body position in open water.
blueseventy’s fit guidance is built around a basic truth: a wetsuit should feel snug on land and more comfortable in the water. That only happens when the suit is fully seated through the legs, hips, torso, and shoulders before you zip it.
If you rush and pull from the top too soon, the suit borrows length from the upper body. That missing length shows up where swimmers notice it first, in the shoulders and chest. The suit has not changed. The fit has.
What to do before you start
You do not need special tools to get into a wetsuit cleanly. You need a little preparation and a little patience.
- Start with a dry wetsuit if possible.
- Make sure your feet and hands are clean and dry.
- Trim your fingernails so you can handle neoprene safely.
- Give yourself enough time to work slowly through the lower body.
That last point matters. Most donning mistakes happen because athletes try to finish the job in one long pull instead of building the fit section by section.
How to put on a wetsuit without a plastic bag
1. Open the ankle and guide the foot through
Gather one leg of the wetsuit in your hands and hold the ankle opening wide enough for your foot to enter cleanly. Point your toes and feed the foot in with steady pressure.
The heel is where most people get stuck. When that happens, do not yank upward from the thigh. Stay close to the ankle opening and work the cuff over the heel in small movements. A little patience here saves a lot of frustration later.
2. Raise the suit through the calf in short increments
Once the foot is through, stop and pull the material upward in stages. Move from the ankle to the lower calf, then to the upper calf, then toward the knee. Use the pads of your fingers rather than your nails.
Repeat the same process on the other leg. Then compare both sides. If one knee area sits lower than the other, fix it now. Small mismatches in the legs tend to create larger problems in the torso and shoulders.
3. Lift the suit fully through the thighs and hips
This is the step that most often gets rushed, and it is the step that changes how the suit feels in the water.
If the suit is not fully seated through the hips and crotch, the upper body ends up carrying extra tension. That is why a wetsuit can feel tight in the shoulders even when the shoulder panels are built for flexibility. The missing length has to come from somewhere.
Stand tall and work the material upward through the thighs, glutes, and hips in small pulls. If needed, bend slightly or squat carefully once or twice to settle the suit, then lift again. You want the lower body fully set before you move to the arms.
4. Put in one arm at a time and reset the shoulders
Guide one hand through the wrist opening, then pull the material upward along the forearm, over the elbow, and toward the shoulder. Repeat on the other side.
Do not zip the suit yet. First, move material from the arms and torso upward so the shoulder panels sit high and flat. Reach one arm across your chest, then the other. Roll your shoulders. Raise your arms overhead. If you still feel a sharp pull across the chest or at the top of the stroke, more material probably needs to come up from below.
All blueseventy wetsuits use Yamamoto neoprene in 38, 39, and 40 cell constructions, with higher cell numbers offering more flexibility. That flexibility works best when the suit is positioned correctly on the body.
5. Zip the suit and check the neckline
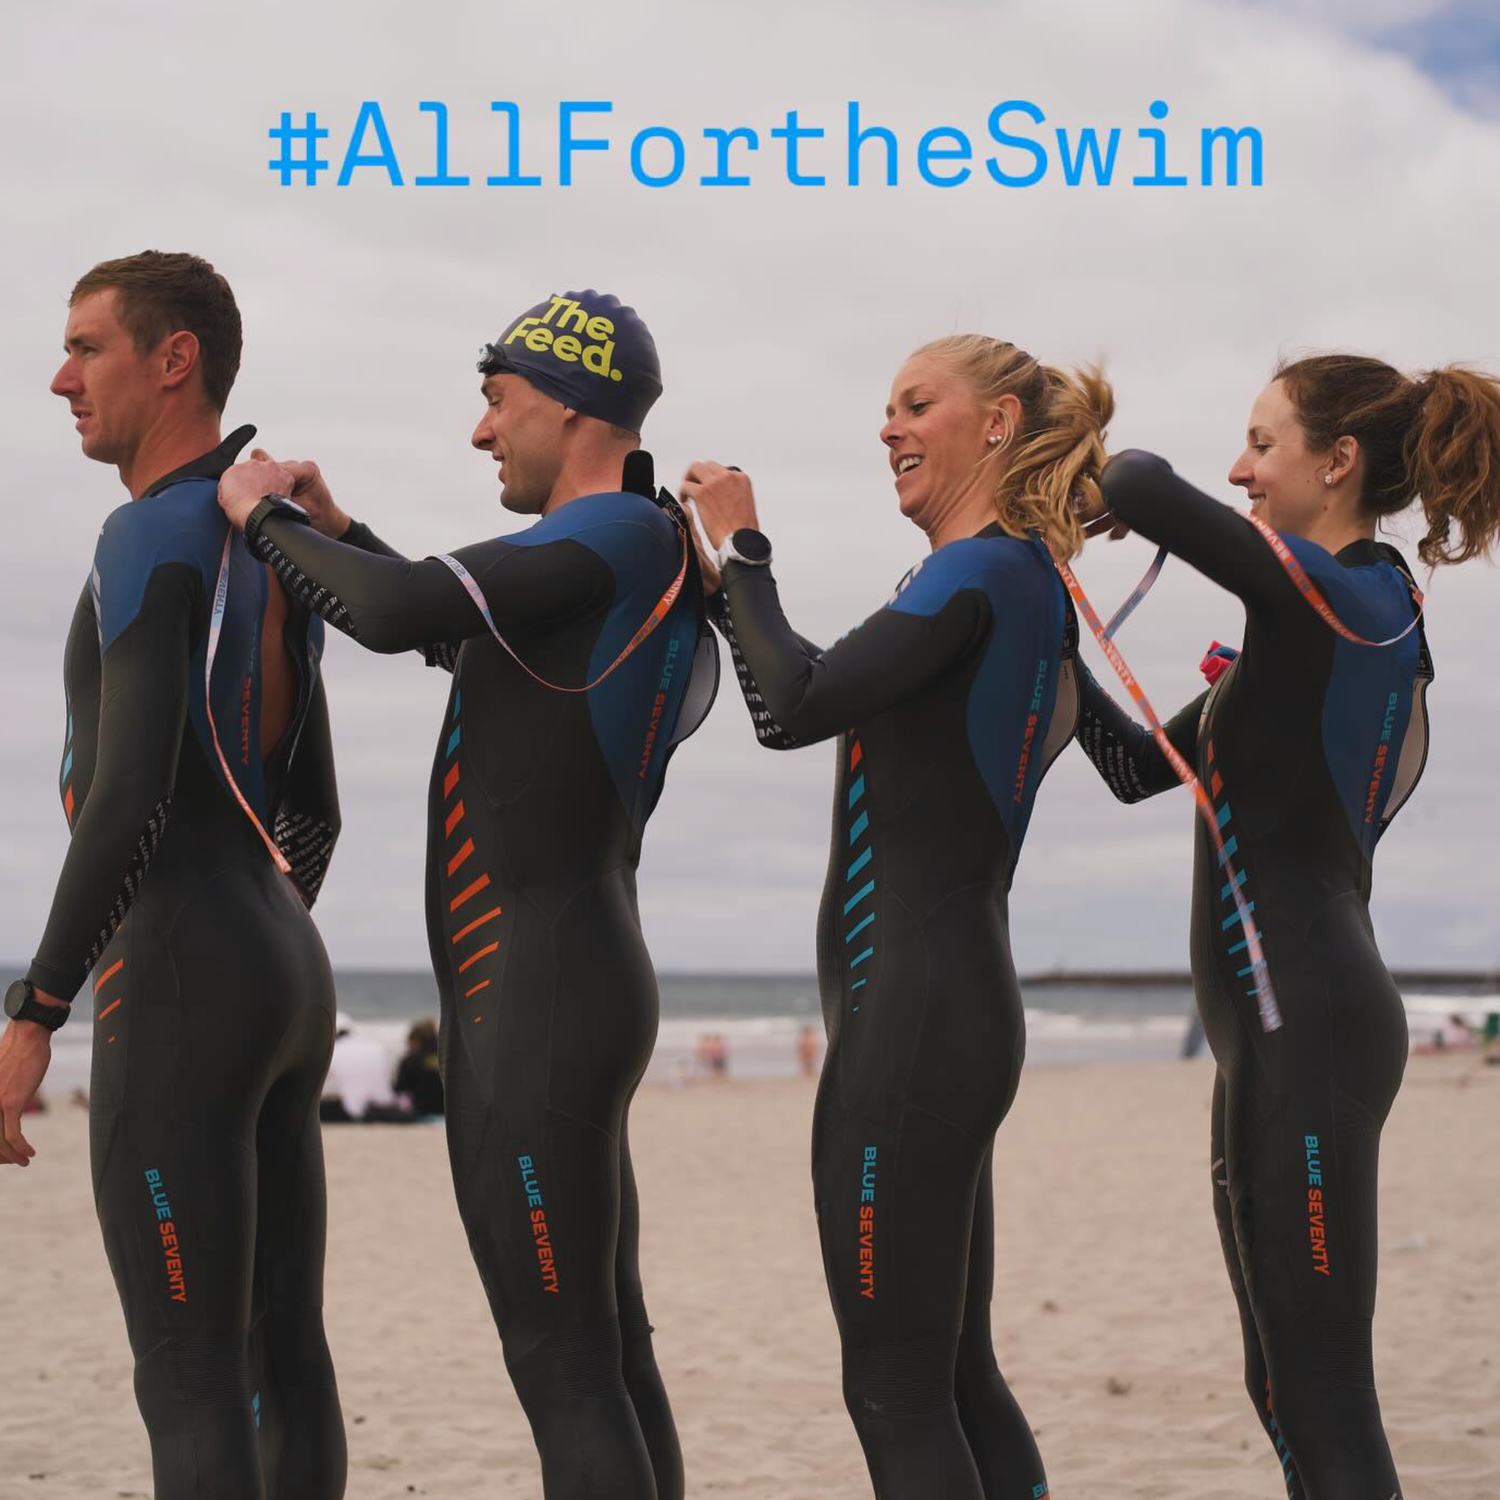
Once the legs, hips, torso, and shoulders are in place, close the zipper in a smooth, controlled motion. If someone is helping you, keep your posture relaxed while they zip. If you are zipping the suit yourself, avoid one hard wrenching pull.
Then check the neckline. It should sit flat, snug, and even. It should not twist, fold, or press unevenly against the throat.
The 2021 Fusion redesign introduced a lower-sitting neckline for comfort without losing the watertight seal. That design detail reflects a larger principle across swim-specific wetsuit fit: the neck should feel secure and clean, not bunched and not sloppy.
Common mistakes that make a good suit feel wrong
- Pulling from the top too early. This leaves material stranded in the lower body and shifts tension upward.
- Leaving space through the crotch and hips. That usually shows up later as shoulder restriction.
- Using fingernails to grip neoprene. Fingernail punctures are a common cause of avoidable damage.
- Zipping before the shoulders are set. Once the suit is closed, many athletes stop adjusting too soon.
- Assuming snug means wrong. A swim-specific wetsuit should feel tight on land and then settle once you are in the water.
A quick fit check before you swim
Before you walk into the water, run through a short checklist.
- The ankle openings sit evenly.
- The knee areas line up with your knees.
- There is no sagging through the crotch.
- The hips feel fully lifted.
- You can raise your arms overhead without a sharp tug across the chest.
- The shoulder panels feel smooth and high.
- The neckline lies flat.
If one point is off, adjust it on land. A one-minute correction there is easier than spending the first part of your swim wondering why the suit feels wrong.
Why this matters in training and on race morning
In training, good donning gives you a more honest read on fit. You can judge shoulder freedom, body position, and comfort without second-guessing whether the suit was put on properly.
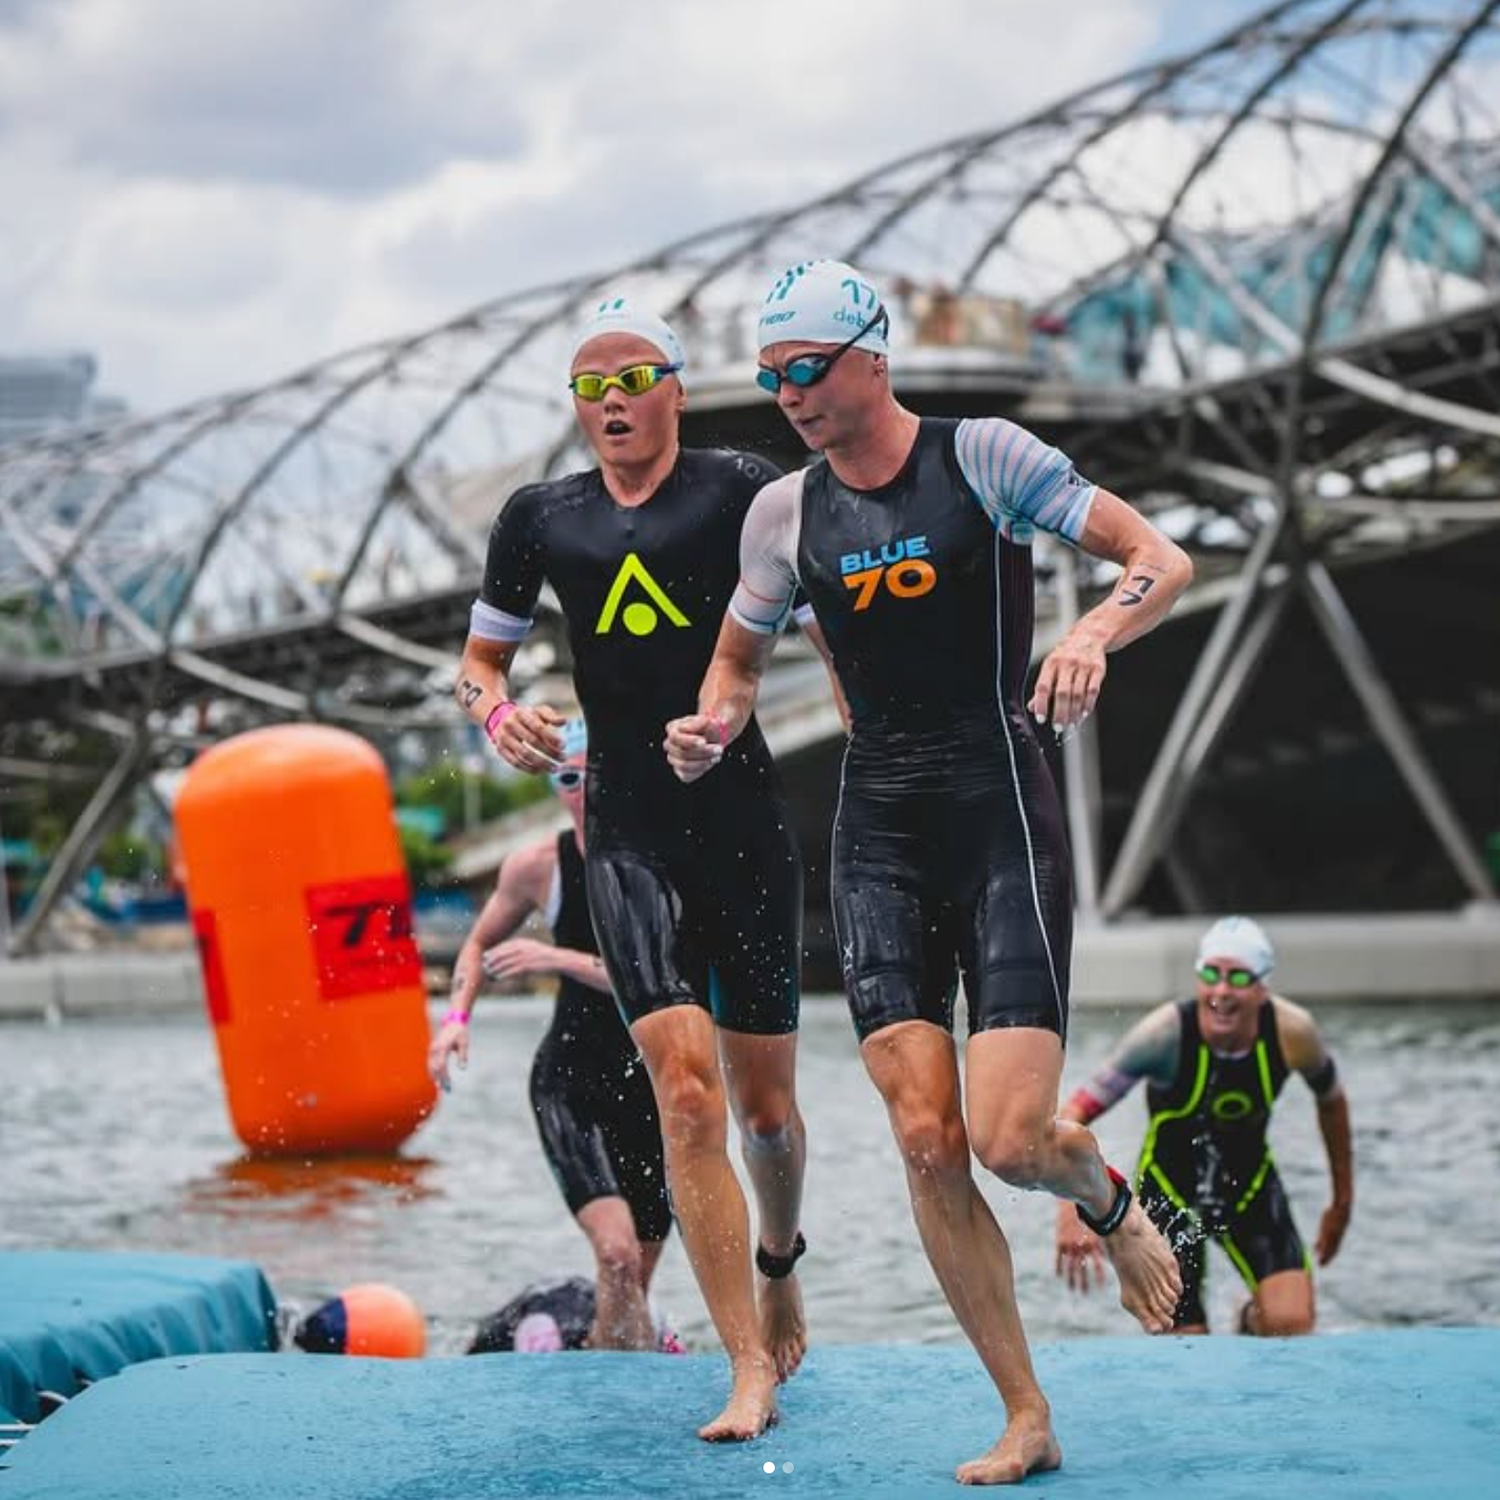
On race morning, the benefit is simpler. A well-positioned wetsuit disappears faster once the swim starts. You spend less time tugging at the neckline, less time fighting shoulder tension, and less energy trying to settle into your stroke.
That matters because wetsuits improve body position, and buoyancy equals speed in the water. You do not need to guarantee an outcome to know that a suit sitting correctly gives you the best chance to swim the way it was designed to help you swim.
When the real issue is sizing
Technique fixes a lot, but it does not fix everything. If the suit still feels short through the torso after careful donning, or if the shoulders remain restricted after repeated adjustment, the next step is checking size.
Women should also pay close attention to fit through the bust, torso, wrists, and ankles. blueseventy’s Femme Fit pattern design refines those critical areas, includes a lowered neckline for comfort, and uses an extended zipper length for easier entry and faster transitions.
If you are still unsure, use the fitting guide, check the size charts, or Take a Test Swim to feel how the suit settles in the water before you commit.
The takeaway
Putting on a wetsuit without a plastic bag is not a party trick. It is a better way to learn how a swim-specific suit should sit on your body.
When you work from the ankles upward, fully seat the hips, and set the shoulders before you zip, the suit has a much better chance to do its job. You feel more freedom through the stroke, cleaner support through the body, and fewer distractions once the swim begins.
Practice that routine before race week. It is one of the simplest ways to get more out of your wetsuit, starting before you even touch the water.