


Most advice about putting on a wetsuit stops at the obvious: step in, pull it up, zip it closed. That gets the suit on your body, but it does not always get the suit into the right position for swimming. In open water and triathlon, that distinction matters. A wetsuit that is rushed on in a parking lot can feel stiff in the shoulders, tight across the chest, or distracting at the neck, even when the size is correct.
The reason is mechanical. A swim-specific wetsuit is built around panel placement, buoyancy distribution, and shoulder mobility. If extra material stays trapped in the calves or hips, the upper body loses length. Then the shoulders carry tension they were never meant to carry. Many athletes read that as a sizing problem. Often, it is a donning problem.
That is why putting on a wetsuit by yourself is worth treating as a skill. When you know how to seat the lower body, lift the torso, and free the shoulders before you zip the suit, you get a better read on fit and a better feel in the water. You also remove one more race-morning variable.
Why donning changes how a wetsuit feels in the water
A wetsuit does more than add buoyancy. It shapes body position, affects range of motion, and changes how your stroke feels from the first few minutes of the swim. Those benefits depend on the suit sitting where it was designed to sit. If it hangs low through the hips, bunches behind the knees, or pulls down through the arms, you lose the clean fit that allows the suit to move with you.
That is why a poorly positioned suit often shows the same symptoms:
- early shoulder fatigue
- tightness across the chest when breathing
- a neckline that feels too high or distracting
- space or bunching behind the knees
- a downward pull through the arms when you reach forward
Blue70’s fit guidance has long held that a suit should feel snug on land and more comfortable in the water. That only holds true when the suit is fully seated. A rushed fit can make a good wetsuit feel wrong.
The lower body sets the upper body
This is the point most athletes miss the first time they use a wetsuit regularly: the shoulders are usually not the place to start fixing shoulder tightness.
Start with the legs and hips. Always.
A wetsuit has a fixed amount of vertical length. If neoprene is left pooled around the lower legs or hanging low at the hips, the torso has less available length, and the suit starts stealing that length from the upper body. You feel it when you try to extend forward in the stroke.
Blue70 wetsuits use Yamamoto neoprene in 38, 39, and 40 cell constructions, with higher cell numbers giving more flexibility. That material matters, especially in the shoulders and arms, but even flexible neoprene cannot deliver freedom from restriction if the suit never gets lifted high enough onto the body.
The practical rule is simple: if the shoulders feel blocked, check the calves, knees, and hips before you blame the shoulders.
Prepare before you start
A careful setup protects the suit and makes the process easier. Most avoidable wetsuit damage happens in the first minute, not in the water.
- Start with dry skin if possible.
- Remove rings, watches, and bracelets.
- Trim or smooth sharp fingernails.
- Stand on a clean surface.
- Use the pads of your fingers, not your nails, to grip neoprene.
- Take extra care around the heel and ankle openings.
Blue70’s warranty does not cover fingernail punctures or heel tears. Both usually come from rushing, pulling too hard, or trying to force an opening over the foot without resetting the material.
How to put on a wetsuit by yourself
1. Turn the legs partly inside out
Fold each leg down toward the ankle opening so the lower half is partly inside out. This shortens the amount of material you need to manage and makes it easier to guide each foot through cleanly.
Insert one foot at a time. Ease the ankle opening over the foot and heel with controlled pressure from your fingertips. If the heel catches, stop and reposition the opening. Do not force it.
2. Set the ankle openings first
Before pulling the suit any higher, make sure each ankle opening sits evenly around the ankle. It should not be twisted, rolled, or folded under. A twist at the ankle often carries all the way up the leg.
Once both ankles are cleanly in place, start lifting the neoprene upward in small sections. Think short, repeated adjustments rather than one big pull.
3. Clear the calves and align the knees
This step takes more time than most people expect, and it should. Extra material left in the calves is one of the main reasons a wetsuit feels restrictive later.
Work the neoprene upward from the shin and calf toward the thigh. Bend each knee slightly as you go and check that the suit sits flat behind the joint. You want the knee area to line up with your actual knee, without bunching or drag.
- No heavy folds behind the knees
- No slack left hanging in the lower leg
- A natural bend when you flex the leg
4. Pull the hips high
This is the step that fixes more fit complaints than any other. Pull the suit up through the thighs, glutes, and hips until the crotch sits high and snug. If there is a sagging pocket of material in the seat or between the legs, the suit is still too low.
A shallow squat can help settle the lower half, followed by short upward pulls through the hips. Once this area is seated properly, the suit often feels better through the torso and shoulders right away.
If the hips are low, the shoulders will pay for it.
5. Smooth the torso before you worry about the zipper
After the lower half is fully seated, pull the torso upward so the chest and side panels lie flat. The fit should feel snug and even, not stretched hard in one place and loose in another.
Then insert one arm, followed by the other. Feed your hands through carefully and make sure the wrist openings sit flat.
6. Load the shoulders with material
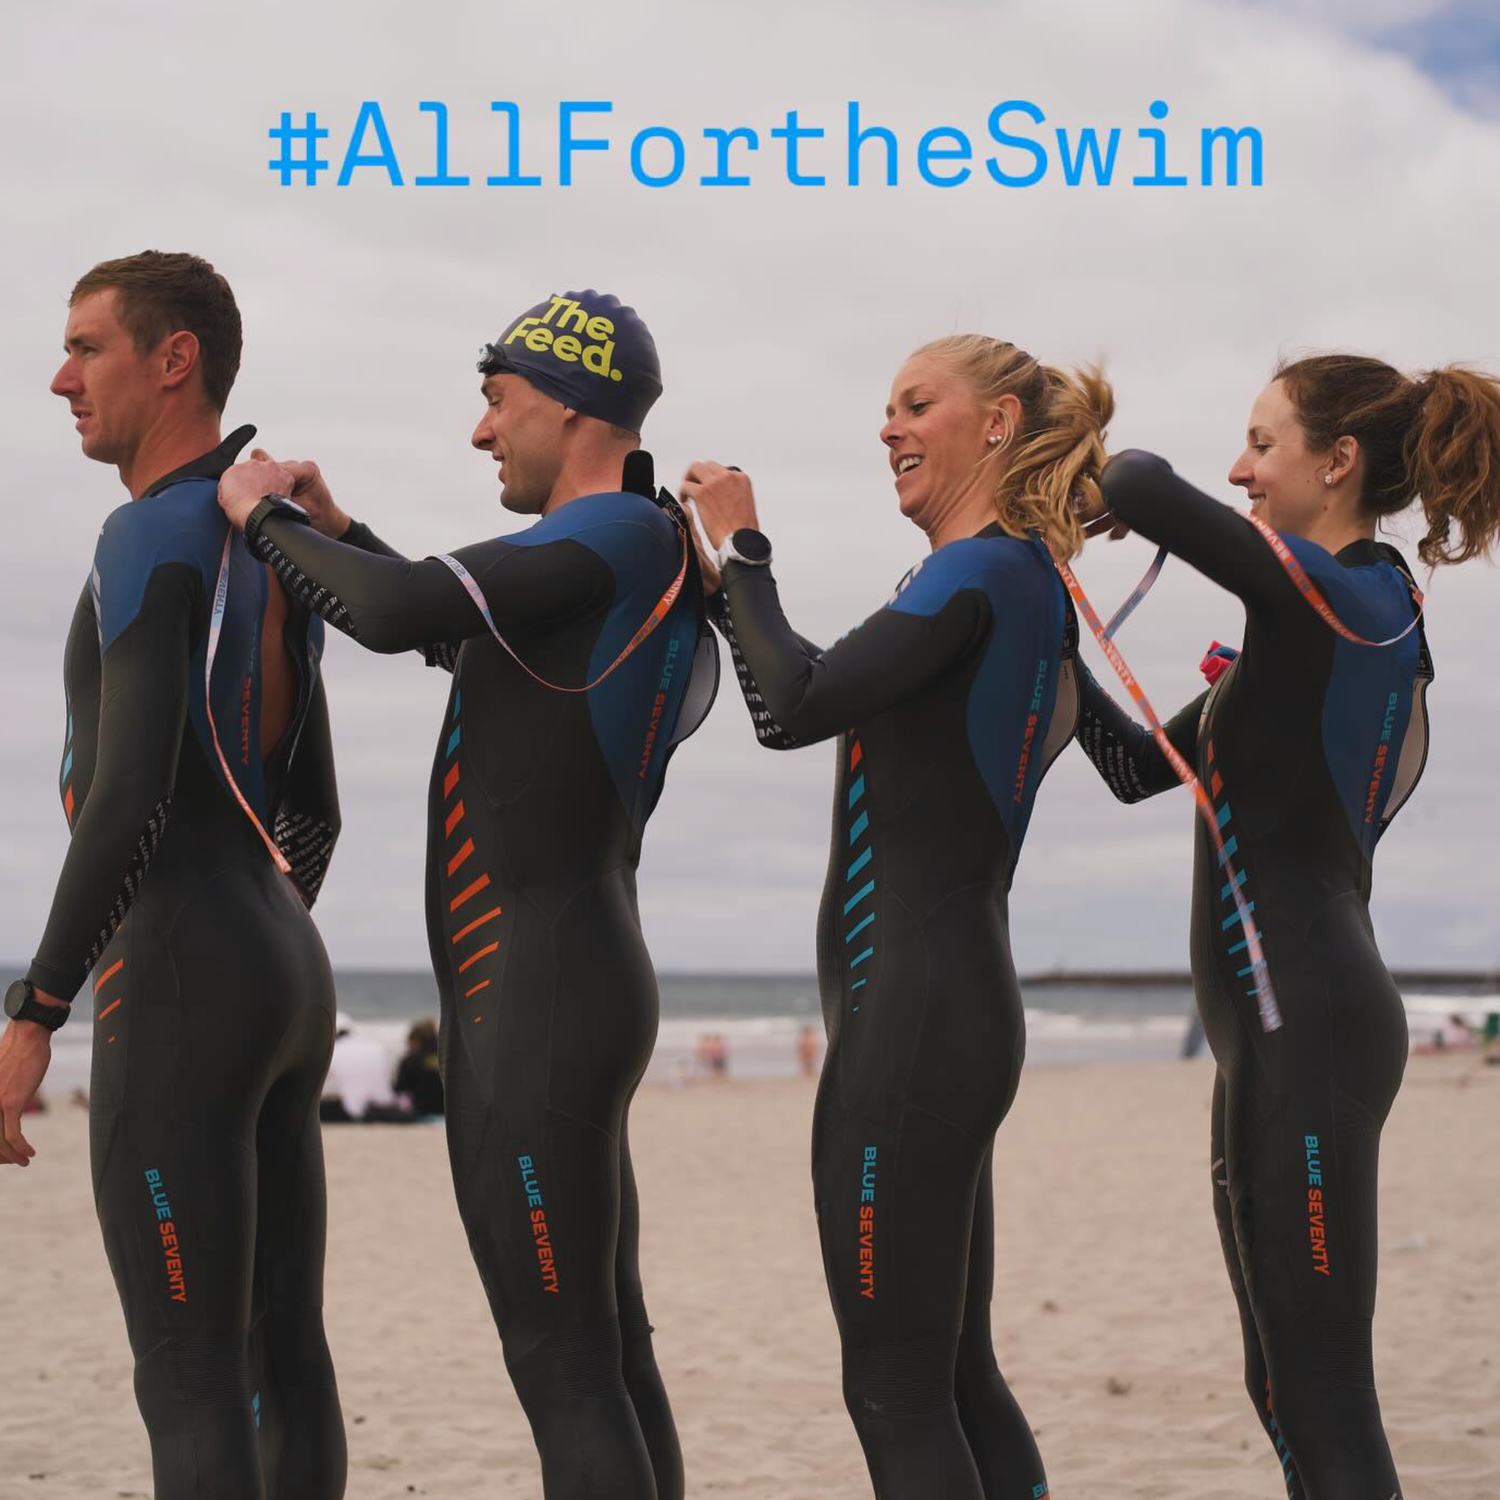
This is the step that changes how the suit swims. Pull small amounts of neoprene upward from the forearms and upper arms toward the shoulders. Then do the same from the side body and upper torso. The goal is to move every bit of available length into the shoulder area so the suit can rotate with your stroke.
On a swim-specific wetsuit, shoulder mobility is not a luxury feature. It affects stroke rhythm, comfort, and how quickly fatigue builds when your heart rate is already high at the start. Take your time here. Reach forward gently with one arm, then the other, and keep adjusting until the downward pull through the arms is reduced.
7. Zip only after the fit is set
Once the suit is seated through the legs, hips, torso, and shoulders, zip it closed. If your suit has a rear zipper, start it carefully and make sure the base is aligned before pulling. If it catches, stop and reset rather than forcing it.
After zipping, check the neckline. It should sit flat and close without rolling inward or pressing hard against the throat. Blue70’s 2021 Fusion redesign introduced a lower-sitting neckline for comfort without losing a watertight seal. That same fit principle applies across swim-specific wetsuits: the neck should feel secure, not intrusive.
Two quick checks before you get in the water
A proper fit needs movement, not just a mirror.
Reach test
Reach one arm forward as if entering the water, then switch sides. Rotate the shoulders gently. The suit should feel snug, but it should not feel like it is dragging downward from the wrists or locking the top of the stroke.
Squat test
Do two or three shallow squats. If you feel strong pulling from the shoulders into the crotch, the suit still needs more material moved upward through the hips and torso.
These checks take only a few seconds, and they tell you more than standing still ever will.
Why a wetsuit feels different on land
A good wetsuit fit on land is not supposed to feel casual. It should feel snug. Once you are in the water and horizontal, the suit settles and usually feels more natural. That is one reason first impressions on dry land can be misleading.
Wetsuits also are not waterproof, and they are not meant to keep you dry. They allow a thin layer of water inside, which your body warms to provide insulation. That is how thermal protection works in a swimming wetsuit.
If you are unsure about fit after trying the suit on at home, a short swim is the best test. Blue70’s Take a Test Swim policy allows you to swim in your wetsuit and still return or exchange it, as long as it comes back clean, dry, unmodified, and includes the tags and accessories.
Common mistakes that make a good suit feel bad
- Zipping too early: this locks the suit in place before the shoulders are properly set.
- Leaving slack in the calves: extra material low on the body steals length from the torso.
- Ignoring a low crotch: this creates tension through the whole upper body.
- Pulling with fingernails: that is how small punctures happen.
- Assuming snug means wrong: the real warning signs are bunching, twisting, choking, or hard directional pulling.
A race-morning routine that works
The best race-day routine is the one you can repeat without stress. If you wait too long and rush the process, the first place it shows up is usually the shoulders.
- Put the suit on to the waist.
- Clear the calves and align the knees.
- Seat the hips high.
- Smooth the torso.
- Insert both arms.
- Load the shoulders.
- Zip the suit.
- Do the reach test and squat test.
- Get in the water early enough for a short warm-up.
That warm-up matters. A few minutes in the water gives the suit time to settle and gives you a final check on the neck, chest, and shoulders before the start.
A note on women’s wetsuit fit
Women often notice fit issues first in the bust, torso length, hips, wrists, ankles, or neckline. Blue70’s Femme Fit approach addresses those areas with a refined pattern design, a lowered neckline for comfort and reduced chafing, and an extended zipper length that makes entry easier and helps in transition.
Those design details improve fit, but the donning process still matters. A well-patterned suit still needs to be seated properly through the hips and shoulders to move well in the water.
Water temperature changes the category, not the process
The donning steps stay the same across different swim conditions. Below about 56 to 58°F, a purpose-built thermal suit such as the Blue70 Thermal Reaction adds meaningful warmth with its Zirconium jersey lining. Above about 70 to 72°F, many swimmers find that a full suit becomes too warm over longer swims, and a sleeveless suit or swimskin may be the better tool for the day.
The category may change. The method does not. The suit still has to be seated correctly for the buoyancy and flexibility to work as intended.
Why learning to do it yourself matters
Many athletes rely on a friend to zip the suit, pull the shoulders up, or check the fit. Help is fine when it is available. Still, there is a real advantage in being able to do the full process yourself.
You become better at recognizing whether a problem comes from size, from positioning, or from simple race-morning haste. You become less dependent on a crowded transition area or a training partner. And you gain confidence in the suit because you know how it should feel when it is on correctly.
Self-donning is part of self-sufficiency in open water.
The one rule worth remembering
Start low and work upward.
Set the ankles. Clear the calves. Align the knees. Pull the hips high. Smooth the torso. Free the shoulders. Then zip the suit.
That sequence solves most wetsuit fit problems before the swim even starts. If your suit feels restrictive, check the lower body first and adjust upward before deciding anything is wrong with the size.
If you want a second look at fit before race day, use the size charts, review the fitting guide, or Take a Test Swim so you can judge the suit where it matters most: in the water.