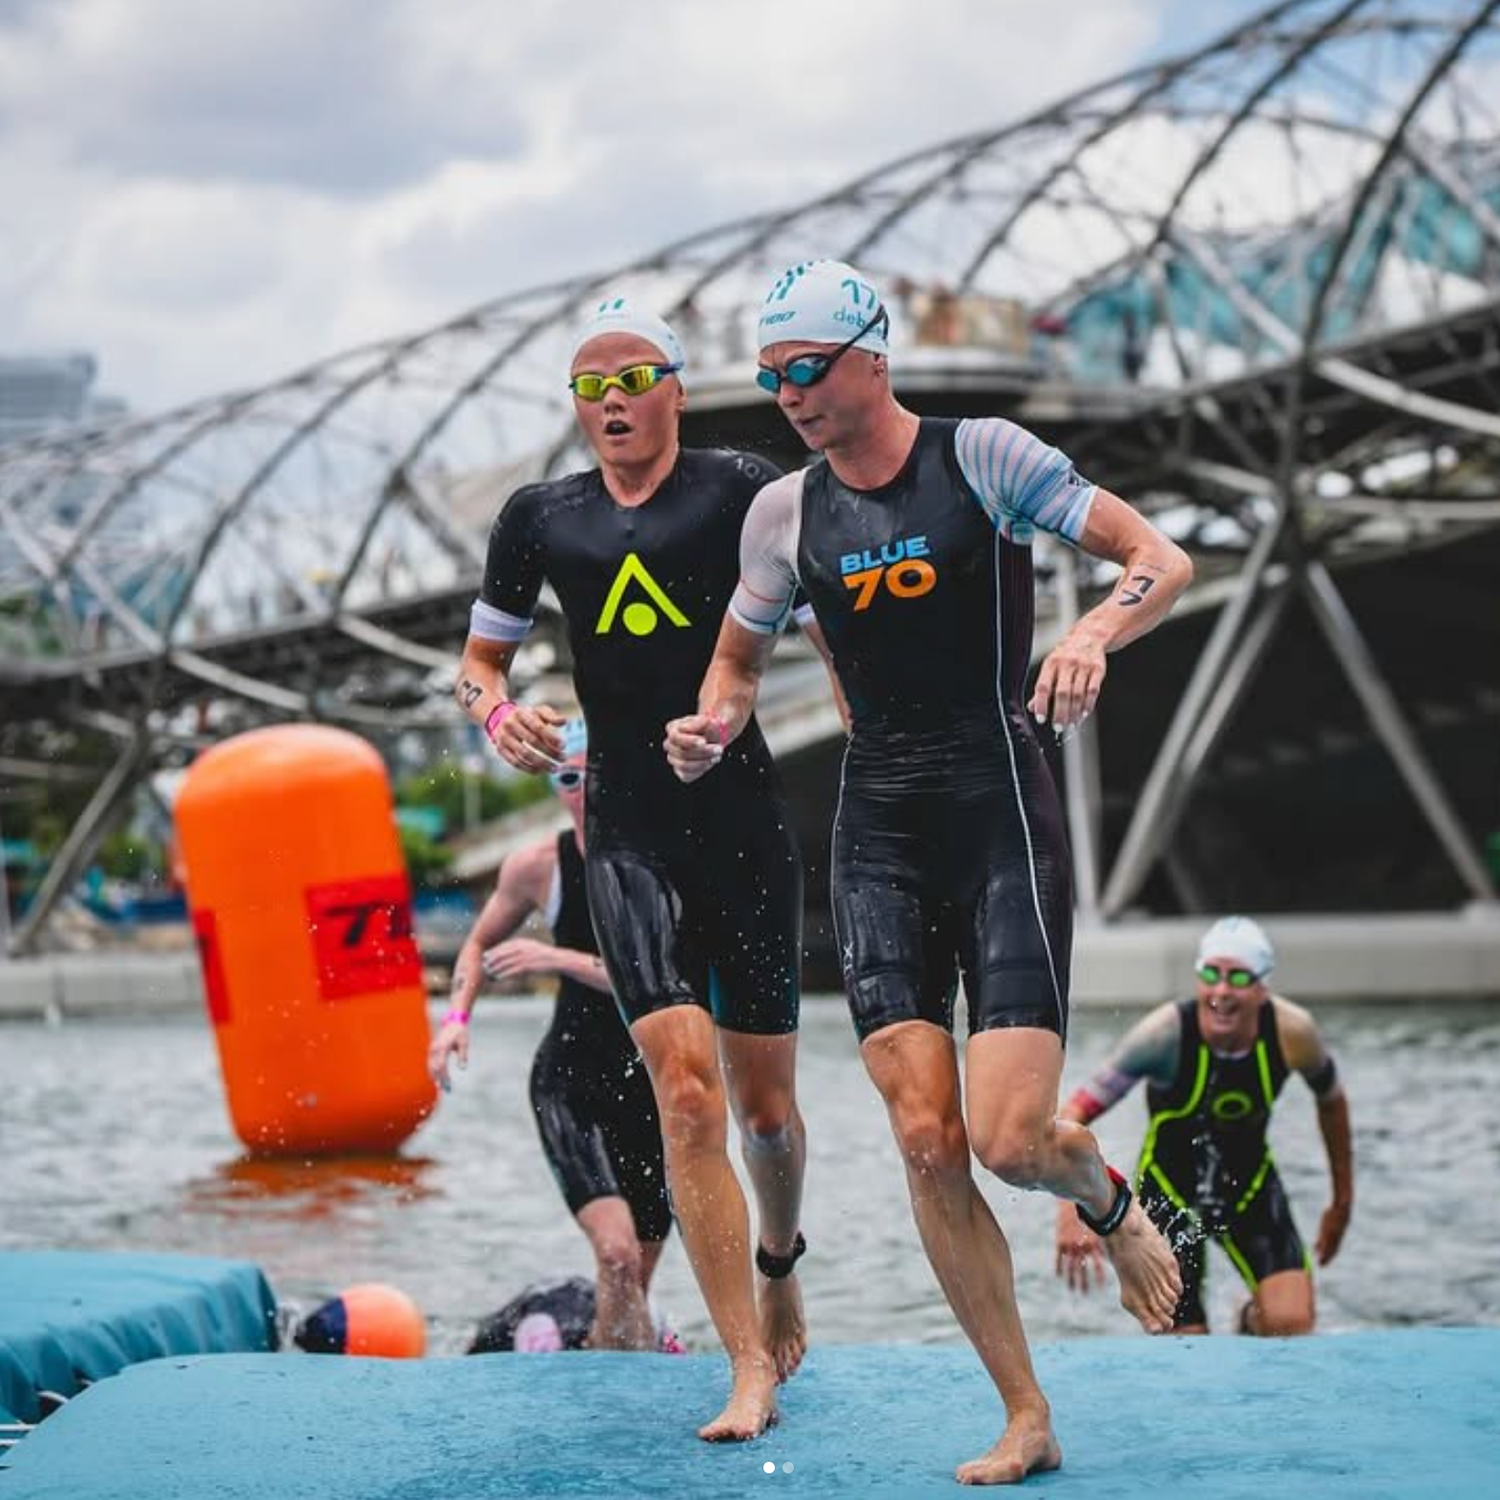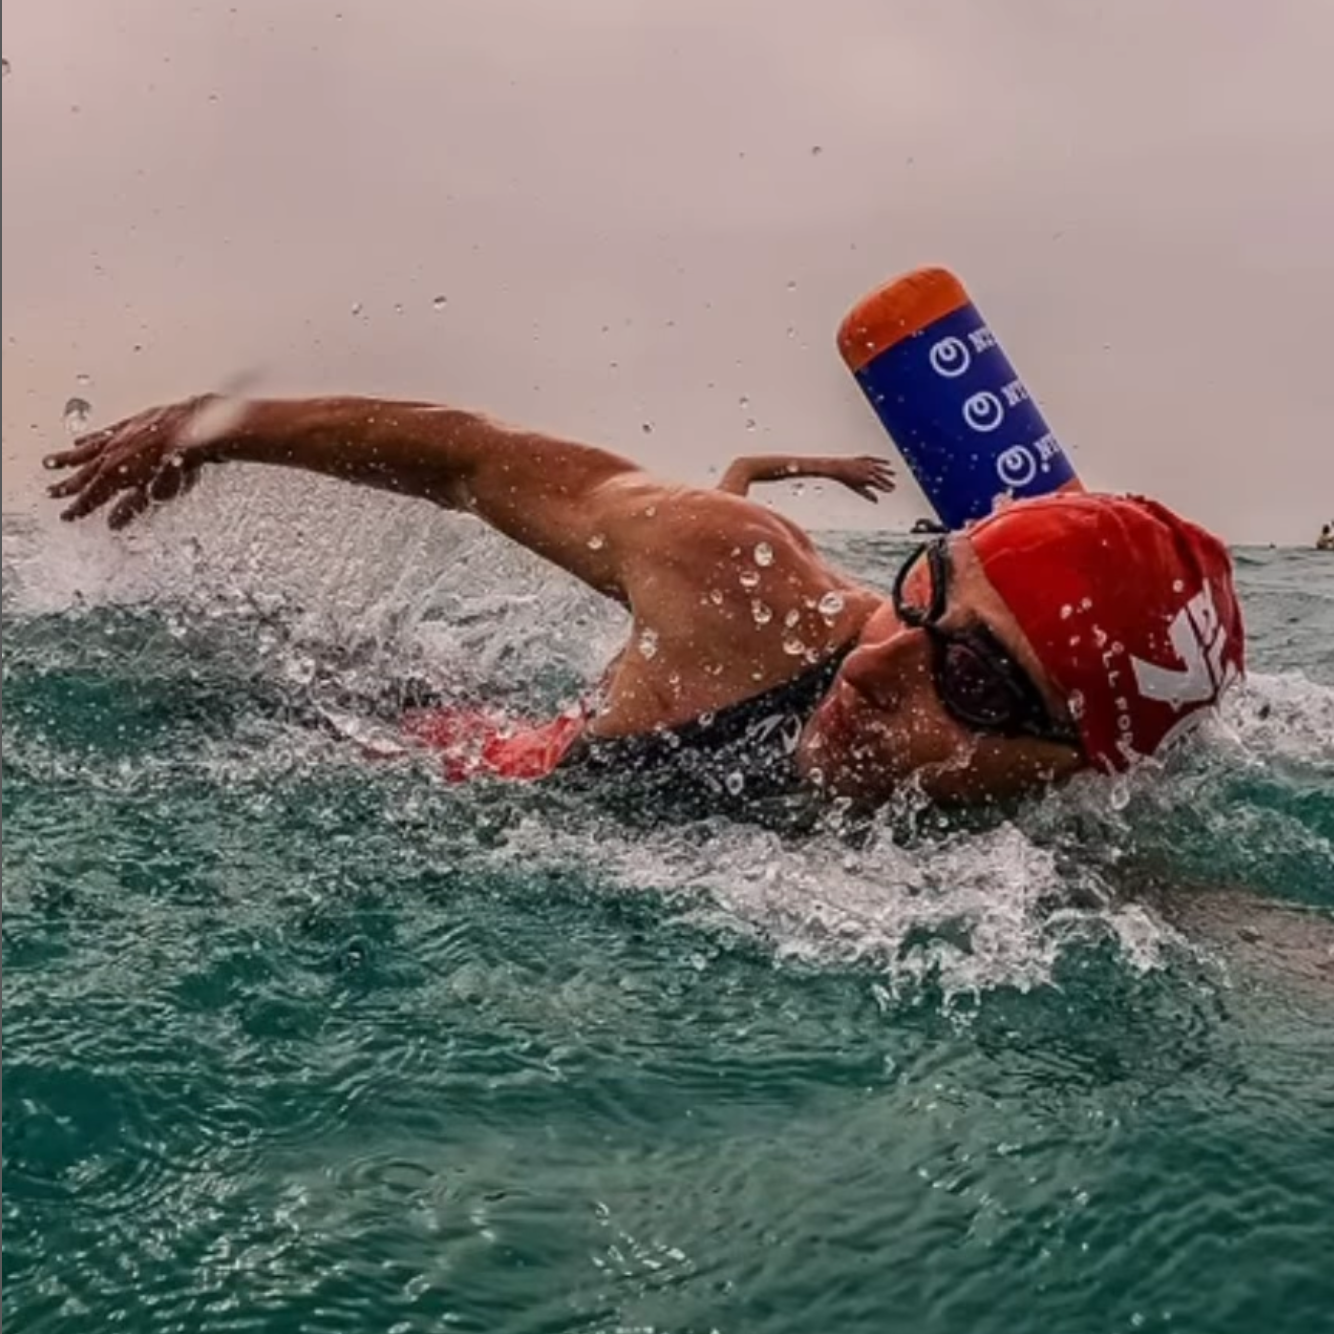



A crotch tear in a swim-specific wetsuit usually starts long before the split becomes visible. In most cases, the damage begins with tension: the suit sits too low through the hips, neoprene stays bunched at the calves, or a small nick from a heel or fingernail turns into a tear when the panel gets pulled under load. If you repair the opening but leave that stress in place, the same area often fails again.
That is why this repair topic is more interesting than it looks. The real issue is not just glue. It is force distribution across one of the busiest parts of the suit. For triathletes and open-water swimmers, the crotch panel handles leg lift, hip rotation, kicking, beach starts, and all the pulling and adjusting that happens before the swim even begins. A strong repair matters, but a better fit and better handling matter just as much.
Why this area tears so often
The crotch sits at a junction where several motions meet at once. The neoprene there has to move with the torso, hips, and upper legs while staying smooth enough to avoid creating drag and stable enough to tolerate repeated stretching. That makes it one of the easiest places for a small weakness to become a bigger problem.
The most common cause is simple: the suit never got high enough on the body during donning. When neoprene remains trapped lower on the leg, the hips lose material they need. The crotch then bridges the gap, and every movement starts with extra strain through that panel.
Small handling damage matters too. A toenail, a heel, or a fingernail can create a puncture that looks harmless when the suit is off the body. Once the neoprene is stretched into position, that weak point opens. Many swimmers think the tear happened during the swim. Often, the damage started in the parking lot.
Check the damage before you repair it
Lay the wetsuit flat and inspect the tear while the neoprene is clean and dry. You want to know if this is a clean split in the neoprene or a larger structural problem involving a seam or a high-load junction.
A home repair usually makes sense when the tear is short, the edges line up naturally, and the surrounding seam is still stable. If stitching is separating, material is missing, or the tear runs in several directions, the repair gets less predictable.
BlueSeventy's warranty policy is useful context here. The warranty covers manufacturing and materials defects for one year for the original owner, with repair as the stated remedy, but it does not cover fingernail punctures, heel tears, zipper damage from force, heat damage, chlorine damage, wear and tear, or non-swimming use. That matches what experienced swimmers see in real life: many small tears come from handling and fit issues rather than a defect in the neoprene itself.
When a home repair is the right move
If the tear is clean and localized, neoprene cement is usually the right tool. BlueSeventy carries Aquaseal neoprene cement in its wetsuit care range, and it is intended for this kind of repair.
Pause and get direct support if the tear involves the zipper base, a broad stitched seam, missing neoprene, or a newer suit that may need warranty review. A small split is one thing. A failure at a major structural point is different.
How to repair a wetsuit crotch tear
The goal is to restore the panel without creating a thick, stiff patch. Neoprene works best when the repaired area can still flex with the rest of the suit.
- Dry the suit fully. If the suit has salt, sand, lake residue, or chlorine on it, rinse it first and let it dry completely. Adhesive does not bond well to damp neoprene.
- Clean the damaged area. Remove residue from sunscreen, body oils, or grit. A clean surface gives the repair a better bond.
- Inspect how the tear closes. Bring the edges together gently. They should meet cleanly without forcing the panel into place.
- Apply neoprene cement in a thin layer. Put a small amount on both sides of the torn edge and follow the product directions. Thin, even coverage works better than excess adhesive.
- Let the adhesive become tacky. Neoprene cement usually bonds best after a short wait. Follow the instructions on the tube.
- Press the edges together carefully. Align them without overlap. A neat join reduces the chance of creating a ridge that will catch stress later.
- Allow full cure time. Do not stretch, fold, or swim in the suit until the adhesive has cured as directed.
One common mistake is testing the repair by pulling the panel hard with your hands. Skip that. A visual check is enough. The first real test should be a careful fitting, not a stress test on the workbench.
Why repairs fail when the glue job looked fine
If the same tear opens again, the adhesive is not always the problem. The load often stayed exactly where it was before. A well-bonded repair will still struggle if the suit hangs low through the hips or if the panel keeps getting nicked during entry.
That is the underappreciated part of wetsuit care. Many neoprene failures are really fit failures. The material tore where the tension collected.
The fit issue swimmers tend to miss
BlueSeventy's fit guidance is straightforward: a wetsuit should feel snug on land and more comfortable in the water. The useful detail is how the lower half of the suit should be set before the torso ever gets zipped.
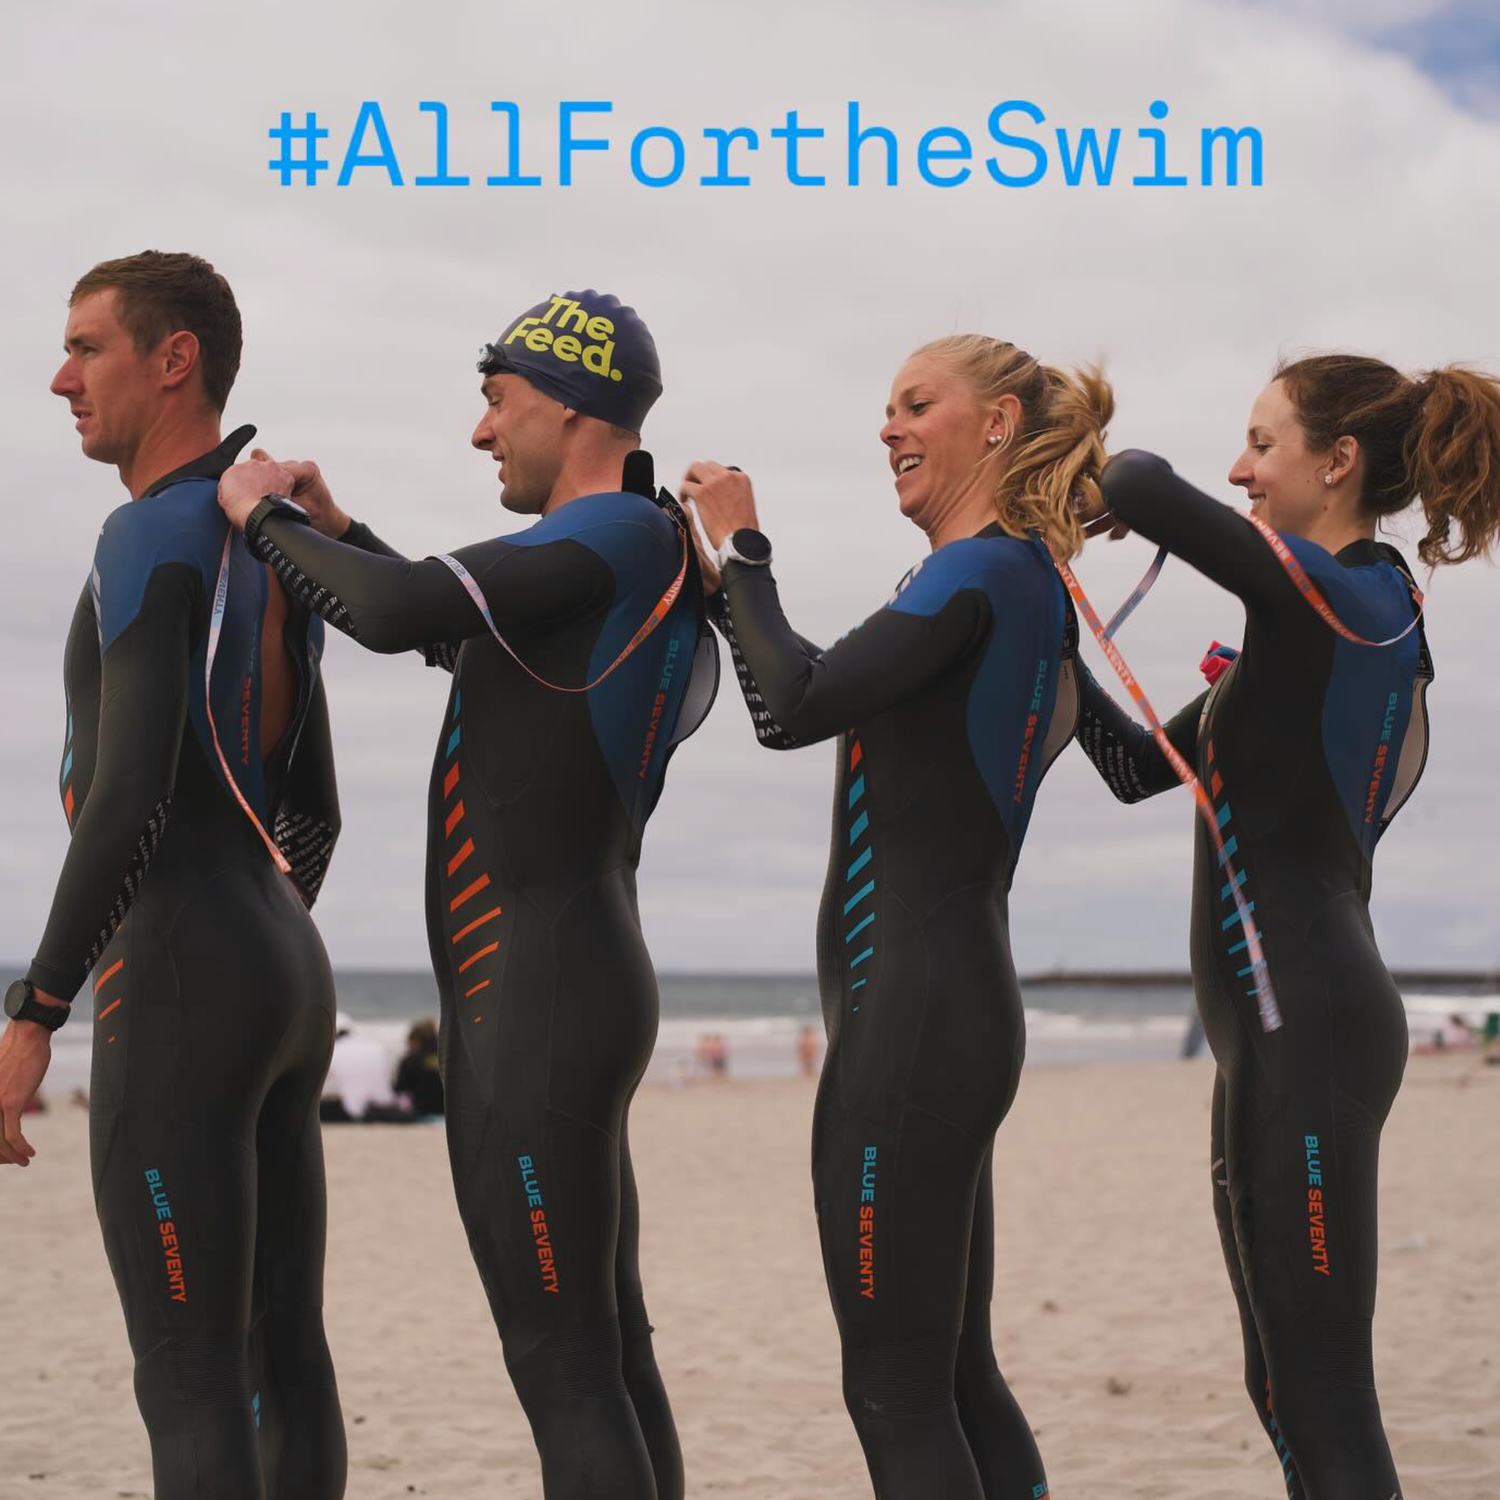
The neoprene needs to be worked upward in stages. Material should be seated correctly at the ankles, then smoothed over the calves, then brought above the knees, then lifted into the hips. Only after the lower body is set should you finalize the torso and shoulders. If you pull from the chest to fix a low crotch, the tension stays in the wrong place.
The crotch panel gives clear feedback. If it feels low, tugs sharply when you lift a knee, or seems to drag the torso downward, the suit is either not fully donned or not matching your body shape correctly.
This issue can be even more obvious for swimmers who have struggled with torso length or hip entry. BlueSeventy's Femme Fit design refines key fit zones including the bust, torso, wrists, and ankles, and the extended zipper length makes entry easier while accommodating wider hips. Those pattern changes affect how the suit settles and how tension spreads across the lower body.
How to reduce the chance of another tear
A good repair lasts longer when the suit is handled better the next time you use it.
- Pull the suit up from the bottom first. Work in small increments from the ankles to the hips instead of hauling upward from the torso.
- Use fingertips carefully. Thin neoprene is vulnerable to sharp nails, especially around the inner thigh and hip.
- Slow down foot entry. Point your toes and ease your foot through. Many inside-panel tears start when a heel catches the neoprene.
- Check the knees and calves. Bunched material low on the leg usually means the hips are short on material.
- Match the suit to your training volume. BlueSeventy notes that the Helix uses very thin, highly flexible neoprene in the arms and shoulders and is not ideal for heavy training use because that delicate neoprene breaks down more quickly. Athletes who swim often should pay attention to durability as well as race-day feel.
Race-week habits that create extra stress
Some crotch tears show up close to race day because that is when swimmers handle the suit more aggressively than usual. Repeated transition rehearsals, rushed try-ons after travel, forcing the suit on over damp skin, and stepping into it on rough pavement all increase the chance of small damage becoming a larger split.
The fastest transition starts with a suit that arrived at the start line in good condition and sat properly during the swim. Handling the suit well is part of race preparation, not a separate chore.
When the tear is really a warning about fit
One isolated tear can happen to anyone. Repeated tearing in the same zone usually points to a pattern you should not ignore.
- the suit always feels short through the torso
- lifting your knees feels restricted during starts or warm-up strides
- your shoulders fatigue early because the suit is sitting low overall
- the zipper line looks strained
- the repaired area keeps reopening despite careful repair
Those signs suggest the problem is larger than one damaged panel. The fit may be off, or the suit may not be getting positioned correctly when you put it on.
The better way to think about this repair
A wetsuit crotch tear looks like a simple maintenance issue, but it often reveals something more useful about the way the suit is being used. The neoprene usually fails where stress has been collecting for a while. That is why the best fix has two parts: restore the torn panel, then remove the force that caused the failure.
After the repair has cured, put the suit on carefully and run a quick check before your next swim.
- Are the calves and knees smooth rather than bunched?
- Does the crotch sit high without forcing it upward?
- Can you stand tall and lift a knee without a sharp upward tug?
If the answer is yes to all three, the repair has a better chance of lasting. If not, the panel is still doing more work than it should.
BlueSeventy builds swim-specific wetsuits around freedom from restriction, body position, and performance in the water. A tear in the crotch panel is worth fixing carefully, but it is also worth reading correctly. In many cases, it is telling you how the suit fits, how it is being handled, and where tension is building before you ever take the first stroke.
If you want help dialing in fit before your next open-water session, use the size charts, review the fitting guide, or Take a Test Swim in your wetsuit and assess how it settles in the water.