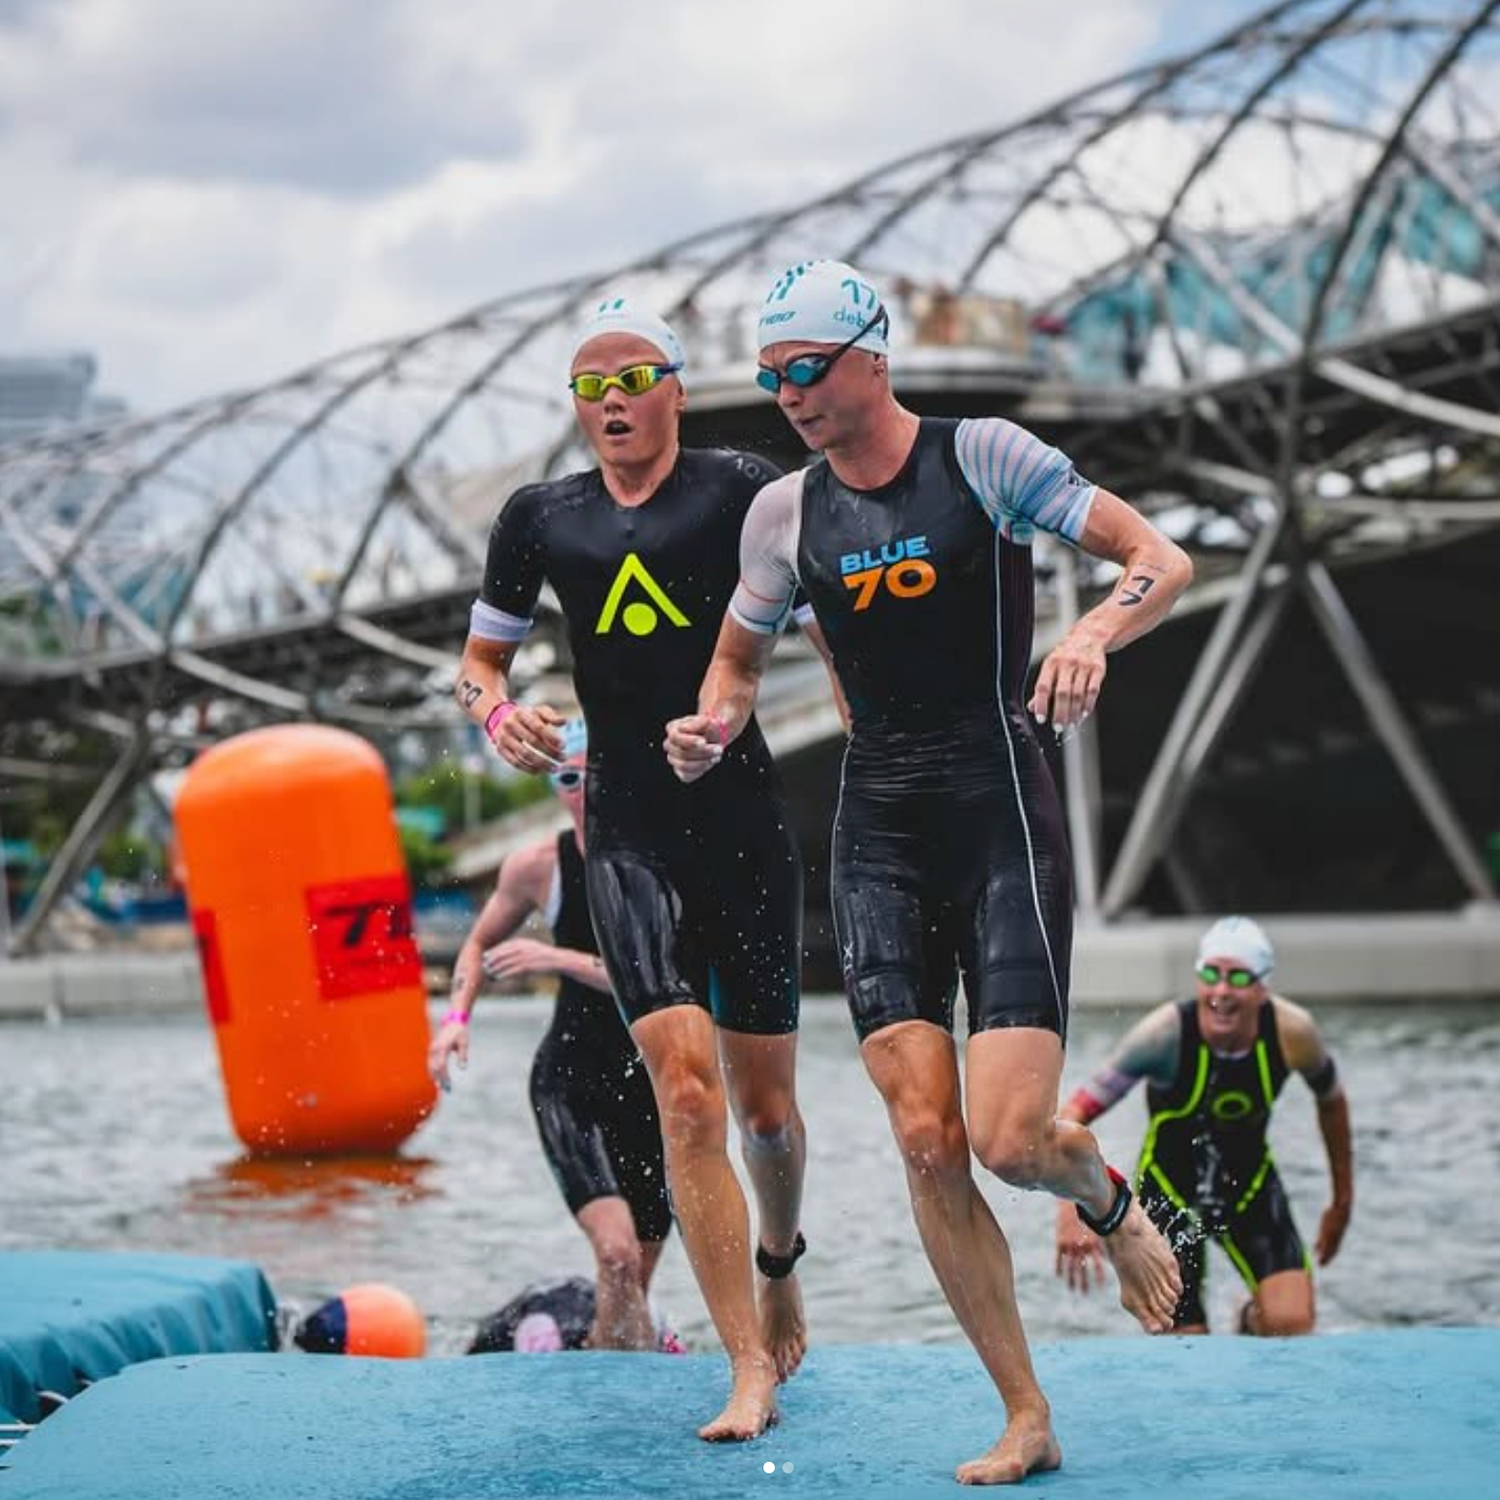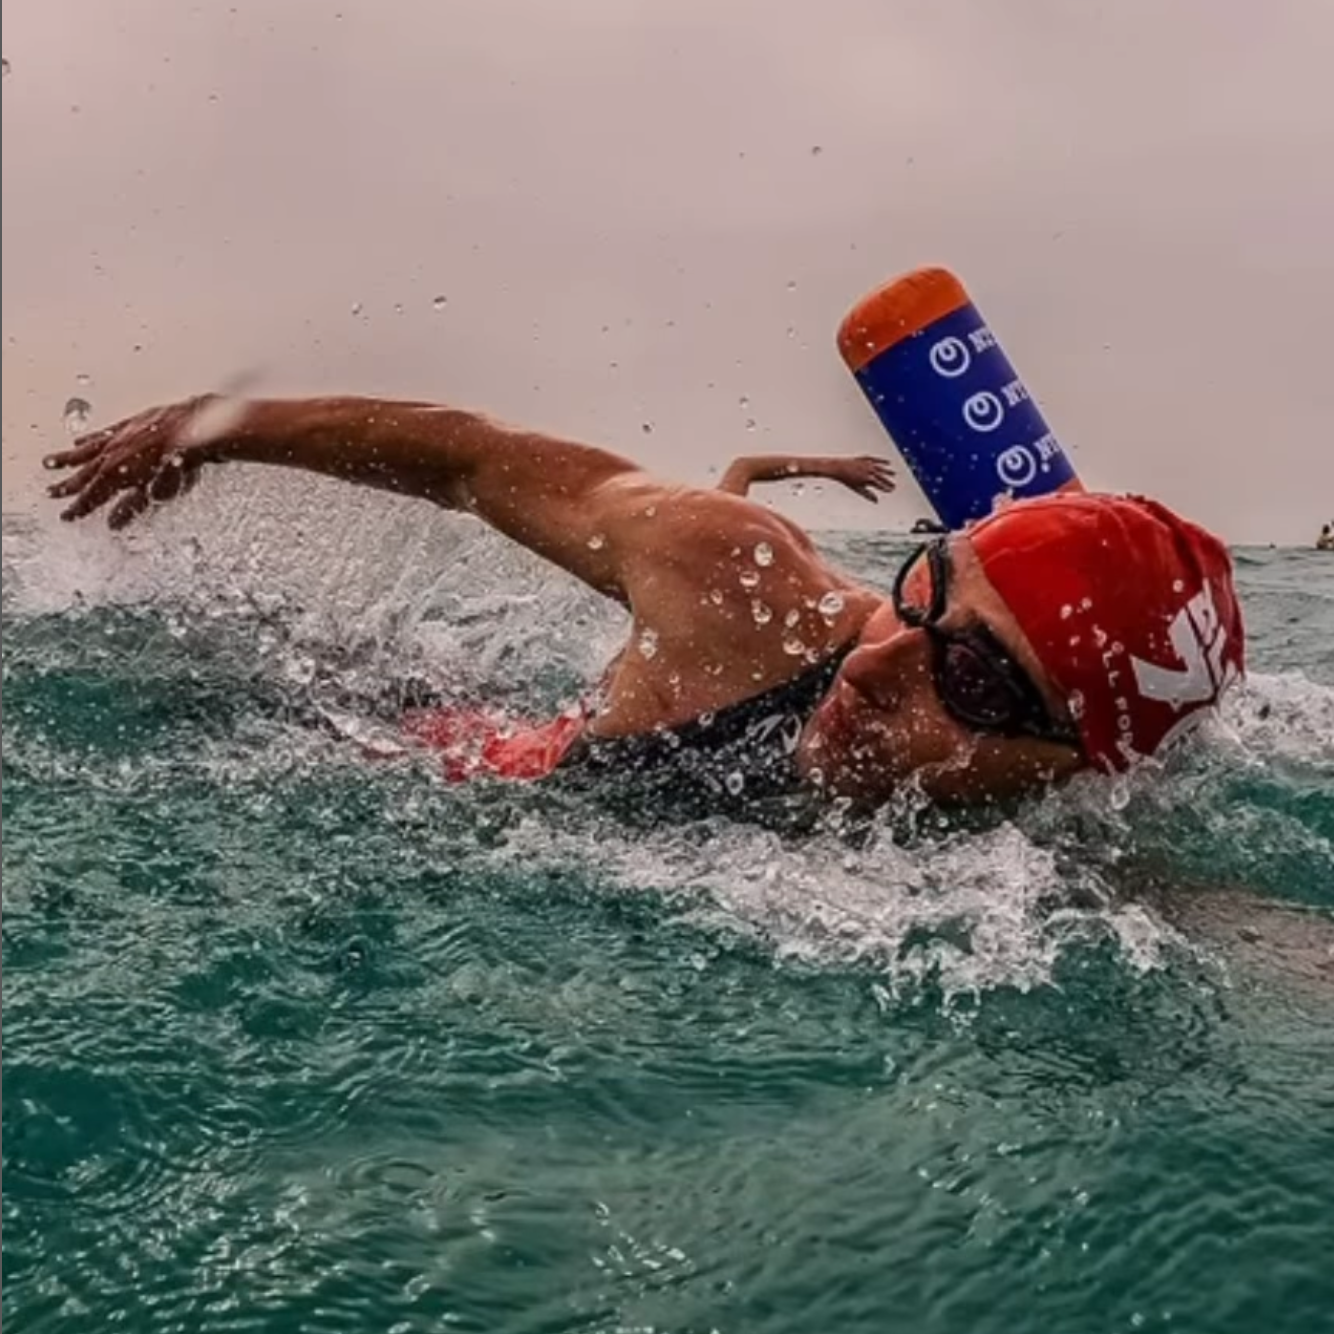



Most wetsuit damage doesn't happen in the water. It happens in a parking lot, a transition area, or your living room when you're pulling on a damp suit with cold hands. You catch a thumbnail in the shoulder. You step on the leg opening. You yank the zipper cord at an angle and split the tape. None of those are manufacturing defects. blueseventy's warranty covers manufacturing and materials defects for one year for the original owner, but it excludes fingernail punctures, heel tears, zipper damage from force, and ordinary wear and tear. A small tear doesn't mean the suit is finished. It means you need a repair skill you can use before your next swim.
Most Wetsuit Damage Happens on Dry Land
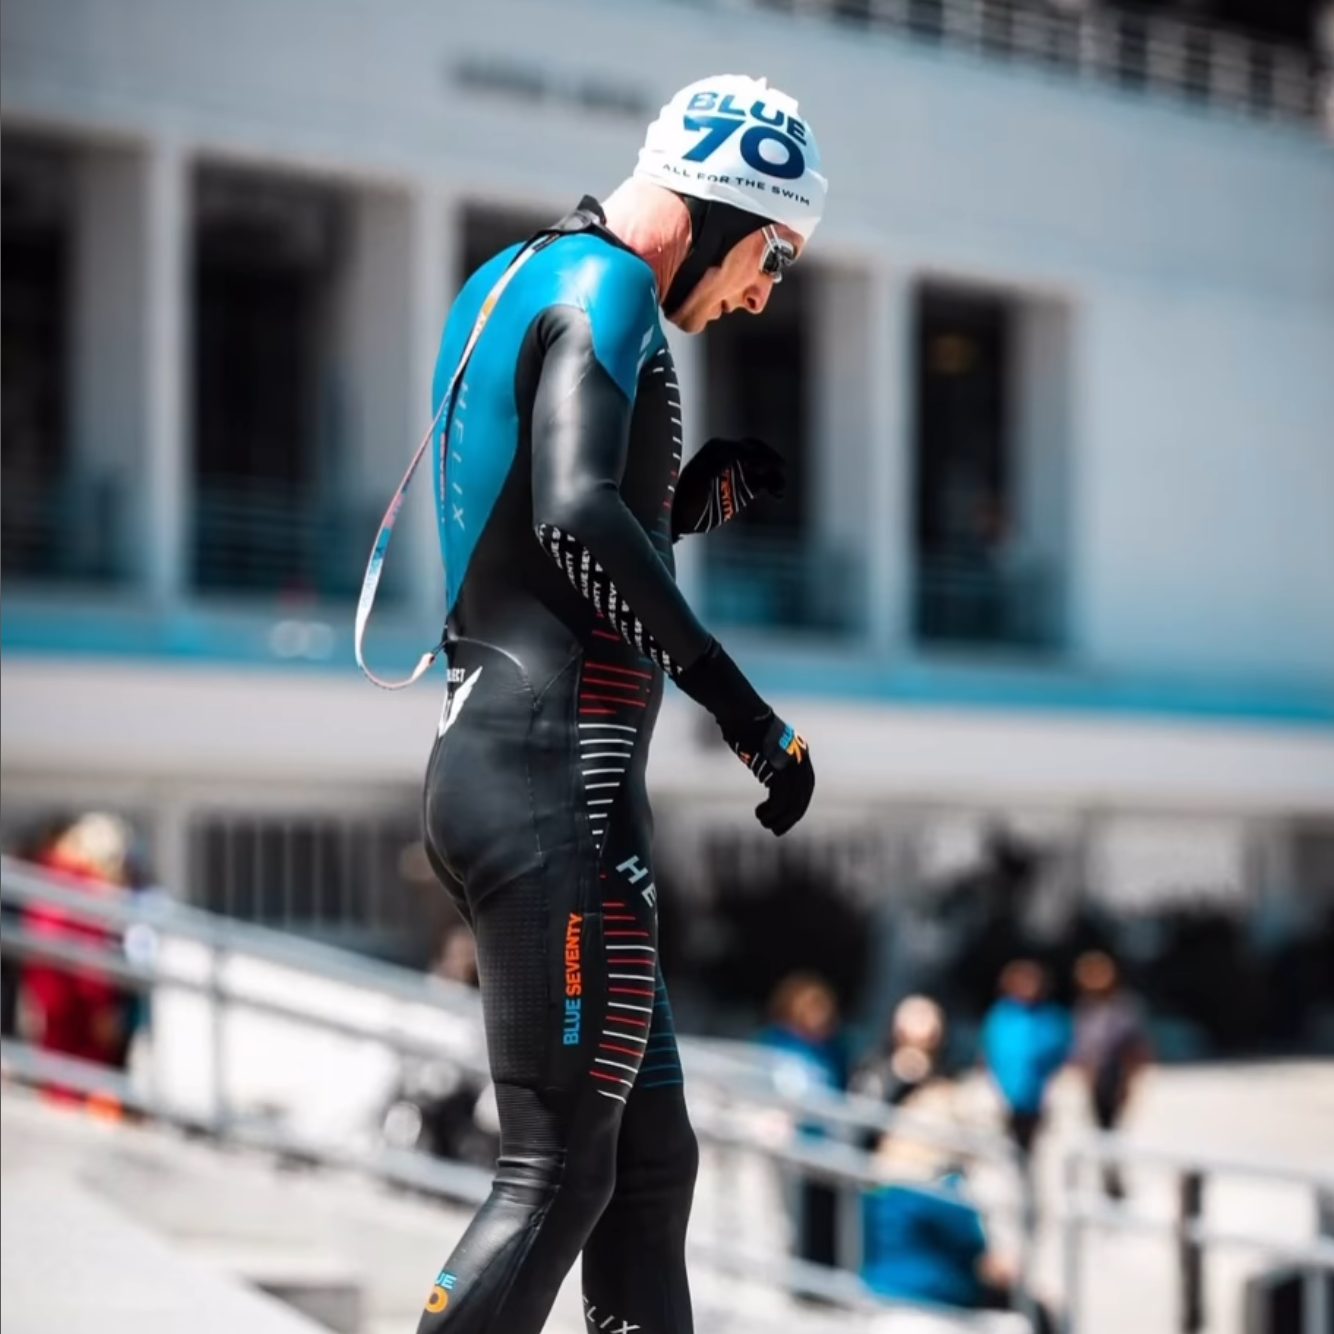
A swim-specific wetsuit is cut from flexible Yamamoto neoprene in 38, 39, and 40 cell grades. The higher the cell number, the more flexible the rubber. That flexibility gives you shoulder freedom through the catch and pull, but the same material rewards careful handling. The Helix uses very thin neoprene in the arms and shoulders for race-day mobility, so donning mistakes often show up there first. The brand also notes that the Helix's thin neoprene will break down more quickly with frequent training use, which makes careful donning and simple repairs part of owning that suit. Heel tears happen when a foot catches the leg opening while the suit is still bunched at the ankle. Punctures happen when someone grips the material with fingernails instead of flat palms. Knowing where the damage starts tells you how to prevent the next one.
Decide if the Tear Is Worth Repairing
A clean split with two matching edges is the easiest repair. A puncture smaller than a dime can be filled. A tear with ragged edges needs to be trimmed with small scissors before gluing, but only trim the loose threads and rubber, not the surrounding neoprene. If the zipper teeth separate or the pull comes off the track, stop. That is force damage, not a simple tear, and a home glue job will not fix it. Contact blueseventy support at us@blueseventy.com for guidance. The same applies to a seam that has delaminated over a long section. Cemented seams can be spot-repaired, but widespread tape failure calls for a repair specialist.
Stop the Split Before You Seal It
A crack longer than about an inch tends to keep tearing under load. Before you glue the two edges together, apply cement a few millimeters past each end of the crack. That gives the repair a stopping point. For a puncture, fill the hole from the inside of the suit and use a small piece of painter's tape on the outside to keep the cement from spreading. Work with the suit lying flat and unstretched. If you pull the tear open to see the edges, the neoprene distorts and the repair dries in the wrong shape.
What You Need
Keep the kit small. You need a tube of neoprene cement, isopropyl alcohol, a toothpick or small disposable brush, painter's tape, and a flat weight or binder clips. blueseventy carries Aquaseal neoprene cement in its wetsuit care collection. Painter's tape is better than duct tape because it comes off without lifting fresh rubber. Skip super glue. You also need a clean, flat work surface and enough time to let the repair cure fully.
How to Do the Repair
Start by drying the suit completely. A repair on wet neoprene will not hold. Wipe both sides of the tear with isopropyl alcohol and let the area dry. The alcohol removes salt, chlorine, skin oil, and loose rubber at the edge.
- For a split, lay the suit flat and bring the two edges together.
- Apply a thin line of neoprene cement along both exposed edges with the toothpick.
- Press the edges together gently, then run a thin topcoat along the seam.
- For a puncture, fill the hole from the inside and tape the outside while the cement sets.
- Do not stretch the suit while the cement sets.
- Let the repair cure for the full time printed on the cement tube.
A thick bead of glue takes longer to cure and creates a stiff lump that flexes differently from the surrounding neoprene. If the label says 24 hours, wait 24 hours. A partial cure fails the first time you stretch the suit over your shoulders. Do not speed up the cure with a hair dryer or put the suit in the sun. Heat weakens the neoprene around the repair.
Why Neoprene Cement, Not Super Glue
Super glue dries rigid. Neoprene stretches through every stroke. When a rigid patch meets a flexible panel, the repair cracks or the tear grows at the edges. Neoprene cement stays flexible after curing, so it moves with the suit. blueseventy suits use different Yamamoto neoprene grades for different zones: more flexible in the arms and shoulders, slightly stiffer through the torso and legs where buoyancy and body position matter. A repair has to match the flex of the zone you are fixing. Use the right adhesive and keep the layer thin.
After the Repair and Before the Next Swim
After the cement has cured, inspect both sides. Flex the repaired area with your fingers. If you see gaps or the edges lift, apply a second thin layer and let it cure again. Rinse the suit after the next swim and dry it away from direct sunlight and heat sources. Heat and chlorine damage are not covered by the blueseventy warranty, and they weaken the rubber around any repair.
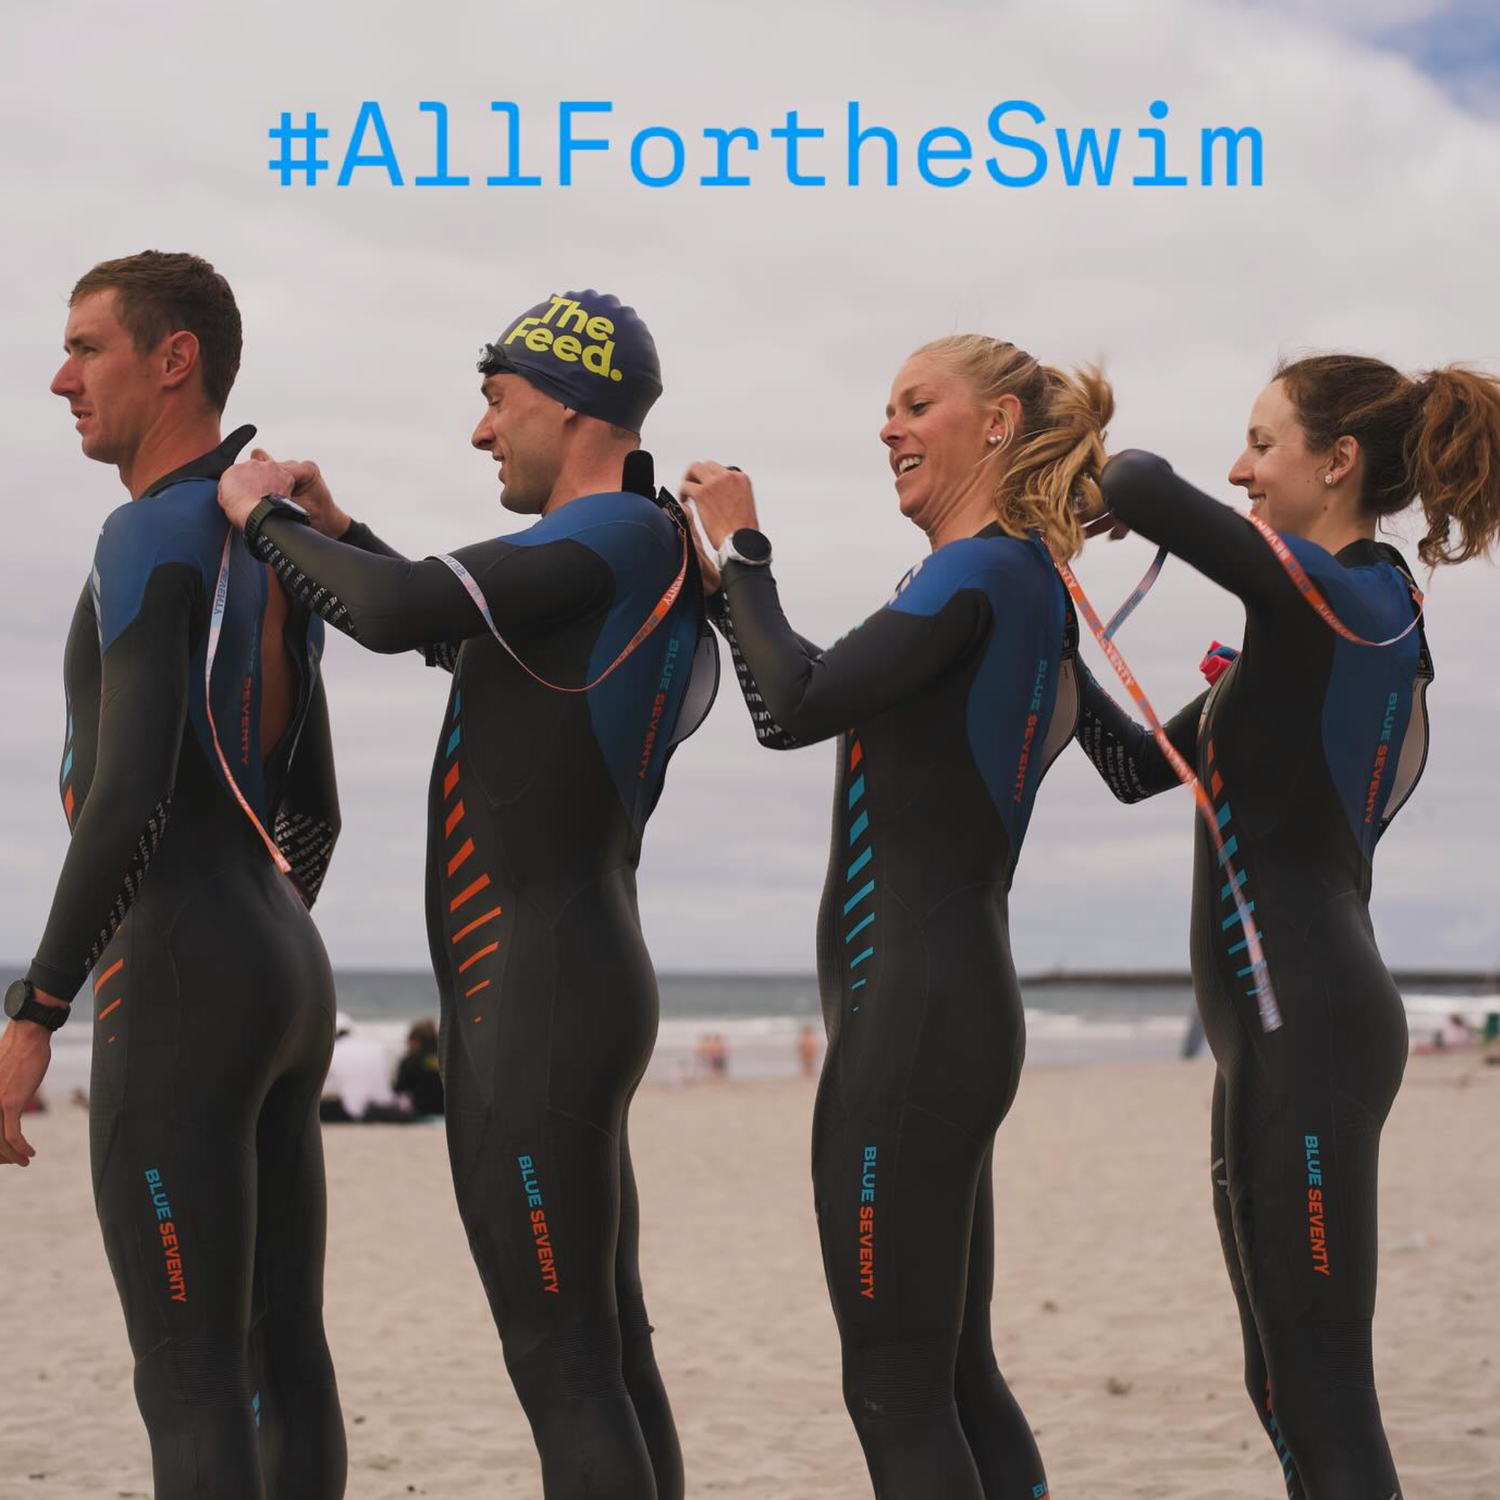
When you put the suit on, roll the legs up first, use flat palms instead of fingertips, and inch the suit up slowly. That habit prevents more punctures than any repair kit.
Keep a tube of neoprene cement in your gear bag now. The best time to learn this repair is the night you find a small tear, not the morning of a race.