


A crotch tear is not a random failure. The crotch is one of the highest-load junctions in a wetsuit, and every kick, donning pull, or transition step stretches the same thin line of foam. Treating that split as a stress riser changes the repair you choose and the way you prevent the next one.
Blueseventy builds suits from panels of Yamamoto neoprene in 38, 39, and 40 cell, and those panels are cut and bonded so the fabric stretches where a swimmer needs it, not evenly in all directions. The crotch narrows between the legs and has to move through a large range of hip flexion during swimming, biking, and pulling the suit on.
Why the Crotch Fails First
When you pull the suit upward by pinching the fabric near the crotch, your fingers concentrate that force into a small point. Neoprene is closed-cell foam. A tiny notch, once formed, becomes the spot where each stretch cycle applies the most load. That is why a crotch split tends to run in a line instead of staying as a pinprick.
The direction of the split tells you what you are dealing with. A vertical split running front to back usually comes from pulling upward on the panel during donning or from forcing the suit over the hips. A horizontal split running along the seam usually comes from seam fatigue or repeated hip flexion opening the same bonded edge.
A clean panel split with edges that meet without tension calls for a cement repair. A seam separation where the old adhesive has failed needs surface preparation and often a small patch on the inside. A tear with ragged edges, a missing chunk, or fabric stretched thin around the damage will not hold with cement alone. That kind of damage needs a more careful assessment before you attempt a home fix.
Materials You Will Need
- Neoprene cement that stays flexible after curing. Blueseventy sells Aquaseal neoprene cement, and it moves with the foam instead of turning brittle.
- Clean fresh water
- A lint-free cloth
- Fine sandpaper or an emery board
- A small disposable brush or toothpick
- Something flat to hold the repair under light pressure, such as a heavy book or a board with weights
Work in a ventilated space. Dry the entire repair area before opening the cement. Water trapped in the foam weakens the bond.
How to Cement a Panel Split
- Rinse the tear with fresh water to remove salt, chlorine, lake sediment, or sunscreen residue. Let it dry completely.
- Lightly scuff the surfaces around the split with fine sandpaper. You are creating more surface area for the adhesive, not sanding through the neoprene. Wipe away the dust.
- Apply a thin coat of cement to both edges of the split and to the inner faces. Let the cement get tacky before joining. If it skins over completely, add a touch more to reactivate it.
- Press the edges together so they meet cleanly. Do not overlap them. Neoprene cement bonds to itself, so contact under light pressure works better than clamping the foam hard.
- Cover the repair with wax paper or plastic wrap and set a flat weight on top. Leave it overnight. A full day of cure before the next swim gives the strongest bond.
- Before you swim, flex the repaired area in your hands. It should move with the neoprene. If it feels like a hard scab, the cement layer was too thick or the edges shifted during curing.
Seam Tears Need a Different Approach
If the split follows a seam, remove the old adhesive from the seam with the edge of a toothpick or folded fine sandpaper. Dry the seam completely, then work cement into the gap and press the two sides together.
For a seam under repeated load, add a small neoprene patch on the inside once the first bond cures. Cut the patch with rounded corners so it does not create fresh tear points. Cement the patch over the seam and weight it flat. Keep the patch small. A large or square patch changes how the suit stretches through the hip and can create a new failure point nearby.
If the seam gap is wide or the fabric has pulled away from the seam tape, stop and take photos of the inside and outside. Send them to us@blueseventy.com before doing additional work. Some seam failures are repairable at home. Others need a warranty review or professional attention.
Preventing the Next Split
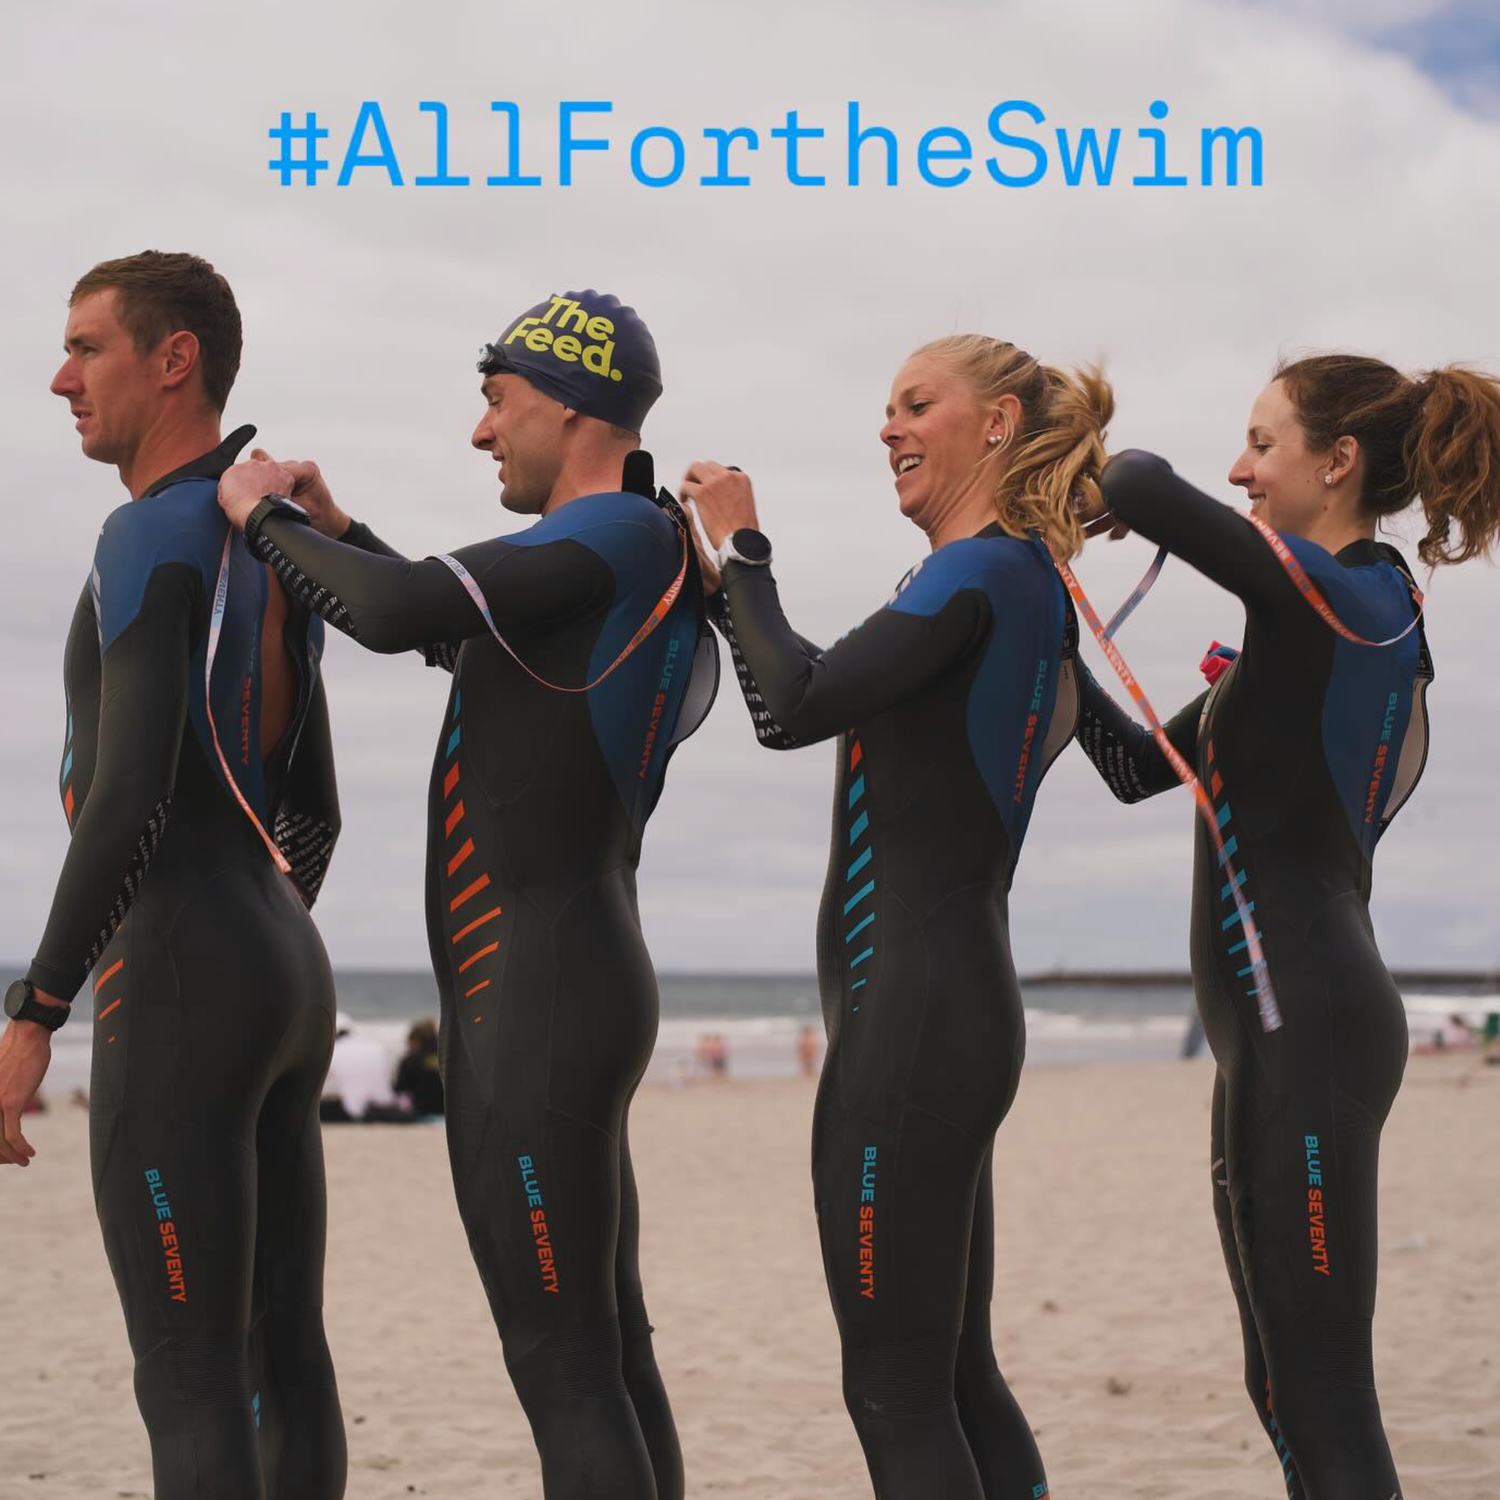
Most crotch tears start during donning, not during swimming. Pull the suit up in stages. Work the legs up first, then the waist, then the torso. Use your palms and the sides of your hands to slide the neoprene. Fingertips concentrate force into small points, and those points become the starting notch for a tear. Keep your nails trimmed and smooth.
If you need to adjust the crotch once the suit is on, pinch the outer fabric rather than the thin inner panel. If the suit is always a fight to get over your hips, revisit the size chart or the fitting guide instead of forcing it. A suit that is too small will keep failing at the same high-stress junction no matter how well you patch it.
When to Stop and Ask for Help
A crotch tear is often wear and tear, so it will not automatically fall under the one-year manufacturing warranty. But a clean seam separation on a suit that is only a few months old can be a defect. If the split is longer than your thumb, runs through a seam, or reappears after a careful repair, do not keep layering cement.
Send a photo of the inside and outside to us@blueseventy.com with a note about how the tear happened. The support team can tell you whether a home repair makes sense, whether the warranty applies, or whether the suit has reached the end of its useful life.
For the right cement and care gear, visit the wetsuit care section on blueseventy.com. If you are not sure what you are looking at, send the photo first. Happy swimming.