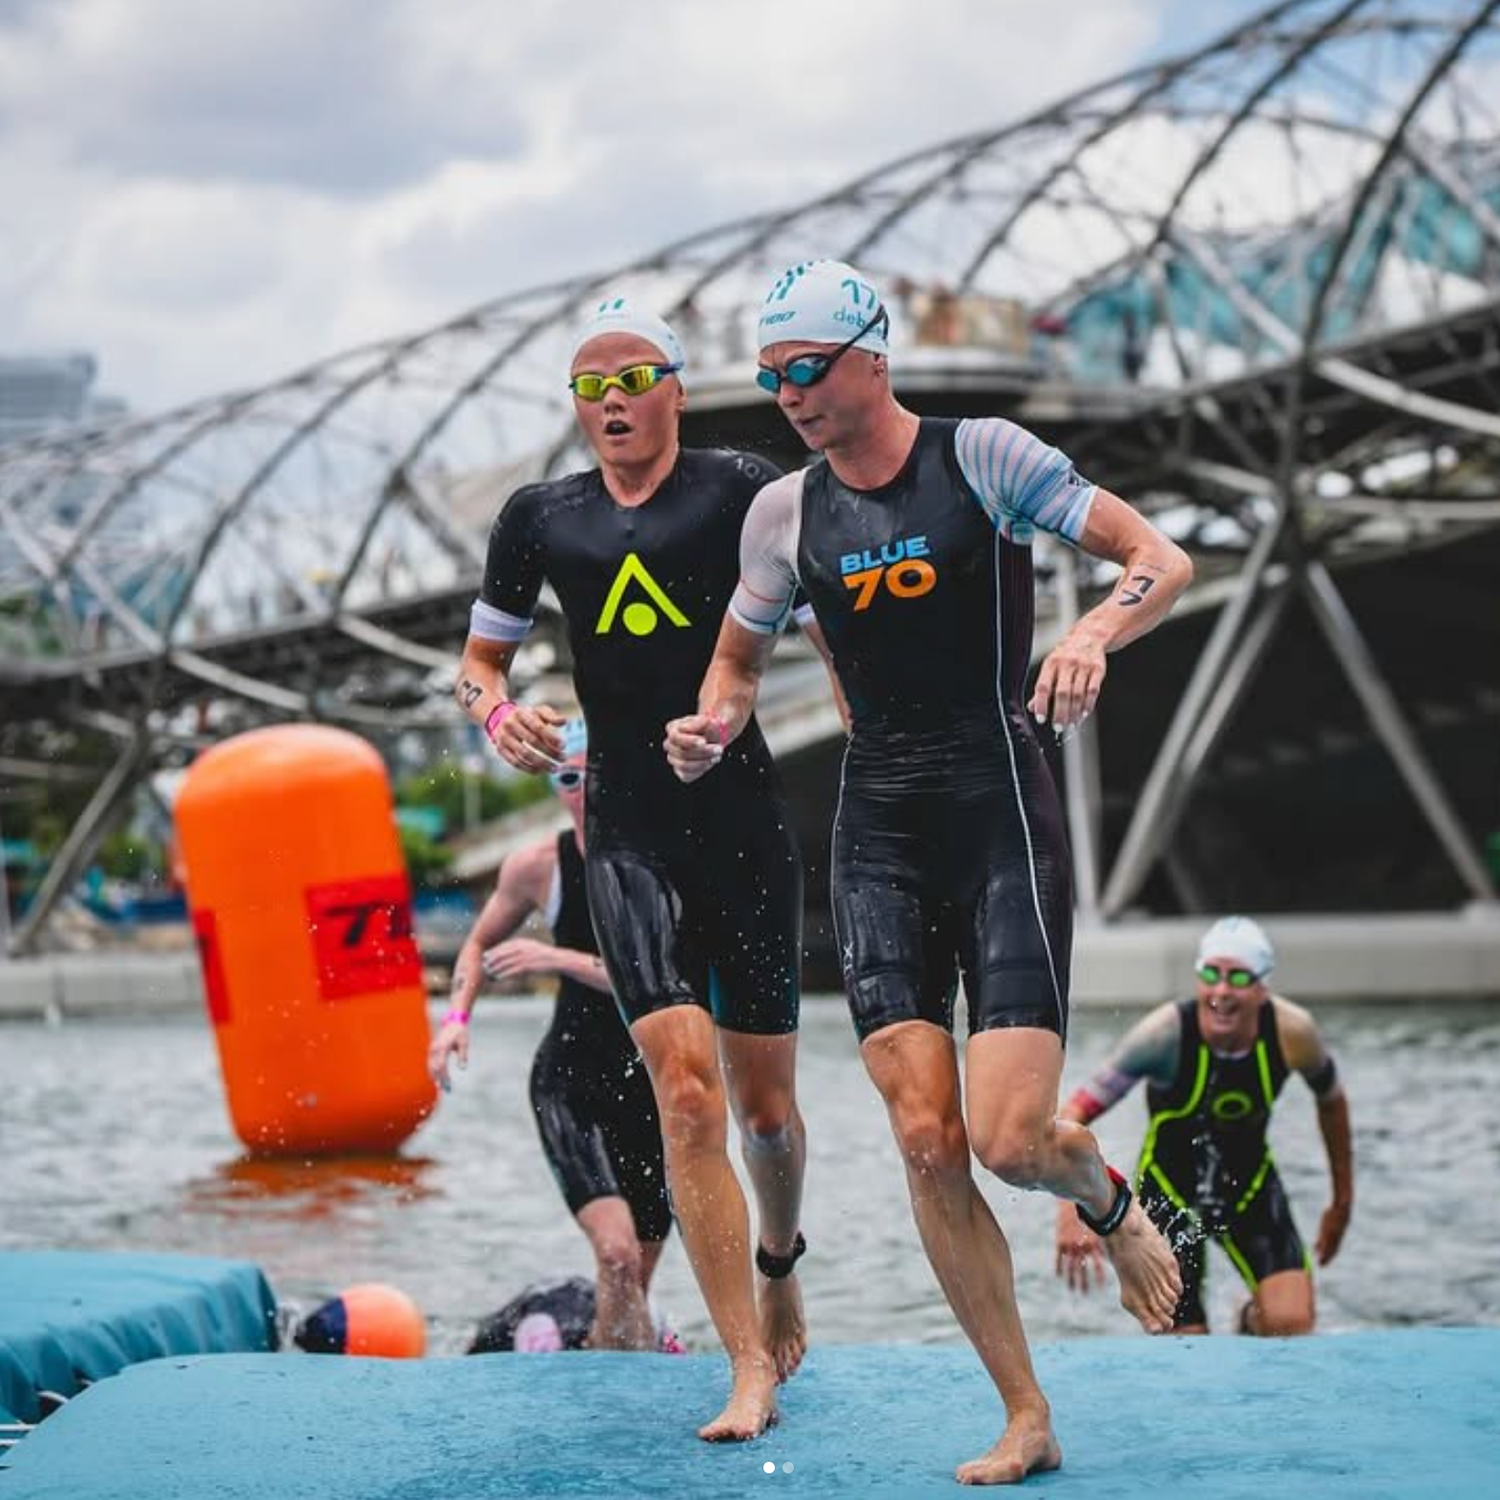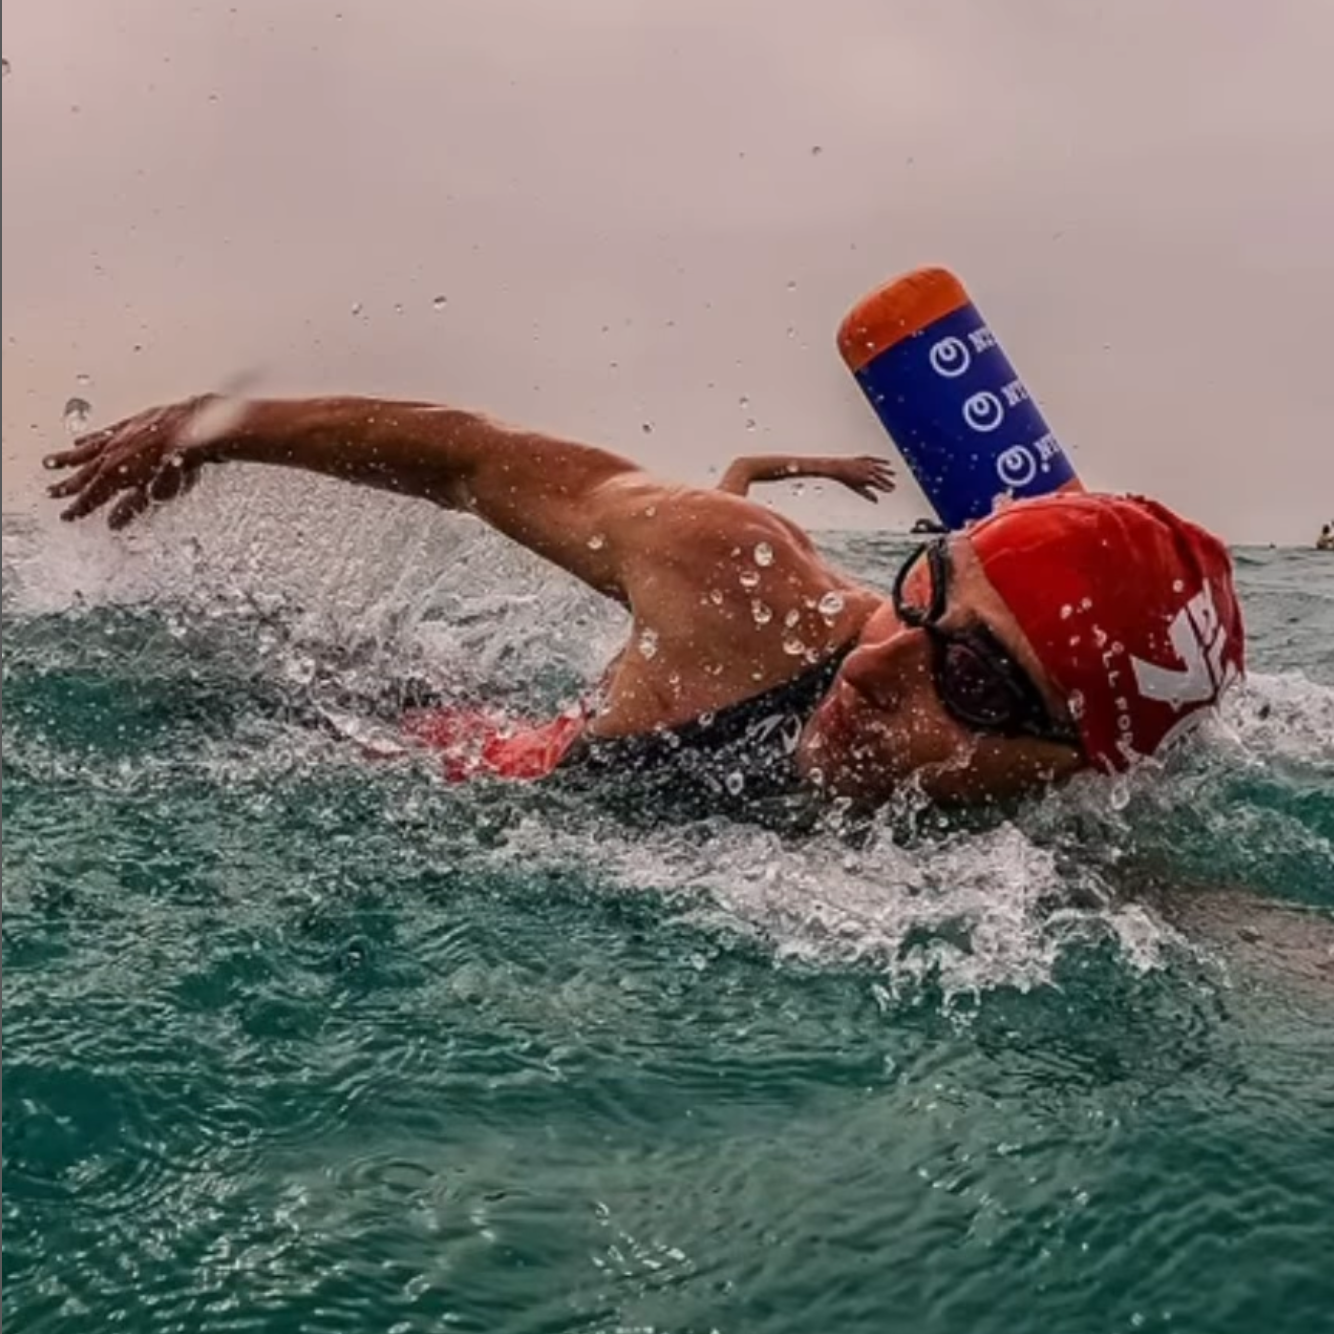



Search for DIY wetsuit chafing cream and you’ll find no shortage of homemade fixes. A little balm here, a little wax there, and the problem is supposedly solved. In practice, that approach often misses the real issue.
In open-water swimming and triathlon, chafing is usually a fit-and-movement problem before it is a skincare problem. If a wetsuit is rubbing enough to leave your neck raw or your underarms irritated, something in the system is off. It might be how the suit was put on. It might be how it sits through the shoulders. It might even be the way you move through the stroke.
That’s the part many athletes overlook. A homemade anti-chafe cream may reduce friction for a swim, but it can also cover up the reason the friction started in the first place. And if you keep treating the symptom instead of the cause, the irritation usually comes back.
Why This Topic Gets Misunderstood
It’s easy to borrow solutions from other sports. Runners deal with hotspots, cyclists use creams, and triathletes naturally carry those habits into the swim. But a swim-specific wetsuit behaves differently from other pieces of gear. It’s designed to sit close to the body, move with the stroke, and provide buoyancy without unnecessary restriction.
When that relationship is working well, the suit feels snug on land and more natural once you’re in the water. When it isn’t, you get friction. That friction is useful information.
Instead of asking, “What can I put on my skin?” the better first question is, “Why is the suit moving there at all?”
What Usually Causes Wetsuit Chafing
Most recurring chafing comes from a short list of problems. The location of the irritation often tells you exactly where to start.
Neck chafing
This is the complaint most swimmers and triathletes know well. Neck rub usually comes from tension in the suit, not just contact at the collar. If the wetsuit is sitting too low through the hips or torso, that tension travels upward and starts pulling through the shoulders and neckline.
It can also happen when the collar is folded, sitting off-center, or shifting because the suit was never fully worked into place before zipping.
Underarm irritation
Underarm rubbing often points to a suit that is sitting low through the torso or shoulders. If the neoprene is not loaded correctly through the upper body, the material can pull or bunch with every recovery. That friction adds up quickly over a long swim.
Sometimes this is also a technique issue. Swimmers who carry extra tension in the shoulders or recover with a shrugging motion can create repeated contact in the same spot.
Wrists and ankles
These areas tend to get irritated when the openings are twisted, uneven, or not seated cleanly against the skin. Small folds matter more than people think, especially over longer sessions.
One-sided chafing
If you always chafe on one side, pay attention. That is often a sign of asymmetry in your stroke. Crossover, uneven rotation, or a head position that favors one side can all create repeated rubbing in a single area. At that point, the wetsuit is not just irritating your skin. It’s showing you something about how you swim.
Why DIY Cream Isn’t Always a Great Fix
Homemade anti-chafe products usually rely on ingredients that make the skin slick and reduce surface friction. That sounds sensible, but a wetsuit is more complicated than a shirt collar or a pair of running shorts.
A swim-specific wetsuit is designed to maintain a stable fit while you move through the water. If you heavily coat the neck or shoulders with a slick DIY mixture, you can create more movement where you actually want consistency.
That can lead to a few problems:
- The neckline may shift more than it should, which can create new friction instead of reducing it.
- The suit may flush more at the collar, especially if the seal is disrupted by too much product.
- You may hide a repeatable fit problem that would be better solved at the source.
- Cleanup becomes harder, since homemade balms can leave residue on skin and gear.
A wetsuit is not waterproof and it is not designed to keep you dry. It allows in a thin layer of water that your body warms for insulation. But that does not mean the collar should be loose, unstable, or sliding around. Good fit still matters, and so does the way the suit seals and settles once you start swimming.
[VERIFY: specific care guidance for oils, waxes, or balm residue on blueseventy wetsuit materials and liners]
The More Useful Order of Operations
If you are dealing with chafing, there is a smarter sequence than simply adding more product. Start with the things that change how the suit behaves in the water.
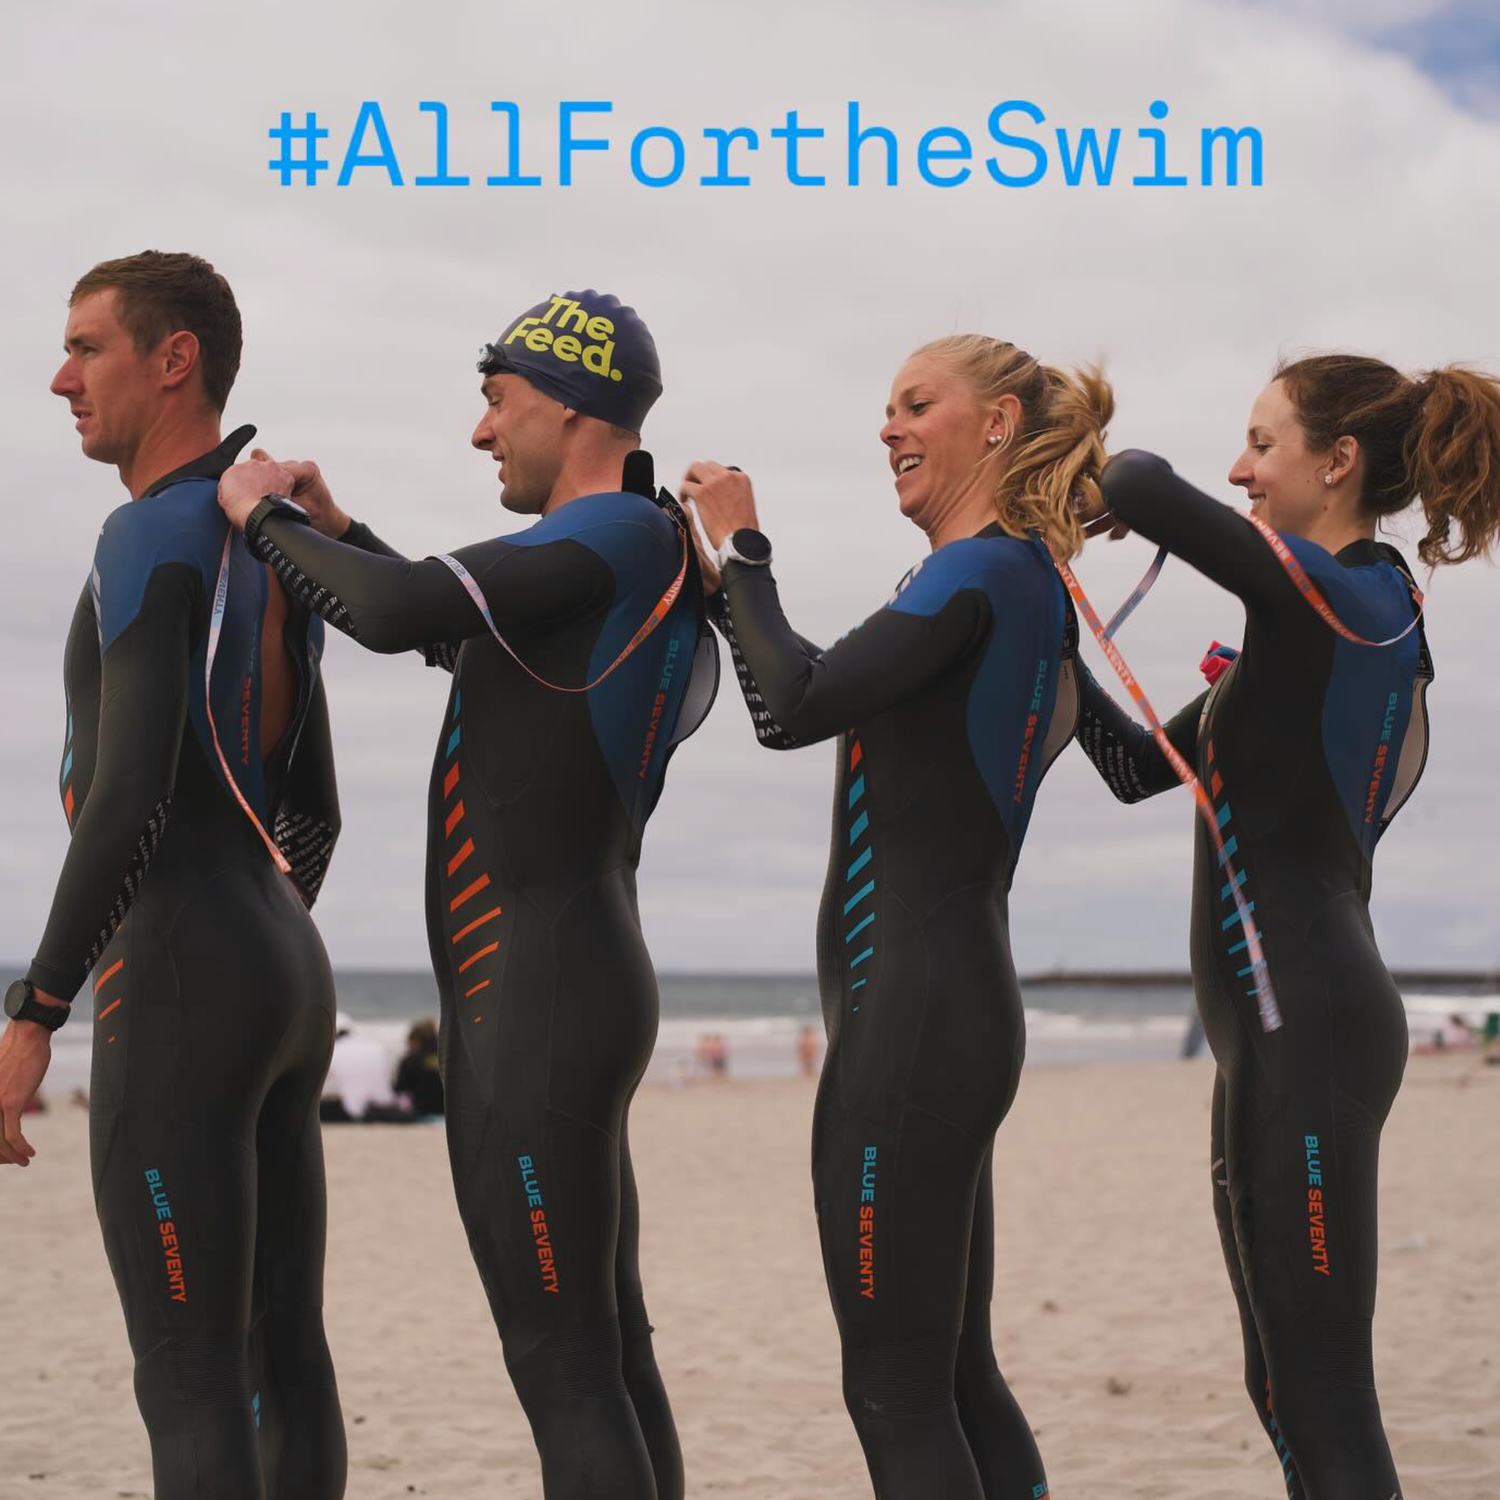
1. Fix donning first
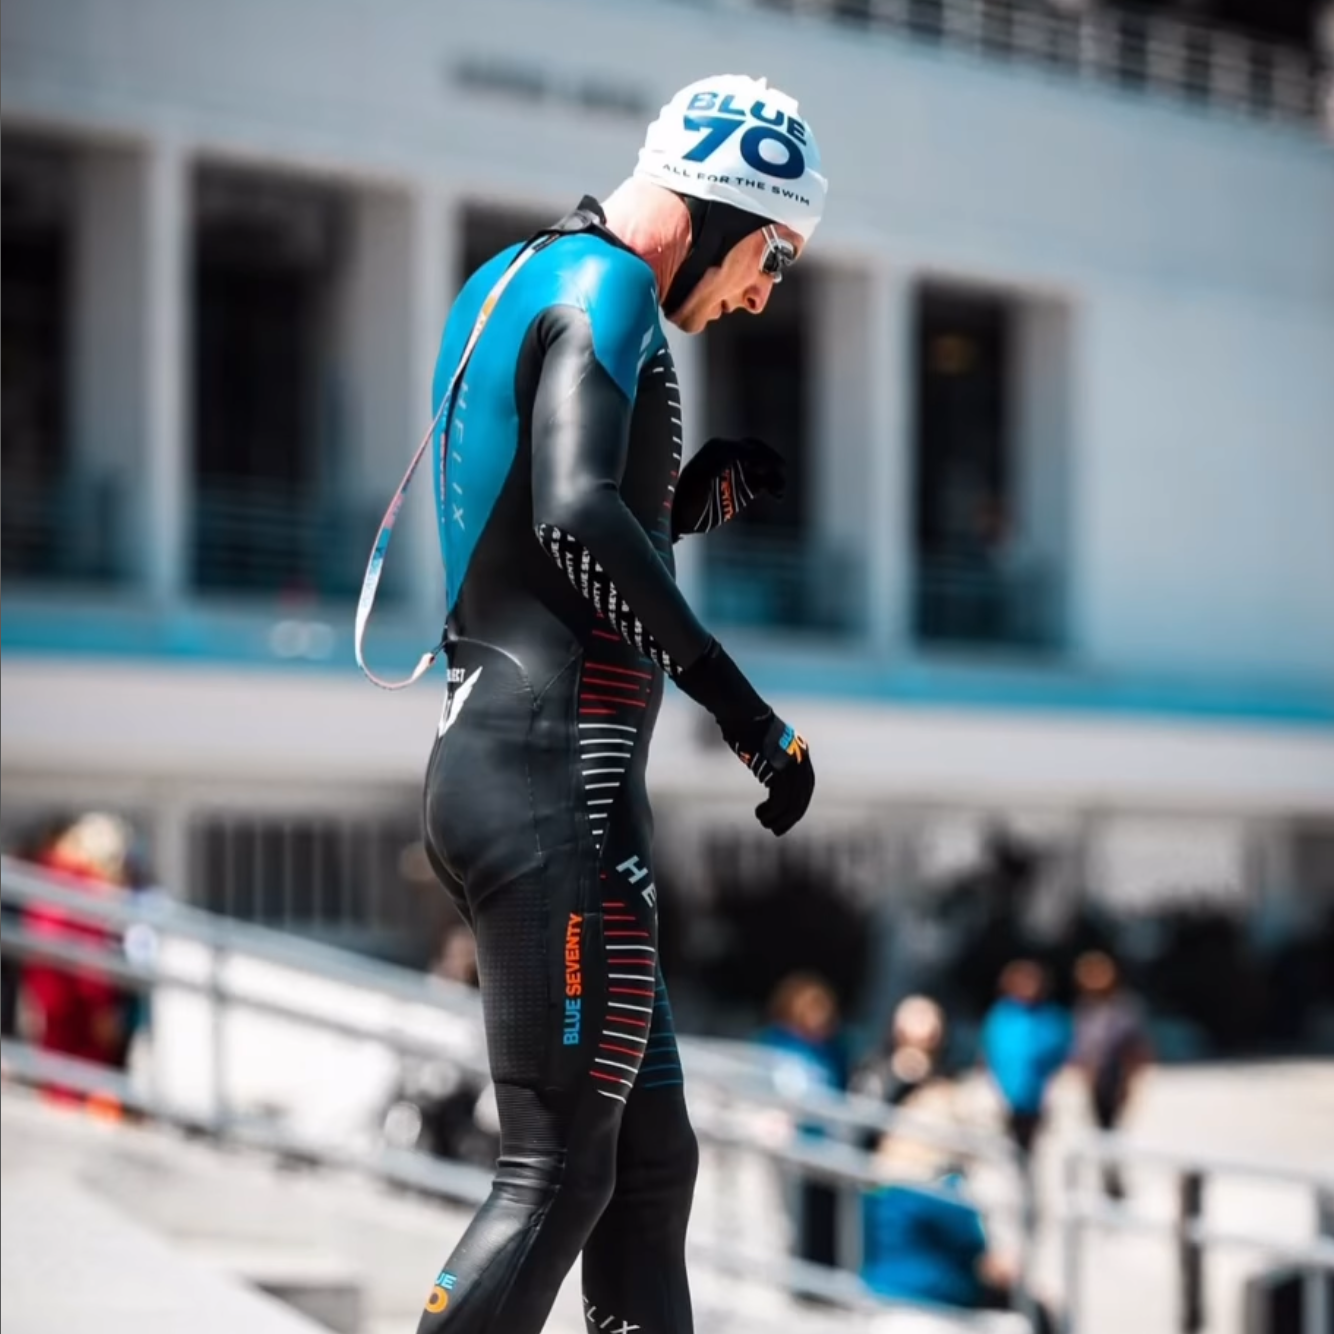
This is the highest-value adjustment most athletes can make. A wetsuit that is even a little low in the legs can end up low in the hips. Low in the hips becomes low in the torso. Low in the torso becomes tension through the shoulders. And shoulder tension often shows up as neck rub and fatigue.
That is why careful donning matters so much.
- Use the pads of your fingers rather than your fingernails.
- Work the suit up gradually from the ankles and calves.
- Seat the suit high through the hips before you think about zipping.
- Pull material upward through the torso.
- Make sure the shoulders are fully set before the zipper is closed.
Many swimmers assume a suit is too small when it is simply not on correctly.
2. Check how the neckline sits
Before you get in the water, make sure the collar is flat, centered, and comfortable enough that it is not biting into the skin. It should feel snug, but not abrasive. Once you’re swimming, it will usually settle more naturally.
If you can, test that fit in real conditions. A short open-water or pool session often tells you more than ten minutes of standing in the bedroom mirror. blueseventy’s Take a Test Swim option is helpful for exactly that reason.
3. Pay attention to where the rubbing happens
Hotspots are clues. They are rarely random.
- Front or side of the neck: often points to collar position or tension through the shoulders.
- Back of the neck: can indicate zipper tension, posture, or collar movement.
- Underarms: usually suggest the suit is sitting low through the torso or shoulders, or that stroke mechanics are contributing.
- Wrists and ankles: often come down to edge alignment or folds at the openings.
4. Clean up the easy variables
Sometimes the irritant is not the neoprene edge alone. Salt, sand, trapped hair, and sunscreen residue can all increase friction.
Before your next swim:
- make sure the neckline is lying flat
- avoid trapping hair at the collar
- let sunscreen absorb before putting the suit on
- rinse off salt and sand when possible between swims
Small details matter more on a one-hour swim than they do on a fifteen-minute test dip.
The Underexplored Piece: Chafing Can Be a Stroke Clue
This is where the conversation gets more interesting. Chafing is not only about comfort. It can also point to inefficiency in how you are moving inside the suit.
A swim-specific wetsuit is engineered to support body position, buoyancy, and freedom from restriction. If it is repeatedly dragging across the same patch of skin, it often means there is unnecessary movement somewhere in the chain.
For example:
- a swimmer who crosses over may create repeated side-of-neck contact
- a swimmer who lifts the head excessively may change how the collar tracks during the stroke
- a swimmer who recovers with tense, elevated shoulders may create underarm rub
- a swimmer with poor body position may move more inside the suit overall
This is why experienced swimmers do not always respond to chafing by adding more lubricant. Sometimes the better fix is a small adjustment in posture, head position, or recovery pattern.
If You Still Want a DIY Option
There are situations where a small amount of friction protection makes sense. Long races, known hotspots, and sensitive skin are all reasonable examples. But if you use a homemade anti-chafe cream, it should be minimal, targeted, and tested in advance.
Think of it as a final adjustment, not the foundation of your setup.
- Apply only a thin layer.
- Use it only on a known hotspot.
- Avoid coating broad areas around seals and openings.
- Test it in training, never for the first time on race morning.
- Rinse both your skin and your suit thoroughly after the swim.
If you need a large amount just to get through a standard swim, the product is not solving the right problem.
Race-Day Advice for Triathletes
On race morning, simple is usually faster. Anything you put on your neck, shoulders, or wrists has to coexist with your swim, your exit, and your T1 routine.
Too much product can leave your hands slippery, spread to other gear, and create more mess than benefit. A better approach is to identify the true hotspot, use the minimum amount needed, and keep the rest of the suit-body interface clean.
That gives you a more predictable swim and a cleaner transition.
When It’s Time to Reevaluate the Suit
If you have improved your donning, checked the collar, cleaned up the variables, and still get recurring irritation, it is time to reassess the fit itself.
Ask yourself:
- Is the size correct according to the chart?
- Does the suit match your body shape well?
- Are you training frequently enough that comfort over longer sessions should be a bigger priority?
- Would a different fit pattern better suit your anatomy?
For women especially, fit through the bust, torso, wrists, ankles, and neckline can make a major difference in comfort. That is one reason women-specific patterning matters in a swim-specific wetsuit. Refined fit in critical areas, a lowered neckline for comfort, and easier entry can all improve the way the suit feels and moves in the water.
The Bottom Line
DIY wetsuit chafing cream is not always wrong. It is just often overrated.
Most recurring chafing is better solved by better fit, better donning, and better movement. The suit should work with your stroke, not slide against it. If you start there, you usually get a better answer than another homemade mixture can provide.
So before you make a new batch of anti-chafe balm, work through the fundamentals:
- pull the suit on properly
- set the shoulders before zipping
- check that the collar lies flat
- look at where the hotspot occurs
- consider whether your stroke is contributing
- use only a minimal, targeted friction aid if needed
That is the smarter long-term fix for comfort, feel for the water, and race-day confidence.
If you want to dial in your setup before your next open-water swim, start with the fit guide or find your size. A small change in fit can make a much bigger difference than another layer of DIY cream.