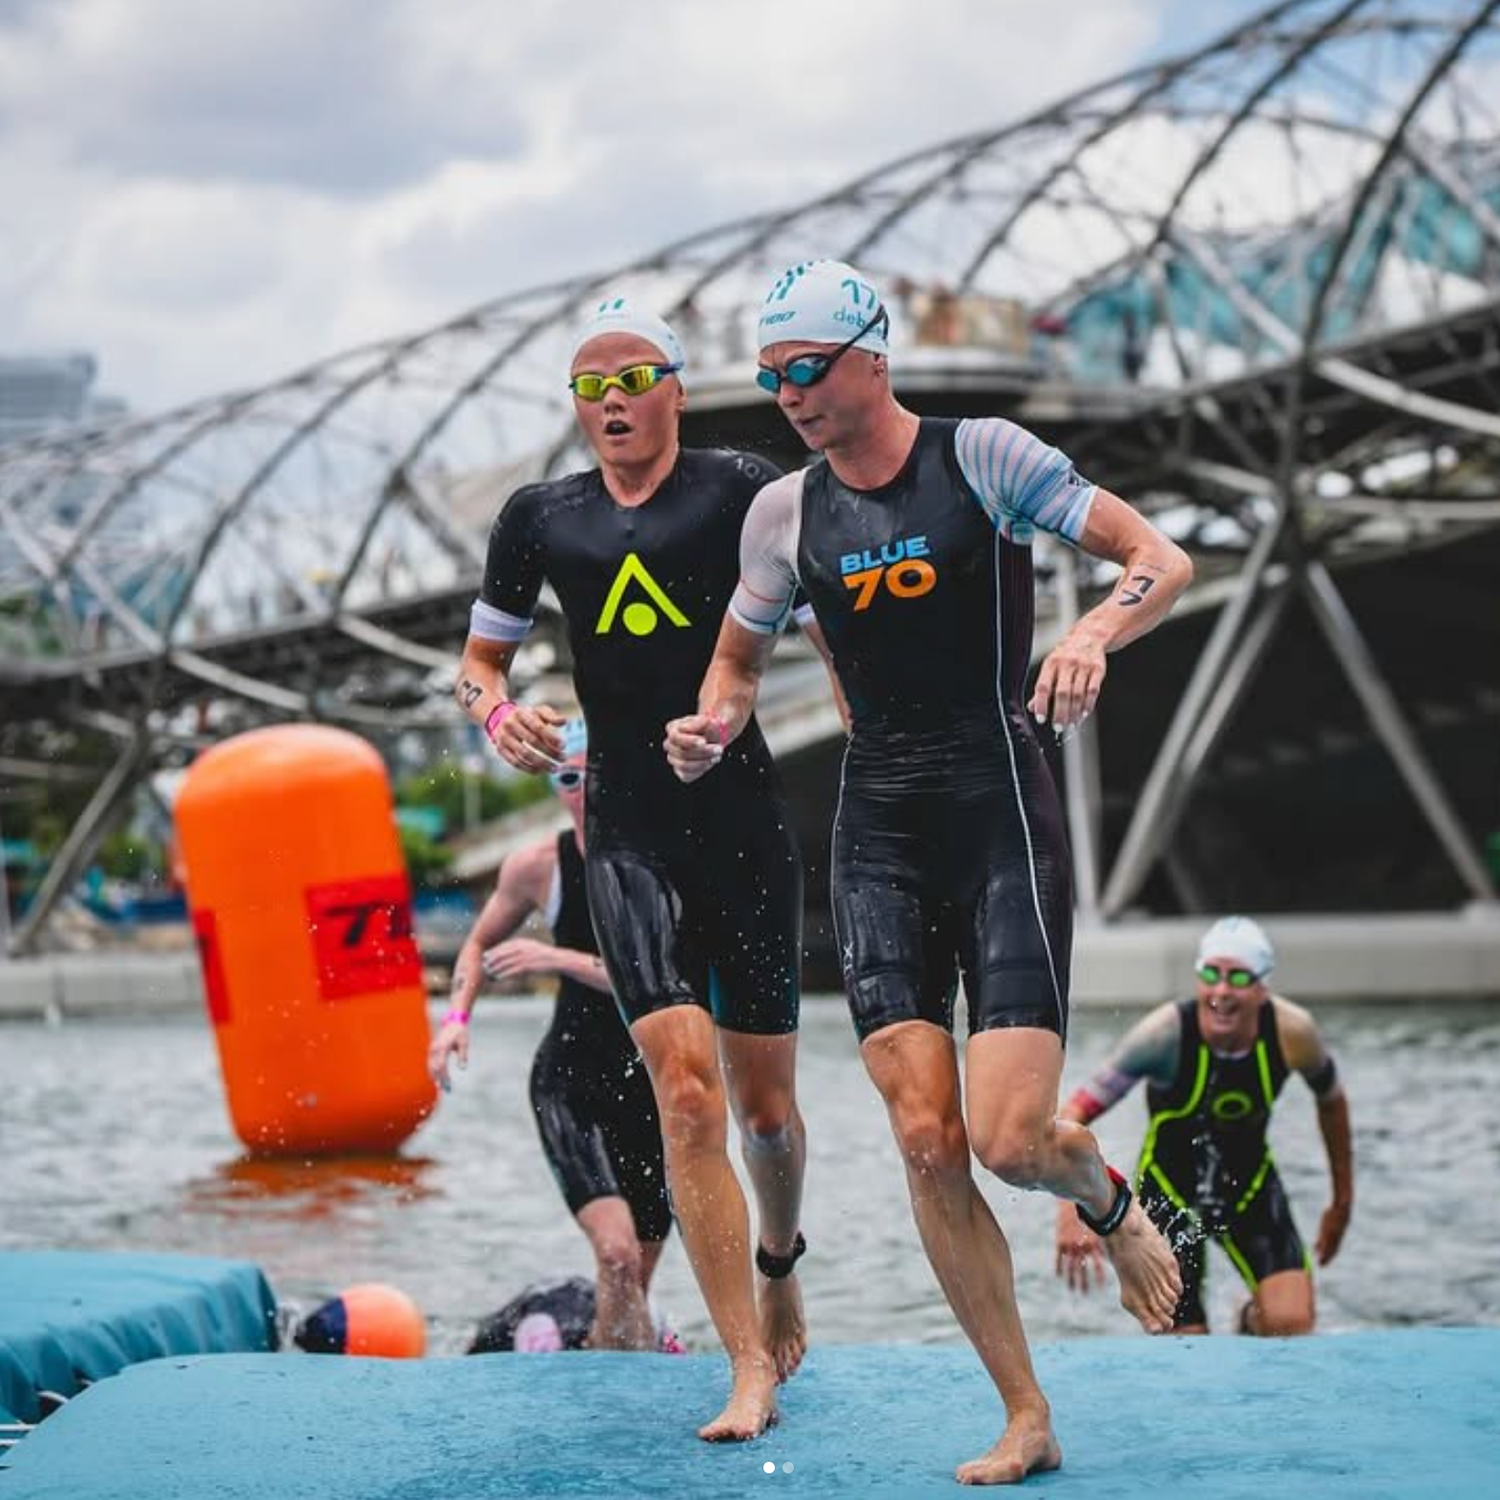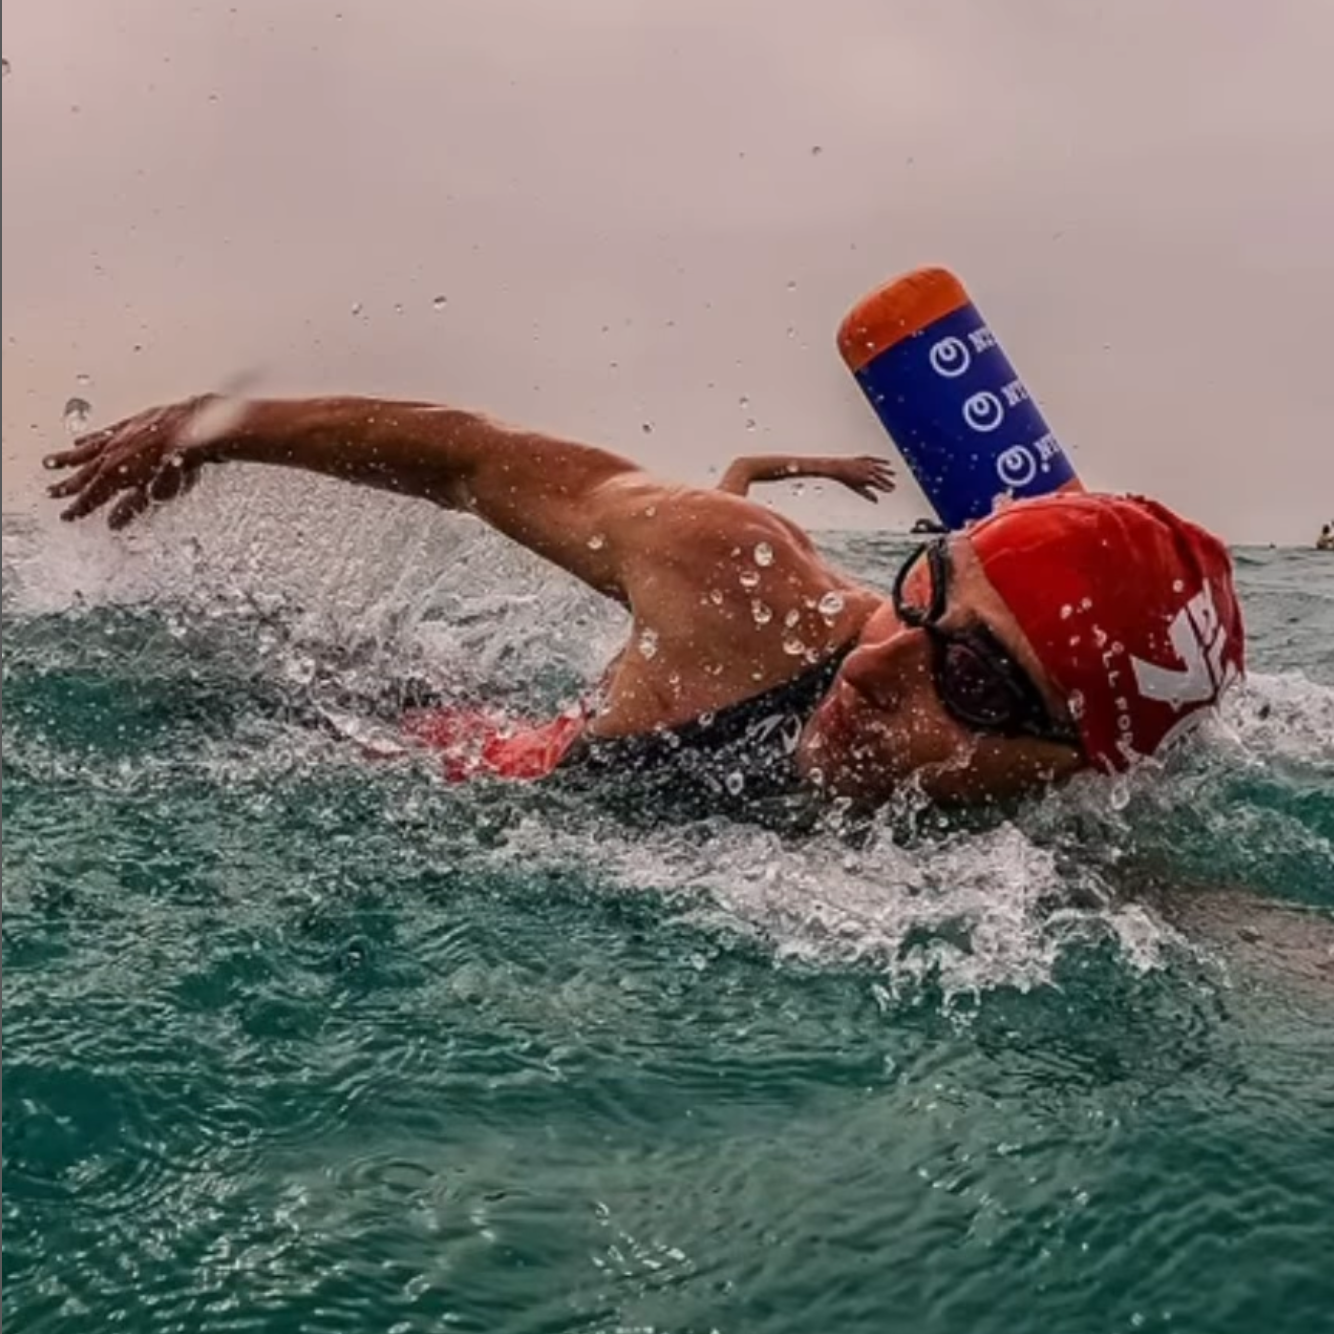



A split in the crotch of a swim-specific wetsuit looks like a repair problem. Most of the time, it started as a fit problem.
That sounds minor until you think about what that panel does. It stretches when you pull the suit over your hips, loads again when you walk to the water, and keeps moving through every kick, sighting lift, and fast wetsuit exit. If the suit sits low through the hips, that one area takes more strain than it should. The tear you see is often the final result of tension that built up long before the neoprene opened.
Swimmers and triathletes often reach for glue first. Fair enough. A torn panel needs repair. But a repair that ignores the cause usually turns into a second repair. Then a third. If you want the fix to hold, start by understanding why that spot failed and whether the damage came from wear, handling, or a suit that never sat correctly in the first place.
Why this area tears so often
The crotch panel sits where several movements meet at once: hip extension, knee lift, torso rotation, and the upward stretch of getting into the suit. In a swim-specific design, that section has to stay flexible enough to move cleanly while still handling repeated load. That balance is one reason damage there deserves a closer look than a simple nick on the leg.
The most common cause is a suit that was never pulled high enough through the lower body. When the material hangs low, the suit does not distribute tension across the calves, quads, glutes, and torso the way it should. Instead, the crotch panel becomes the bridge holding everything together. Every stride and every kick tugs at the same stressed point.
Rushed dressing causes plenty of tears too. Fingernails catch neoprene. Toenails scrape the inside on the way in. A small cut may not show up right away, but once that panel starts stretching under load, the weak spot opens. Repeated rough removals can do the same thing, especially during transition practice when athletes are trying to get faster and start pulling hard from whatever section they can grab.
Fit can be part of it as well. A wetsuit should feel snug on land and more natural once you are in the water. If the suit keeps pulling downward through the hips, refuses to settle into the groin and hip crease, or leaves extra drag across the inner thighs, the lower-body fit is telling you something useful before a tear gets your attention.
The clue swimmers miss
Most athletes notice shoulder tightness right away. Lower-body tension is quieter. It often shows up as a collection of small annoyances instead of one obvious restriction.
- Resistance when you lift a knee
- Bunching high on the inner thigh
- A sensation that the suit is hanging low even after you finish dressing
- Extra effort when stripping the suit in T1
Those signs matter because they point to the same issue: the suit is loading from the wrong place. Glue will close the cut. It will not change where the tension goes the next time you wear the suit.
Decide if the tear is worth repairing at home
Some crotch tears are straightforward. Others are a warning that the surrounding material is already too compromised to trust.
A home repair usually makes sense when the split is clean, the edges still meet neatly, and the neoprene around the tear still feels sound. A short slit in the panel, with no major distortion and no long seam separation, is often repairable.
Be more cautious when the damage branches in several directions, runs deep into a seam, or sits in neoprene that feels thin or overstretched. In those cases, the visible tear may be the smallest part of the problem.
Blue70 covers manufacturing and materials defects for one year for the original owner, with repair as the remedy. Fingernail punctures, heel tears, force-related zipper damage, chlorine or heat damage, and normal wear are not covered. If the damage looks like a true defect rather than handling damage, start with Expert Support before attempting a home fix.
What to use
Use adhesive made for neoprene. Blue70 carries Aquaseal neoprene cement in its wetsuit care range, and that type of product is the right tool for a panel repair that needs to stretch after it cures.
Keep the setup simple.
- Neoprene cement
- Gloves
- A clean cloth
- Low-tack tape
- A flat work surface
Skip household glue. It tends to dry hard, build a ridge, and crack once the panel starts moving again.
How to repair a wetsuit crotch tear
The goal is not just to close the cut. The goal is to close it without creating a stiff spot that changes how the suit moves.
- Dry the suit completely. Salt, sand, body oil, and damp lining all weaken the bond. Let the damaged section dry fully inside and out.
- Lay the panel flat. Bring the torn edges together in their natural position. Do not stretch the neoprene to force the gap closed.
- Apply a thin coat of neoprene cement to both edges. A light, even layer works better than a thick bead. Too much adhesive creates bulk.
- Wait for the adhesive to become tacky if the instructions call for it. Neoprene cements often bond best at that stage.
- Press the edges together carefully. Start at one end and line them up exactly as you close the tear. Precision matters here.
- Let the repair cure fully. Do not swim in the suit early just because the surface feels dry.
- Flex the area gently by hand. The repair should move with the panel, not stand up like a hard seam.
Why overbuilding the repair can backfire
Athletes often assume more reinforcement means more security. In the crotch area, extra material can create the next problem. That panel needs to move every time you kick, step, and rotate. A bulky patch can rub between the thighs, pull awkwardly on the hips, or shift stress to the neoprene around the repair.
For a small, clean split, a careful edge-to-edge bond is usually better than a heavy patch. If the lining needs support, keep any reinforcement as light and flexible as possible.
How to stop it from happening again
The best repair work in the world will not save a suit that keeps getting loaded the same wrong way. Prevention starts when you put the wetsuit on.
Pull the suit up in stages
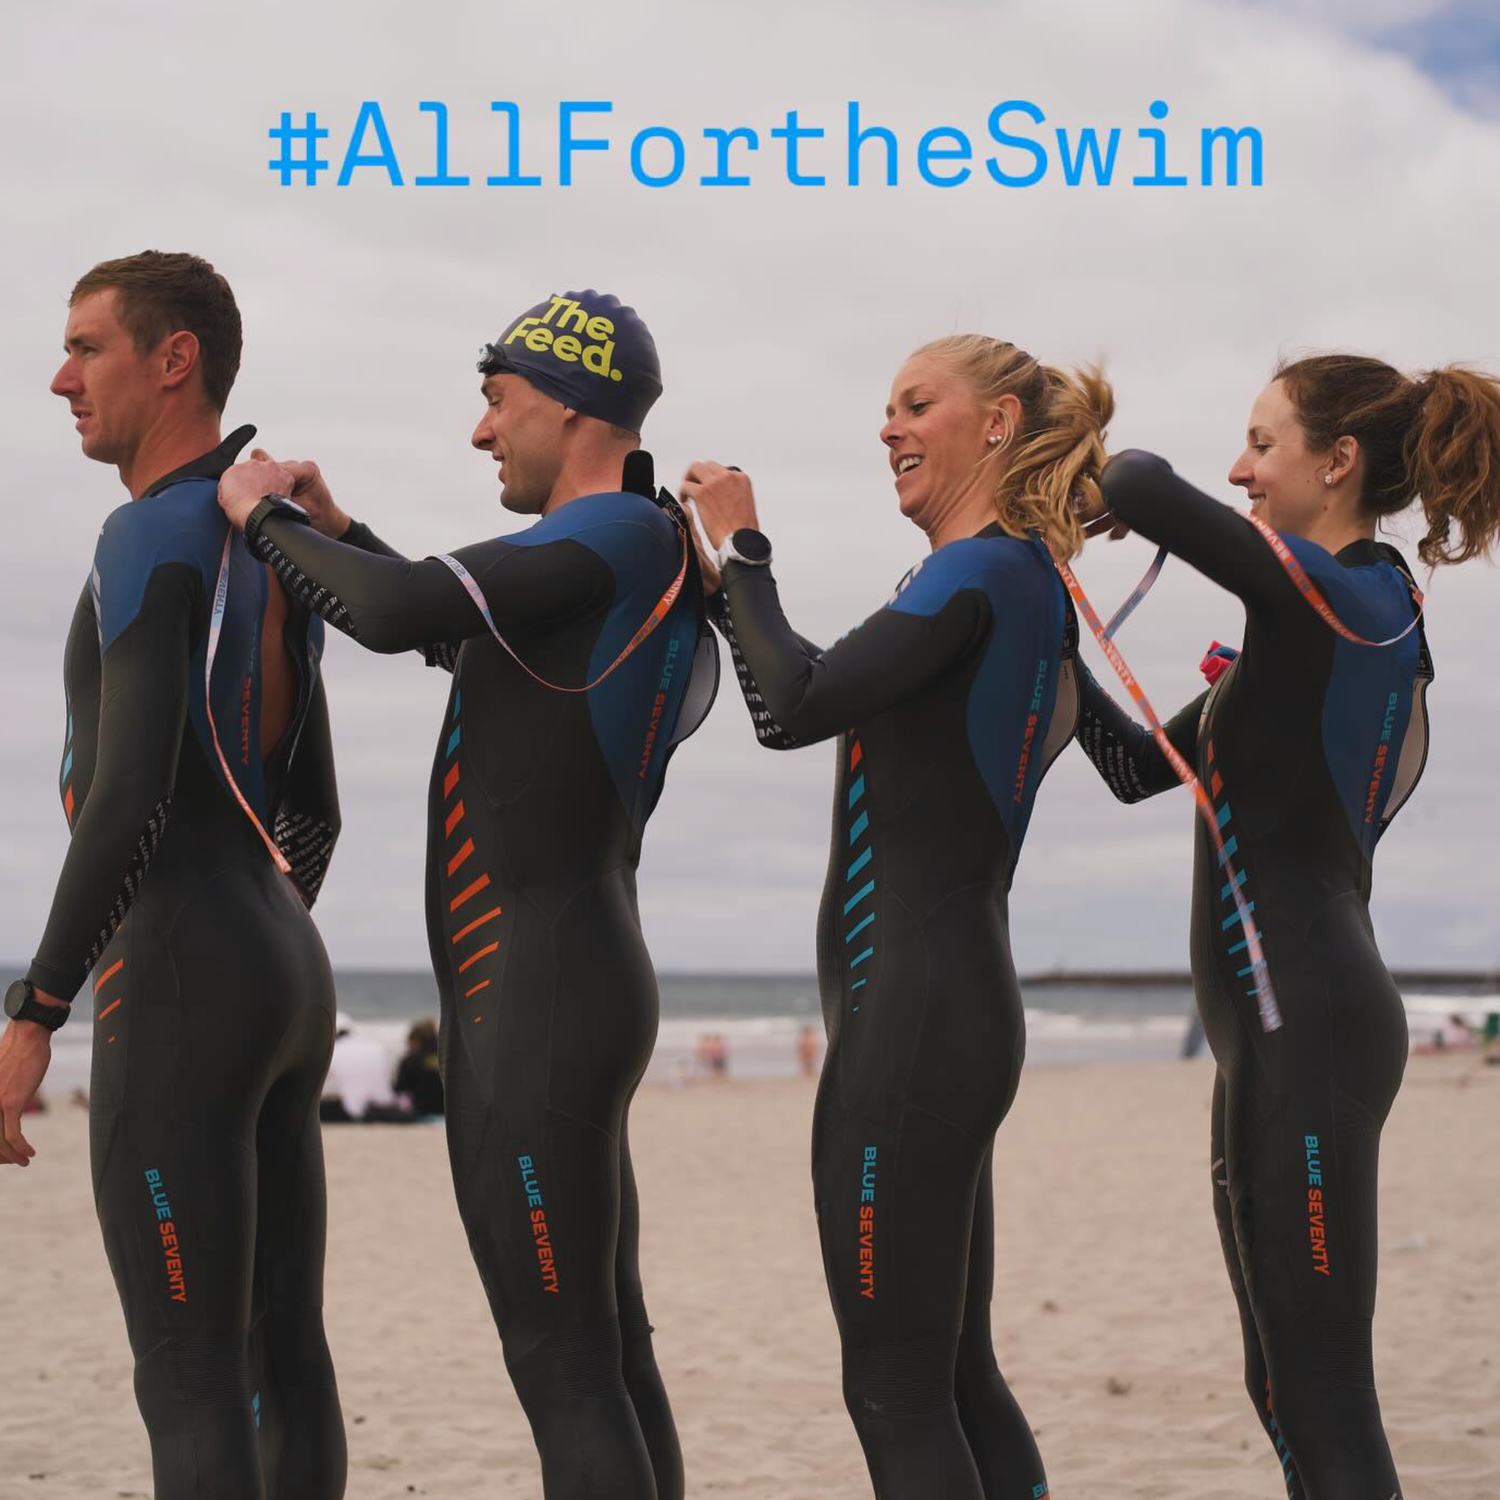
Work the material from the ankles to the calves, then to the quads, then into the hips and glutes. Do not treat the lower half as something you fix with one hard tug at the end. The suit should sit high through the crotch before you sort out the torso and shoulders.
Settle the panel into the hip crease
Before zipping up, stand tall and lift each knee a couple of times. That quick check helps seat the neoprene where it belongs and shows you if the suit is still hanging low.
Use fingertips, not nails
Many tears begin on land. Handle neoprene with the pads of your fingers, especially when you are pulling the suit through tight spots.
Practice transitions with technique, not force
Fast T1 exits come from repetition and timing. Repeatedly yanking from the crotch or upper thigh panels is a reliable way to shorten the life of the suit.
Revisit the fit if the same area keeps getting stressed
Blue70’s fit guidance is simple: snug on land, more comfortable in the water. If the suit keeps pulling downward through the hips or refuses to sit correctly through the groin and upper thigh, check the fit before blaming the material. Blue70’s fit guide and size charts are the right place to start.
Should you race in a repaired suit?
That depends on the repair and on your confidence in it. A clean, well-cured fix can be fine for training. Race day asks more of your focus. If the repaired area feels bulky, catches when you lift your knee, or makes you think about the suit instead of the swim, that is useful information.
Open-water swimming already demands enough attention. You are managing pace, direction, contact, and effort changes. You do not need doubt coming from your gear in the middle of that.
The bigger lesson from a small tear
Swim-specific wetsuits always balance flexibility, buoyancy, and durability. Most swimmers feel that balance first in the shoulders and chest. The lower half tells its own story. A crotch tear often means the suit was not loading across the hips and legs the way it was meant to.
Repair the neoprene, then correct the reason it failed. That is how you preserve fit, protect freedom from restriction, and get more life out of a suit built for swimming.
If you want to troubleshoot fit before your next swim, start with the Blue70 fit guide. If you are deciding on size and want real water time before committing, you can Take a Test Swim in a Blue70 wetsuit and still return or exchange it, provided it comes back clean, dry, unmodified, and with tags and accessories.