
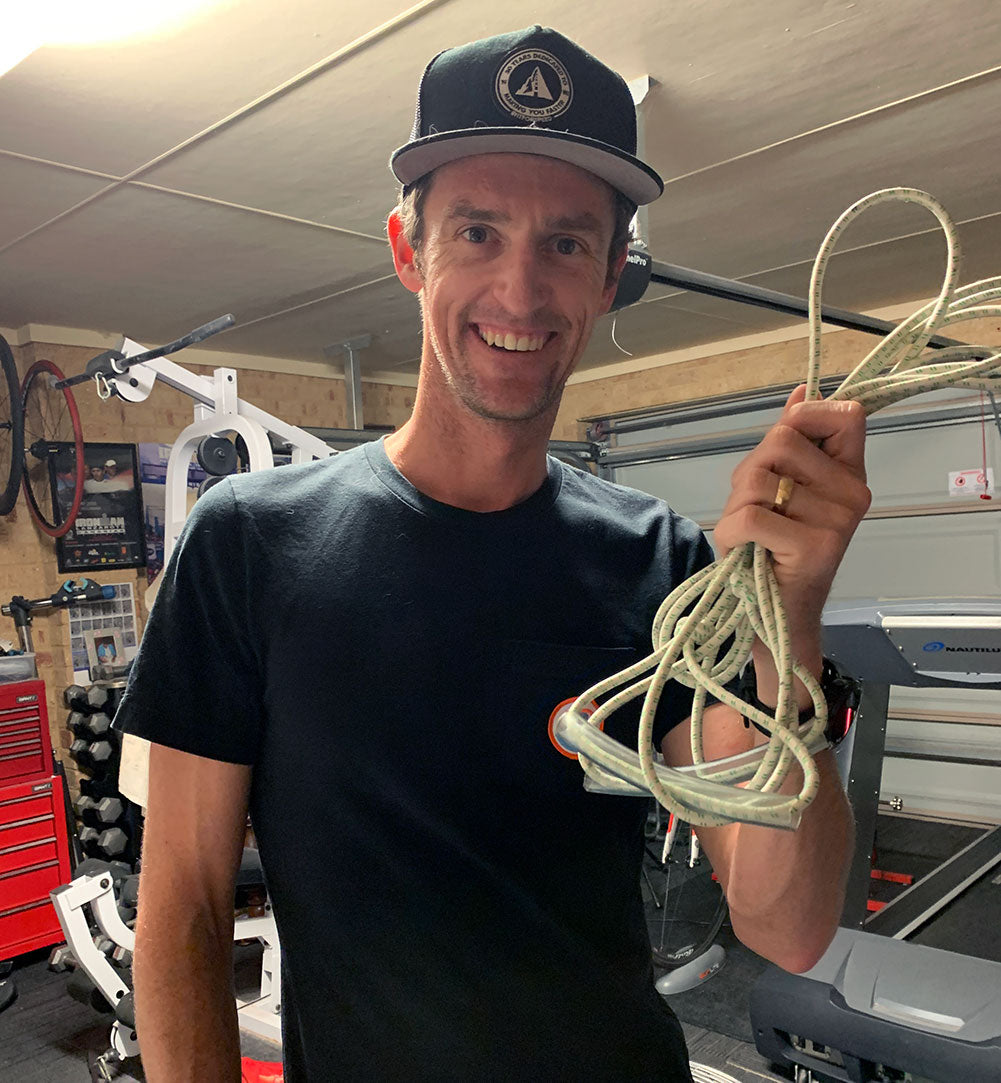
Struggling with pool closures and no open water nearby? We've mentioned using swim cords as an efficient way to work on stroke and strength from the safety of your home. However, for those of you unable to find a pair online with the higher demand in all things exercise equipment these days (or if you're just a dedicated do it yourselfer), our good friend Guy Crawford gave us the low down on creating a working pair yourself with items you can easily find at a local hardware store. Let's get to it.
(Scroll to the end if you'd prefer to listen to Guy's soothing kiwi accent explain the process to you via video)
---
Going back to my days swimming in New Zealand, I remember making swim cords at home because it was affordable and we didn't have access to the types of swim cords you can buy online now. So, here's how to make your very own "swim cords."
STEP 1
Head down to your local hardware store, or hop online to shop their inventory and look for elastic cord and flexible tubing (or even PVC). Often you can buy this off a spool by the foot. Ideally this cord will have a bit of give to it. You don't want it to be too stiff or have a really high resistance. (If you need to add resistance or decrease it you'll only need to move closer or further from the anchor point).
Purchase at least 12 feet of cord and two pieces of tubing about 4-5" long (use the width of your hand as a guide and add about 2" wider than your hands).
STEP 2
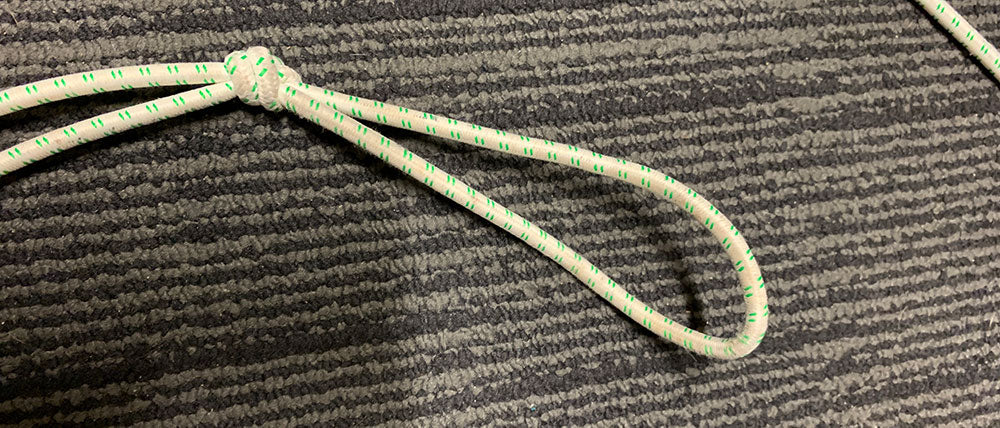
Fold your cord in half and tie a knot at the folded end, leaving a 3-4" (10cm) loop above the knot. This creates an easy anchor point essential for looping your cords around a stationary location.
STEP 3
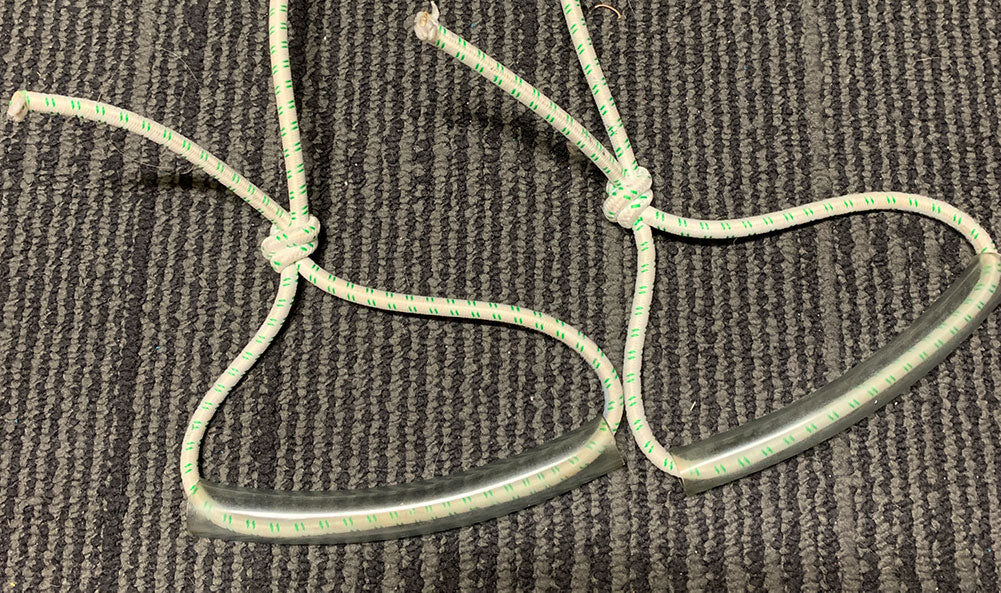
Now you have two ends, which you will also want to fold over on themselves and tie off to create loops. But wait! Before you do, take your tubing* (or if you were unable to find any, you can cut off a bit of your garden hose) and slide over the cord to create a handle. You want to make sure you've left enough length on the tubing so that there is additional space on each side of your hand or else you'll experience pinching from the cord as you "swim".
*if you purchased some PVC, we would recommend taking a bit of high grit sand paper around the edges that were cut to smooth them down, this will reduce friction on the cord where it hits the edge of the pipe so don't start tearing through your cords.
STEP 4
Find your anchor point. If you have access to a yard or outside area, a sturdy railing or pole is best, but for those stuck inside, using a door hinge can work really well, just always check that any anchor point you use is very secure and solid. We want to avoid any potential accidents.
Loop the cord around your anchor point and pull the two ends through your anchor loop to secure. The knot we tied initially helps to keep both ends the same length when you anchor so that you have equal resistance on both cords.
STEP 5
Go "swim"! You have successfully made your own set of swim cords and can get back to working on that swim fitness and form. Check our previous articles from Carrie Lester and Justin Metzler with tips on using the swim cords for a solid dryland workout.
Watch Guy in action creating the swim cords: